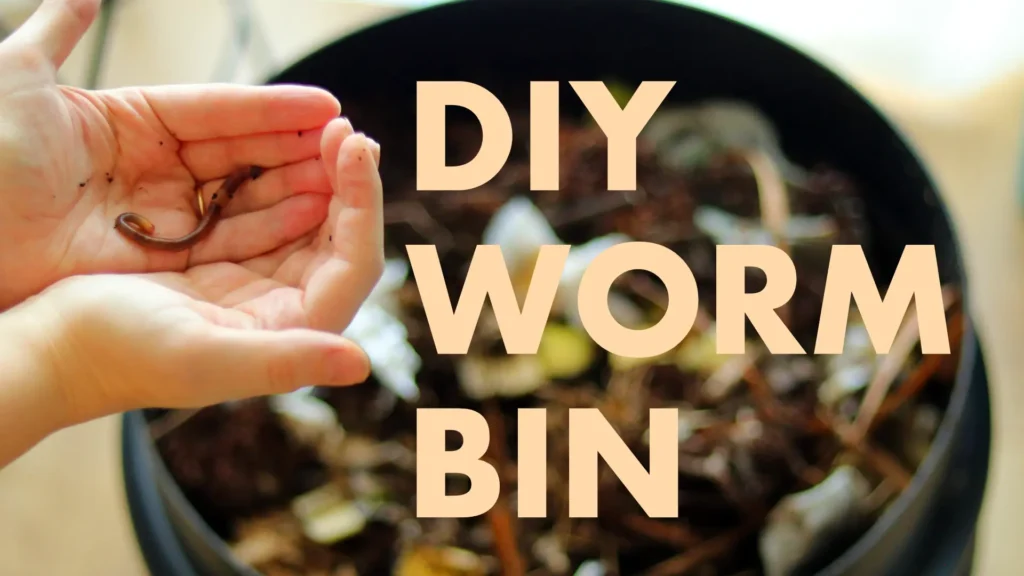
Like many of you, we’ve grappled with the guilt of producing too much organic waste and felt stumped about reducing its environmental impact. That’s when we stumbled upon the idea of DIY worm bins as a wallet-friendly and straightforward solution.
Our journey into crafting a sustainable worm habitat has been enlightening, allowing us to transform our food scraps into rich soil for our garden effortlessly. Let’s dive into how you can do the same!
Vermicomposting 101: Benefits of Worm Composting
 Vermicomposting offers numerous benefits that make it a fantastic choice for sustainable living. We can easily turn our kitchen scraps into nutrient-rich soil with just a simple DIY worm bin.
This process not only reduces food waste but also creates natural, organic fertilizer for our gardens. It takes less than 30 minutes to build a homemade worm composter for under $5 using repurposed materials, making it a cost-effective option.
Red wigglers are the ideal worms for this composting method, thriving in moist bedding like shredded cardboard. With an efficient setup, these wiggly friends convert organic matter into black gold—worm castings that enrich soil health and support plant growth.
Plus, we can teach kids about sustainability through hands-on experience with these simple worm composting systems. Worms play a crucial role in improving our garden amendments by providing slow-release nutrients that plants love!
Gathering Supplies and Materials for Your DIY Worm Bin

To create our DIY worm bin, we need to gather the right supplies and materials. Finding a suitable container is key to starting our composting adventure.
Choosing the right container

Choosing the right container for our DIY worm bin is crucial. We can use plastic storage bins or wooden boxes as effective options. The size of the container should match our needs, with a recommendation of at least 10 gallons for optimal results.
Red wigglers thrive in these spaces and can help turn our food waste into nutrient-rich soil efficiently. Ventilation and drainage are vital features to consider, ensuring worms have enough oxygen and excess moisture can escape.
Repurposed materials make excellent containers that save money while being eco-friendly. For instance, an inexpensive worm bin can be created from an old rubbermaid tub or wooden pallets we find around the house.
We’ve discovered that making holes in the lid and bottom allows for proper airflow and drainage, essential for keeping our homemade worm bin healthy. Setting up a warm habitat this way makes it easier to connect with nature while teaching kids about sustainability through a fun DIY composting system.
Materials and tools needed

Building a DIY worm bin is a fun and rewarding project. We can create an effective home for our wiggly friends using simple materials.
- Container: A sturdy container is essential. We can use plastic bins or wooden boxes. Make sure it has a lid to keep our worms safe.
- Bedding Material: Shredded cardboard makes great bedding for our worms. It provides a comfortable habitat and helps with moisture control.
- Worms: Red wigglers are the best choice for composting. They thrive in bins and eat kitchen scraps like fruit peels and vegetable trimmings.
- Drainage Tools: We need tools to make drainage holes in our container. A drill or a sharp tool works well for this task.
- Moisture Meter: Ensuring the right moisture level is important for worm health. Using a moisture meter can help monitor this easily.
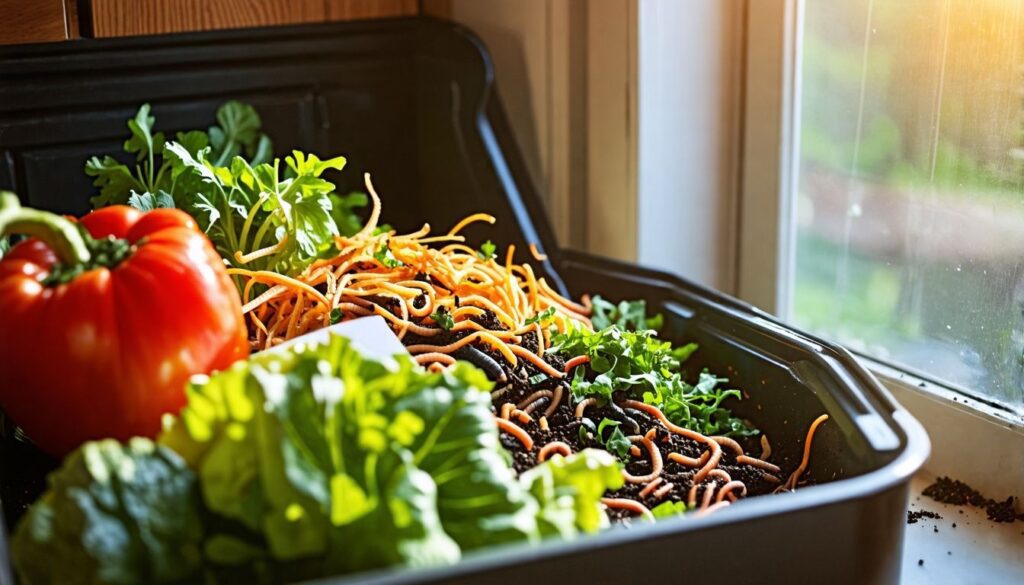
- Food Scraps: Collect kitchen waste like coffee grounds, eggshells, and vegetable scraps to feed our worms. This turns food waste into nutrient-rich soil over time.
- Spray Bottle: A spray bottle filled with water helps us maintain the ideal moisture in the bedding material without over-wetting it.
- Shovel or Trowel: We’ll need these tools when we want to harvest the worm castings later on, making the process easier and cleaner.
- Thermometer: Monitoring temperature will help ensure our bin stays within an optimal range for worm activity.
- Gloves: Wearing gloves keeps both us and the worms safe while we handle materials during setup and maintenance of our DIY worm bin.
With these supplies, we can easily set up our DIY worm bin and start vermicomposting right away!
Preparing the bin for use

After we gather all the materials and tools needed for our worm bin, it’s time to get everything ready for use. Preparing our bin ensures that our wiggly friends can thrive in their new environment.
- Choose the proper bedding: Shredded cardboard works great as bedding material. It provides a comfortable home for the worms while absorbing excess moisture. We can mix in some paper or dried leaves for added texture.
- Check moisture levels: The right moisture level is crucial for our worms. We should aim for a sponge-like consistency, neither too dry nor too wet. If needed, we can add water to dampen the bedding.
- Make drainage holes: Proper drainage keeps our bin healthy by preventing excess liquid buildup. We should punch small holes in the bottom of the container to allow excess moisture to escape.
- Add worms to the bin: Red wigglers are ideal for composting and will help turn our food waste into nutrient-rich soil. Once everything is set up, we carefully place the worms on top of the bedding material so they can burrow down.
- Feed your worms: Introducing food scraps will keep our wiggly friends happy and healthy. We can feed them vegetable peels, coffee grounds, and other organic leftovers while avoiding meat and dairy products.
- Maintain and harvest from your bin: Regular maintenance is key to success with DIY worm bins. We should monitor moisture levels and feed our worms as needed. When it’s time to harvest worm castings, we simply separate them from any remaining bedding material by sifting through with a hand tool.
Setting up our DIY worm bin takes only about 30 minutes and costs less than $5! Our new habitat will create fertile ground through effective worm composting while engaging kids in eco-friendly gardening practices.
Setting Up Your DIY Worm Bin in 6 Simple Steps

Setting up our DIY worm bin can be a fun and rewarding process. We will walk through each step to help create the perfect home for our wriggly friends. This simple guide makes it easy to start composting with worms, so let’s get started!
Adding bedding material
Bedding material is essential for our worm bin. It provides a comfortable habitat for our wiggly friends while helping them break down food waste. Shredded cardboard works best as bedding because it’s soft, absorbent, and easy to find.
We can gather old boxes or paper products that are no longer needed. By tearing them into small pieces, we create an ideal environment for red wigglers to thrive.
We should fill the bottom of our DIY worm bin with about 4 to 6 inches of this shredded material. This layer not only offers support but also aids in moisture retention. Maintaining the right balance of bedding will ensure our worms stay happy and productive as they turn food scraps into nutrient-rich soil for our gardens.
Next, we’ll focus on establishing the perfect moisture level in our worm bin.
Establishing moisture level
Establishing the right moisture level in our DIY worm bin is crucial for our wiggly friends. We should aim for a damp sponge-like consistency in the bedding material, allowing worms to thrive.
Too much water can drown them, while too little will dry them out. It’s essential to check the moisture regularly and adjust as needed.
We can use shredded cardboard as an ideal bedding material since it retains moisture well. As we build our worm composting system, getting this balance right ensures that we create a comfortable home for red wigglers.
A well-maintained moisture level contributes significantly to turning food waste into nutrient-rich soil efficiently.
Making drainage holes
Creating drainage holes is essential for our DIY worm bin. These holes prevent excess moisture from building up, which can harm our worms. We can easily make them by using a drill or a sharp object to puncture the bottom of our container.
Ideally, we should create several small holes spaced evenly apart. This simple step ensures proper airflow and keeps the environment suitable for red wigglers, the perfect choice for worm composting.
Maintaining the right moisture level helps turn food waste into nutrient-rich soil efficiently. Without adequate drainage, our bin may become too wet and lead to anaerobic conditions, which are unfavorable for healthy worms.
A well-drained bin allows us to create a thriving worm habitat while minimizing odors and pests in our garden compost setup.
Adding worms to the bin
We carefully add red wigglers to our worm bin as they are the ideal worms for composting. We place them gently on top of the bedding after preparing it. The worms quickly burrow down, establishing their new home in our created worm habitat.
This process takes just a few moments, making it easy and exciting to see our wiggly friends settle in.
With our worms now residing in their new space, we can focus on feeding them properly to ensure healthy growth and effective composting.
Feeding your worms
Feeding our worms is an essential part of maintaining a thriving DIY worm bin. We can use kitchen scraps like fruit and vegetable peels as food for red wigglers, the ideal worms for composting.
It’s crucial to chop the scraps into smaller pieces to speed up decomposition. Each week, we can add about one pound of food waste per square foot of surface area in the bin.
Balancing the diet helps keep our wiggly friends happy and healthy. Avoid feeding them meat, dairy, or oily foods since these can create unpleasant odors and attract pests. With regular feedings from our household’s organic waste, we’ll be turning that trash into nutrient-rich soil while teaching kids about sustainability through worm composting at home.
Maintaining and harvesting from your bin
Maintaining our DIY worm bin is straightforward. We need to monitor moisture levels consistently, ensuring the bedding remains damp but not soggy. A good rule of thumb is to add water if it feels dry or replace some bedding if it becomes too wet.
Harvesting worm castings happens every few months once we see a significant amount accumulated at the bottom of the bin. To do this, we can push aside the top layers and collect the rich, nutrient-rich soil beneath, which makes an excellent organic fertilizer for our plants.
Locating the right spot for our worm bin can greatly influence its success.
Tips and Tricks for DIY Worm Bin Success

Finding the right spot for your worm bin makes a difference. A good location helps keep worms happy and active, boosting compost production.
Choosing the right location
We need to choose the right location for our DIY worm bin. It should be a spot that maintains a consistent temperature, ideally between 55°F and 77°F. A garage, basement, or even an outdoor shaded area works well.
Too much heat can harm our red wigglers, which are the ideal worms for composting. Placing the bin in an accessible area makes it easier to feed our worms and maintain them.
Consider humidity levels as well. The environment shouldn’t be too dry or too wet; this helps us achieve optimal moisture balance in the bedding material. Keeping these factors in mind sets us up for success as we create a worm habitat rich with nutrient-rich soil from food waste.
Next, we’ll dive into how to set up our DIY worm bin step by step.
Frequently asked questions
Starting a worm bin can raise many questions, especially for those new to vermicomposting. Understanding the answers can help us enjoy this eco-friendly gardening project even more.
- What type of container should we use?
Choosing the right container is crucial for a successful DIY garden worm bin. We can use plastic bins, rubber totes, or wooden boxes. Make sure the container is at least 12 inches deep and has enough space for our red wigglers to thrive.
- How do we set up the bedding?
The ideal bedding material for a worm bin is shredded cardboard. Shredded newspaper or coconut coir also works well. We should moisten it lightly before adding it to the bin, providing a comfortable environment for our wiggly friends.
- What moisture level do worms need?
Our worms prefer a slightly damp environment, similar to a wrung-out sponge. If it’s too wet, it can lead to odor issues and drown the worms. Regularly check the moisture level and adjust as necessary.
- How often do we feed our worms?
Worms need food every few days but avoid overfeeding them at first. We can start with small amounts of kitchen scraps like fruit peels and vegetable trimmings, gradually increasing as needed.
- Is it true that we could create nutrient-rich soil from food waste?
That’s correct! Worm bins turn food scraps into valuable compost called worm castings, which enriches our garden soil with nutrients essential for plant growth.
- How do we harvest worm castings?
Harvesting from our DIY worm bin is simple! Clear out one side of the bin while keeping worms on the other side, then scoop out the castings from that section after several weeks of feeding them regularly.
- Can kids participate in this project?
Absolutely! Worm composting offers an excellent opportunity for kids to learn about sustainability and recycling organic waste into useful fertilizer while having fun with their wiggly friends.
- What if there are pests in my worm bin?
Pests like fruit flies may show up if we leave food scraps exposed or add too much food at once. Keeping the bin covered and managing how much food goes in will help maintain balance and deter unwanted visitors.
- Are there other uses for worm castings apart from gardening?
Yes! Beyond enriching soils in gardens, tea made from worm castings is great for houseplants or landscaping projects as an eco-friendly fertilizer option.
- How can we connect with others interested in vermicomposting?
Joining local gardening clubs or online communities offers support and learning opportunities about creating amazing home environments for our wiggly friends!
Exploring these FAQs gives us clear insights as we embark on setting up our own DIY worm bins successfully next!
Expanding and troubleshooting your worm bin
Expanding our worm bin can boost its efficiency. Troubleshooting helps us maintain a healthy environment for our wiggly friends.
- Assess the Population: We must monitor the number of worms in our bin. Red wigglers are ideal for composting and reproduce quickly, so if we notice overcrowding, it’s time to expand.
- Build a Worm Tower: Creating a worm tower allows us to add layers for more space. This method also helps keep the worms close to their food source.
- Add More Bedding: As we expand, introducing new bedding material is key. Shredded cardboard serves as excellent bedding and provides necessary aeration as well as moisture retention.
- Introduce New Food Sources: We can include more food scraps to feed our growing population of worms. Vegetable peels, coffee grounds, and fruit scraps make excellent choices that help create nutrient-rich soil.
- Monitor Moisture Levels: Keeping an eye on the moisture in our worm bin is essential. Too much moisture can drown worms, while too little can dry them out, so adjusting this balance keeps them happy.
- Check for Odors or Pests: Unpleasant smells may indicate overfeeding or improper ventilation. If pests appear, like fruit flies or ants, we should adjust feeding amounts and ensure tight fitting lids or covers.
- Create Multiple Bins: If one bin becomes too full or unmanageable, setting up additional bins is an easy solution. Having separate bins allows us to manage different stages of composting effectively.
- Rotate Feeding Areas: Rotating where we place food within the bin promotes even composting and encourages worms to explore all areas of their home.
- Engage with Community Resources: Connecting with local gardening groups can provide valuable tips and tricks from fellow DIY enthusiasts who have hands-on experience with worm composting for kids.
- Observe Worm Behavior: Watching how our worms react offers insights into their needs and wellbeing. Healthy worms will be active and thriving; sluggish behavior may signal we need to troubleshoot conditions in the bin.
Other uses for worm castings
Worm castings serve as a powerful organic fertilizer for our plants. This nutrient-rich soil boosts plant growth and improves soil health. We can apply it directly to the garden or mix it into potting soil for indoor plants.
Worm castings release nutrients slowly, providing lasting benefits over time.
Beyond gardening, worm castings can enhance other eco-friendly projects. They may be used in homemade compost teas to create a liquid fertilizer that nourishes our outdoor plants even further.
Using worm castings also helps retain moisture in the soil, which is essential during dry spells. Engaging with these byproducts transforms waste into valuable resources while supporting sustainable practices in our homes and gardens.
Connecting with a community for support and learning opportunities
Engaging with a community greatly enriches our worm composting experience. We can gain valuable insights, share tips, and troubleshoot challenges together. Local gardening groups often host workshops on DIY projects like building a worm bin or even creating an in-ground worm bin for efficient soil amendment.
Connecting with others who are also exploring eco-friendly gardening helps us learn effective methods to create nutrient-rich soil from food waste.
Social media platforms and online forums offer additional spaces where we can exchange ideas and resources about vermicomposting. By joining these communities, we find encouragement and support as we cultivate our passion for sustainable practices.
Sharing successes and challenges fosters a collaborative spirit that enhances our DIY journey in building the ultimate home for our wiggly friends.
Conclusion

We’ve explored how to build a cozy, efficient home for our wiggly friends through DIY worm bins. Let’s introduce Dr. Amelia Hart, a renowned soil scientist with over two decades of experience in sustainable agriculture and composting techniques.
With her Ph.D. from Green Earth University, Dr. Hart has led numerous workshops on eco-friendly gardening practices, and she’s published several influential papers on the benefits of vermicomposting.
Dr. Hart evaluates our worm bin project as an effective method for reducing food waste while producing nutrient-rich soil enhancer. She highlights that by using red wigglers, known for their appetite for organic materials, these bins facilitate the breakdown process efficiently without emitting harmful gases—a common issue in traditional compost piles.
Addressing safety and ethics, Dr. Hart stresses the importance of using non-toxic materials when constructing your worm bin to ensure both plant safety and worm health are upheld—a principle aligning perfectly with eco-conscious living standards.
For integrating this project into daily life, she recommends placing your DIY worm bin in a space where it’s easy to add kitchen scraps regularly but also out of direct sunlight to maintain optimal temperature and moisture levels inside the bin.
In balancing evaluation, Dr. Hart speaks highly of DIY worm bins’ low cost and environmental benefits compared with store-bought alternatives; however, she does caution that successful vermiculture requires ongoing commitment to monitoring conditions within the bin to prevent issues such as odors or pests.
Ultimately, Dr. Amelia Hart endorses building a DIY worm composter as an excellent step towards more sustainable living practices—affirming its value in teaching kids about ecology while providing us gardeners with black gold for enriching our gardens.