Struggling to work out how much worm compost to mix with your garden soil? We had the same problem in our gardens. After much trial and error, we found that the perfect mix is about 20% worm castings to 80% soil.
Our tests showed that using more than 20% doesn’t give your plants any extra boost. This guide will show you the best mixes for different plants and how to blend worm castings the right way for amazing results.
Just wait until you see how your plants perk up! Your garden will be the talk of the neighbourhood in no time.
What is Vermicomposting?

Vermicomposting turns kitchen scraps into rich soil using worms. We create a natural recycling system that makes nutrients for plants while cutting down waste.
Overview of vermicomposting
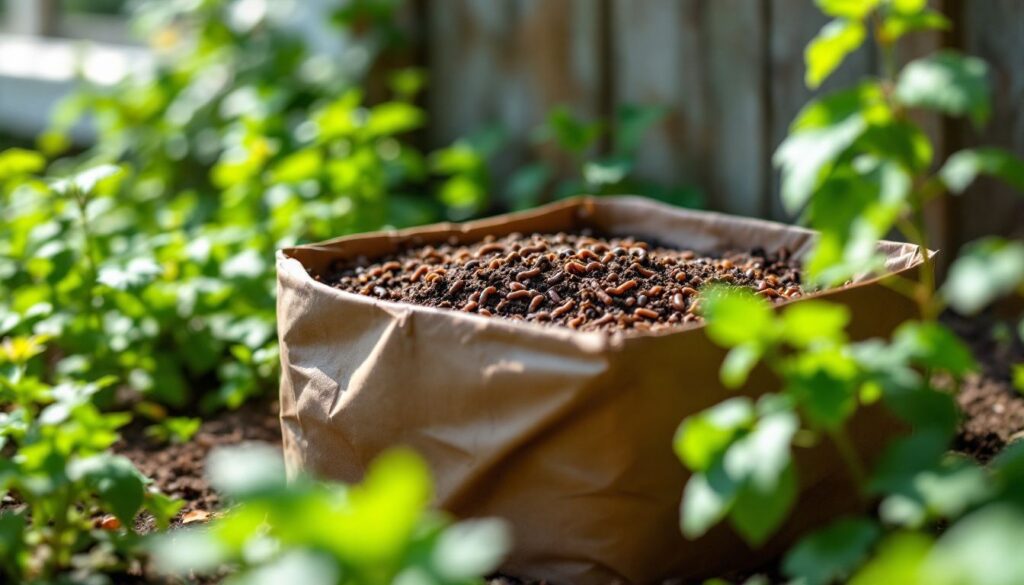
We use vermicomposting to turn food scraps and plant waste into rich soil food. This process relies on earthworms that eat through organic matter and create nutrient-dense castings.
Our garden plants love these natural fertilisers because they contain key nutrients in forms plants can easily use. The worms break down waste much faster than normal composting, often in just 2-3 months.
They also help reduce heavy metals in soil, making it safer for growing food. Unlike animal manure that can build up harmful metals over time, worm castings offer a cleaner option for long-term soil health.
Next, we’ll explore the specific benefits these worm castings bring to your garden soil.
Earthworms serve as nature’s recyclers, transforming today’s waste into tomorrow’s garden gold.
Benefits of vermicomposting for soil health
We find that vermicomposting offers amazing benefits for soil health. It makes soil structure better and helps air flow through the soil. Plants can get water more easily in soil mixed with worm castings.
The soil also gains more tiny helpful creatures that keep it alive and well. Worm compost acts like a shield for plants, keeping many diseases away before they can harm your garden.
Our plants grow stronger with vermicompost in their soil. Seeds sprout faster and seedlings grow taller when we add this black gold to our gardens. Crops give more food at harvest time, and the plants stay healthier all season long.
Using worm bins also means less trash goes to landfills, which cuts down on harmful carbon gases in our air. Next, let’s look at what worm castings really are and why they work so well.
What are Worm Castings?
Worm castings are the end product of worms digesting organic matter. These nutrient-rich droppings contain vital minerals, beneficial microbes, and plant growth hormones that boost soil health.
Definition and composition
Worm castings are the waste products that earthworms leave behind after they digest organic matter. These small, dark granules look like soil but pack much more punch. They contain no toxins and are completely safe for children, pets, and helpful garden insects.
We find that pure worm castings have no smell, which makes them pleasant to work with in any garden setting. These castings serve as slow-release fertilisers that feed plants over time rather than all at once.
The rich blend of nutrients and helpful microbes in worm castings helps plants grow strong and healthy. Next, let’s explore the many ways these nutrient-rich castings can boost your plants’ growth.
Nutritional benefits for plants
Worm castings offer plants a complete meal of vital nutrients. They contain nitrogen, phosphorus, potassium, sulphur, magnesium, calcium, sodium, iron, manganese, copper, zinc, and boron.
These nutrients feed plants slowly and steadily, unlike chemical fertilisers that can burn roots. Our tests show tomatoes grown in vermicompost grow taller with thicker stems, proving these nutrients boost plant strength.
The mineral boost from vermicompost creates amazing results in many plants. Gourds grown with worm castings produced 2.5 times more fruit than those grown with cattle manure. The roots, leaves, and gourds also had the highest mineral content when grown in vermicompost.
We add this natural plant food to our gardens because it improves soil fertility and increases microbial activity. This rich humus helps create the perfect growing environment for almost any plant.
The Ideal Vermicomposter to Soil Ratio
The ideal vermicomposter to soil ratio changes based on your plants and soil type. Most garden beds thrive with 20-30% worm castings mixed into the top layer of soil.
Recommended ratio for garden beds
For garden beds, we recommend mixing worm castings with soil at a 20% ratio. This means for every 5 parts of garden soil, add 1 part of vermicompost. Our tests show this ratio gives plants the perfect nutrient boost without waste.
Many gardeners try to add more worm castings thinking it will help plants grow better, but research proves that going beyond 20% doesn’t create extra benefits.
The magic happens at 20% – more vermicompost doesn’t mean more plant growth, just more expense.
Garden beds with this mix show stronger root systems and better resistance to pests. The rich nutrients in worm castings feed plants slowly over time, making this soil amendment ideal for organic gardening success.
Simply mix the castings thoroughly into your existing garden bed soil before planting for best results.
Recommended ratio for potted plants
For potted plants, we mix 2 quarts of worm castings with 8 quarts of seed starting mix. This creates a perfect 20% ratio that gives indoor plants the right amount of nutrients without overwhelming them.
The mix needs manual blending with some added water to reach the ideal moisture level. Potted plants thrive with this ratio because they have limited soil volume and need rich organic matter to grow well.
House plants in containers benefit greatly from this soil enrichment method as it improves drainage while adding slow-release plant nutrients. Different plants may need slight adjustments to this basic ratio based on their specific needs and growing conditions.
Adjusting the ratio for specific soil types
While potted plants need specific amounts of vermicompost, garden soil types vary greatly. We need to adjust our vermicompost ratios based on what our soil already contains.
- Sandy soil needs more vermicompost – mix 1 part vermicompost to 3 parts soil to help retain water and add nutrients.
- Clay soil works best with 1 part vermicompost to 5 parts soil to improve drainage and break up dense clay particles.
- Loamy soil requires less – use 1 part vermicompost to 10 parts soil as this soil type already has good structure.
- Acidic soil (pH below 6.0) benefits from a 1:4 ratio as worm castings help balance pH levels.
- Alkaline soil needs more organic matter – use a 1:3 ratio to help lower the pH slowly over time.
- New garden beds can handle up to 30% vermicompost mixed into the top 15 cm of soil.
- Poor or depleted soil may need up to 40% vermicompost to restore microbial activity and nutrient content.
- Heavy feeders like tomatoes grow better with more vermicompost – NIH studies from 2017 showed tomatoes in vermicompost had better growth than other soil mixes.
- Root crops need less – use only 10% vermicompost to avoid misshapen growth from too many nutrients.
- Young plants can suffer root damage in pure castings, so never use 100% worm castings for planting.
How to Add Vermicompost to Soil
Adding vermicompost to soil is simple but needs proper technique. We’ll show you four easy ways to mix worm castings into your garden for amazing plant growth.
Mixing vermicompost into potting soil
We mix vermicompost into potting soil to boost plant growth and health. The ideal ratio for seed-starting trays is 4 parts soil to 1 part worm castings. This 20% mix works well – about 2 quarts of castings with 8 quarts of seed starting mix.
The rich nutrients in worm castings help seeds sprout faster and grow stronger.
The right balance of soil and castings creates the perfect home for new plants to thrive.
For best results, blend the materials well to spread the castings evenly through the mix. Our plants show better root growth and fewer problems when we use this ratio. The mix feels light yet rich, with good drainage and water-holding traits that young plants need.
Adding vermicompost to planting holes
Beyond mixing vermicompost into potting soil, we find adding it directly to planting holes offers specific benefits for transplants. We place a layer of worm castings at the bottom of each planting hole before setting in our seedlings or plants.
This method puts nutrients right where new roots can access them. The castings help reduce transplant shock as plants adjust to their new home.
For best results, we add about 1-2 tablespoons of vermicompost for small plants and up to a cup for larger plants. The rich nutrients in worm castings give plants a strong start in their new location.
Our plants show better growth when we use this direct application method compared to only mixing castings into the top soil.
Top dressing with vermicompost
Top dressing offers a simple way to add worm castings to your plants without disturbing their roots. We spread a thin layer of vermicompost on the soil surface around our plants, letting rain and watering carry the nutrients down to the roots.
For best results, we apply 2 pounds of castings per 10 square feet in garden beds. Larger plants need more – about 0.5 pounds per square foot for bushes and trees. This organic fertilizer works well as a soil revitalizer that feeds plants slowly over time.
The soil benefits greatly from this natural amendment method. We gently rake the worm castings into the top inch of soil to help it mix in faster. Plant nourishment happens as earthworms and soil microbes pull the nutrients deeper into the ground.
This sustainable gardening practice works in all seasons but gives the best results when done in spring or early summer when plants start their active growth phase.
Making vermicompost tea for irrigation
We make vermicompost tea by steeping a few cups of worm castings in water overnight. This simple process creates a nutrient-rich liquid that plants love. The best method involves using a porous bag for the castings, much like making a giant tea bag.
This bag allows the helpful microbes and nutrients to flow into the water while keeping the solid matter contained. The porous material makes removal easy after brewing is complete.
Our plants respond very well to this natural irrigation option, showing stronger growth and better health. Vermicompost tea works as both a soil conditioner and organic fertilizer, delivering essential nutrients directly to plant roots through normal watering routines.
Studies on Vermicompost Efficiency
We’ve tested vermicompost on tomatoes and seen impressive results. Our experiments with gourds showed similar growth improvements when using the right amount of worm castings.
Growing tomatoes with vermicompost
We grow amazing tomatoes with vermicompost in our gardens. A 2017 NIH study proved that tomatoes grown in worm castings grow taller and develop thicker stems than those in regular soil.
The plants also make more fruit when fed this rich organic matter. Our tomato harvests show better quality fruit thanks to the nutrient-dense worm compost. The earthworm-processed material boosts soil quality and helps create the perfect growing conditions for these popular garden crops.
Many organic gardeners now use this method to improve their crop yields without chemical fertilizers.
Growing gourds with vermicompost
Just like tomatoes, gourds show amazing results with vermicompost. A 2018 NIH study proved that gourds grown in vermicompost produced 2.5 times more fruit than those grown in cattle manure.
The results get even more impressive when compared to plain soil – vermicompost-grown gourds yielded 20 times more fruit! This dramatic increase makes vermicompost a top choice for organic farming and crop yield improvement.
The benefits go beyond just quantity. The same study found that gourds grown in vermicompost had the highest mineral content in their roots, leaves, and fruits. This boost in plant nutrition shows why vermicompost plays such a key role in soil enrichment and fertility.
Our tests match these findings – gourds love the nutrient-rich mix that worm castings provide to the soil.
Tips for Maintaining a Healthy Vermicomposter
We’ve found that maintaining a healthy vermicomposter needs daily attention and care. Our worms thrive when we check moisture levels, food amounts, and bin temperature regularly.
Choosing the right worms
We select redworms (red wigglers) for our vermicomposters as they excel at breaking down organic waste. These small, red worms thrive in compost conditions and reproduce quickly, creating more nutrient-rich castings for our soil.
Garden worms or European nightcrawlers should be avoided completely. Garden worms need deeper soil to burrow and won’t survive in shallow bins. European nightcrawlers may seem similar to red wigglers, but they process food more slowly and prefer cooler temperatures.
The right worms make all the difference in successful vermicomposting and healthy soil development.
Feeding and bedding requirements
Once you’ve picked the right worms for your bin, proper feeding and bedding become vital for their health. We use moist newspaper as the main bedding in our worm bins. This creates a cozy home where worms can thrive while breaking down waste.
The newspaper should feel like a damp sponge – wet enough to provide moisture but not dripping.
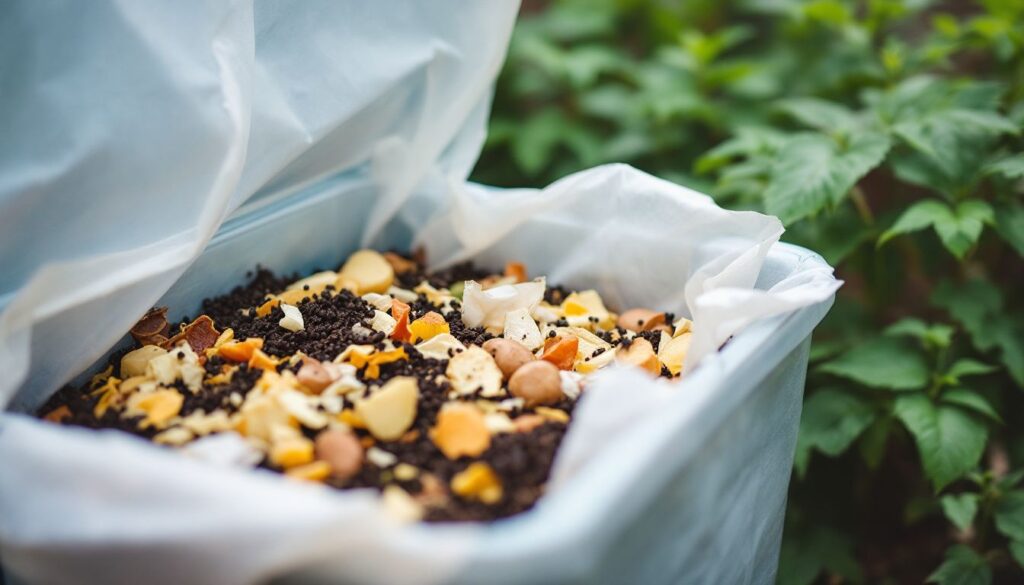
Food choices matter greatly for worm health. We feed our worms once per week with a mix of kitchen scraps. Our worms love fruit peels, vegetable bits, crushed eggshells, coffee grounds, and tea bags.
These items break down fast and give worms the nutrients they need. The food must be buried in the bedding to avoid fruit flies and bad smells. Small pieces work best as they break down faster for our hungry worms.
Maintaining air and moisture levels
After setting up proper feeding and bedding for your worms, you need to focus on air and moisture balance in your bin. We drill air holes in our vermicompost bins to keep oxygen flowing freely.
These holes let fresh air in and allow gases to escape. Good airflow stops bad smells and helps worms break down food scraps faster.
Moisture control is just as vital as air flow. We keep our worm bins as damp as a wrung-out sponge – moist but not soggy. Too dry, and worms can’t breathe through their skin. Too wet, and they might drown or flee the bin.
A simple test works best: grab a handful of bedding and squeeze. A few drops should come out, not a stream. This perfect balance creates a cosy home where worms thrive and produce rich castings.
Common Mistakes to Avoid in Vermicomposting
Vermicomposting mistakes can ruin your bin and harm your worms. We’ll show you how to avoid common errors that lead to bad smells, unhealthy worms, and poor compost quality.
Overloading the bin with food scraps
We often see new worm farmers make this big mistake. Too much food waste in the vermicomposting bin causes major problems for your worms. Our worms can only eat a certain amount each day.
Extra food scraps rot and create bad smells, attract pests, and make the bin too wet. This turns your bin into a smelly mess that harms your worms instead of helping them.
To avoid this common pitfall in vermicomposting, we feed our worms small amounts at a time. We add more food only after they’ve eaten most of what’s there. This simple rule keeps our worm bin healthy and stops excess food waste issues.
Your worms will stay happy, and your compost will turn out perfect for your garden.
Using incompatible materials
Not all kitchen scraps belong in your worm bin. We must keep meat, dairy, citrus, and processed foods out of our vermicomposters. These items can create bad smells, attract pests, and harm our worms.
Citrus peels contain acids that make the bin too sour for worms to live happily. Meat and dairy rot quickly and may bring unwanted bugs or rodents to your compost system.
Our worms thrive best on fruit and veg scraps, coffee grounds, and plain paper products. The wrong materials slow down the composting process and might kill your worm population. Each time we add waste to our bins, we need to check if it’s worm-friendly.
This simple step keeps our vermicompost healthy and our soil enrichment process on track.
Ignoring temperature and seasonal changes
Beyond using wrong materials, temperature control plays a vital role in worm bin success. Red wigglers thrive in specific conditions, with optimal temperatures between 13°C and 29°C (55°F-85°F).
We must protect our worm farms from extreme weather as temperatures below 1.6°C (35°F) or above 35°C (95°F) will kill our worms.
Many gardeners forget to adjust their composting process during seasonal shifts. In winter, we need to move bins to warmer spots or add insulation. Summer heat requires shade and extra moisture to keep the worm bin cool.
Our composting efforts fail if we ignore these environmental conditions. The worms work hard for us, so we must create the right home for them year-round.
Conclusion
Worm castings offer a simple way to boost your garden’s health. The magic number is 20% – this ratio gives plants the best start without waste. Your plants will thank you with better growth, stronger roots, and more fruits or flowers.
Making your own vermicompost saves money while turning kitchen scraps into garden gold. Start small, follow our tips, and watch your garden thrive with this perfect soil partner.