Keeping the right vermicompost temperature can be a bit tricky when seasons change. We’ve struggled with this challenge too and know that most composting worms thrive between 72°F and 80°F.
Our guide shows simple ways to keep your worms happy in both hot and cold weather. You’ll find it quite straightforward to create the perfect home for your wriggly helpers, even on those particularly chilly mornings or scorching summer days that we often get here in the UK.
Understanding Ideal Vermicompost Temperatures
Worms need the right temperature to thrive in your compost bin. We’ll show you how to keep your vermicompost at the perfect warmth for happy worms and fast waste breakdown.
Optimal temperature range for composting worms
We find that most composting worms thrive in temperatures between 72°F and 80°F. This range helps our wriggly friends digest food waste quickly and reproduce at their best rate. Red wigglers and other composting species can handle a wider range from 55°F to 90°F, but their activity slows down at both ends of this spectrum.
The perfect worm bin temperature creates a balance where our worms eat more, breed faster, and turn kitchen scraps into rich vermicompost in less time.
Too much heat or cold stresses our worm population and affects their work. At temperatures below 55°F, worms become sluggish and process less waste. Above 90°F, they may try to escape the bin or die from heat stress.
Our goal is to keep the worm farm in that sweet spot of 72-80°F for top results year-round.
Effects of extreme temperatures on worm health and activity
Extreme temperatures greatly affect our worm friends in vermicompost bins. Hot conditions above 90°F can kill worms quickly, causing a sharp drop in your bin’s productivity. The heat stress makes worms stop eating waste and slows their movement as they try to escape the heat.
Many worm farmers lose entire colonies during sudden heat waves because the worms simply cannot cope with such high temperatures.
Cold weather brings different challenges to vermicomposting systems. Worms slow down dramatically when temperatures fall below 55°F, eating less food waste and producing fewer castings.
Their reproduction rates also decline, with fewer cocoons being laid. The good news is that worm eggs (cocoons) can survive freezing temperatures even if adult worms cannot. This natural survival mechanism helps worm populations bounce back when warmer conditions return.
Next, let’s explore practical methods to keep your worm bin cool during hot weather.
Methods to Regulate Temperature in Hot Weather
We need to act fast when our worm bins get too hot. Summer heat can kill worms and slow down the composting process.
Provide shade and ventilation
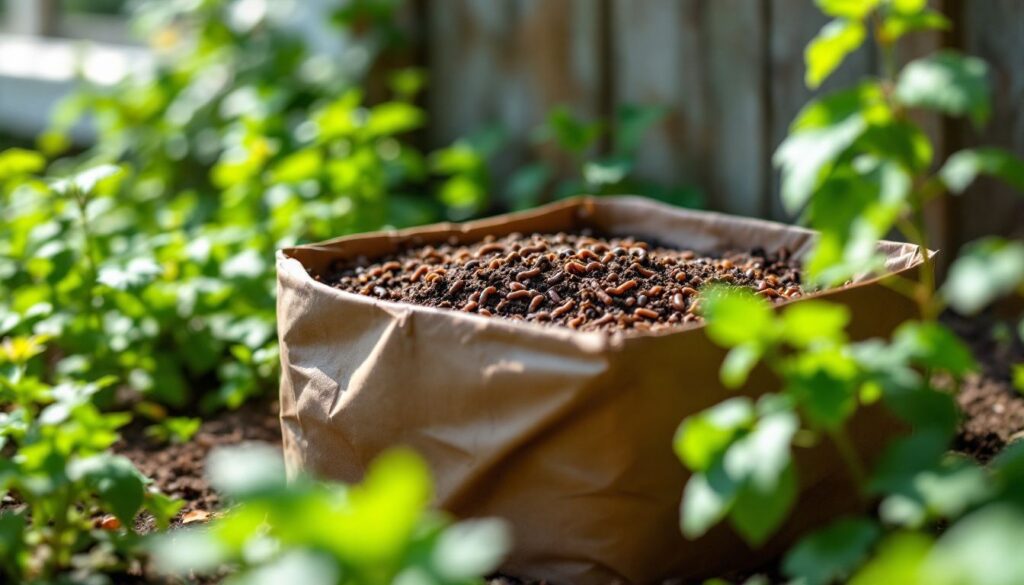
Shade and proper air flow form the backbone of temperature control in vermicomposting. We place our worm bins in shady spots to shield them from direct sunlight that can quickly overheat the system.
Trees, buildings, or simple shade cloths work well as sun barriers for outdoor bins. Good ventilation allows excess heat to escape and brings in cooler air, keeping our worms happy and active.
Moving the bin indoors during hot summer months offers the best protection against extreme heat. Our worms stay cooler, and we reduce their food supply during these times to prevent unwanted pests from invading the bin.
A garage, basement, or utility room provides ideal shelter while maintaining proper air circulation.
The secret to thriving worms lies in the balance of shade and air – too much sun cooks them, while proper ventilation keeps them cool and productive.
Use reflective materials
We protect our worm bins from heat with reflective solar materials. These special covers bounce sunlight away from the bin, keeping worms cool during hot days. Reflective materials work like mirrors for heat, sending it back into the air instead of letting it warm up the compost.
A simple sheet of radiant barrier or cool roof material placed over your bin can drop the inside temperature by several degrees.
Thermal insulation with reflective properties offers double protection for your worms. The top layer reflects heat while the insulation blocks what gets through. Many gardeners use energy-efficient roofing scraps or sun-reflective coating on their outdoor bins.
These materials cost little but save many worms from heat stress during summer months.
Introduce ice bottles or frozen packs
Frozen water bottles offer a simple yet effective way to cool down your worm bin during hot weather. We place these bottles directly on top of the bedding material, where they slowly release cool air as they thaw.
The worms will move away from areas that are too cold, creating a natural temperature gradient in the bin. Our worms stay happy and active when we use this method instead of adding ice directly, which could create wet spots and harm them.
Gel packs and cooling bottles work well for smaller bins where space is limited. These thermal control options last longer than regular ice and won’t leak as much water into your system.
We rotate several frozen containers throughout very hot days to maintain steady temperatures. This cooling solution helps protect our worm population during summer heat waves without disrupting their feeding patterns or causing stress.
Reduce feeding during heatwaves
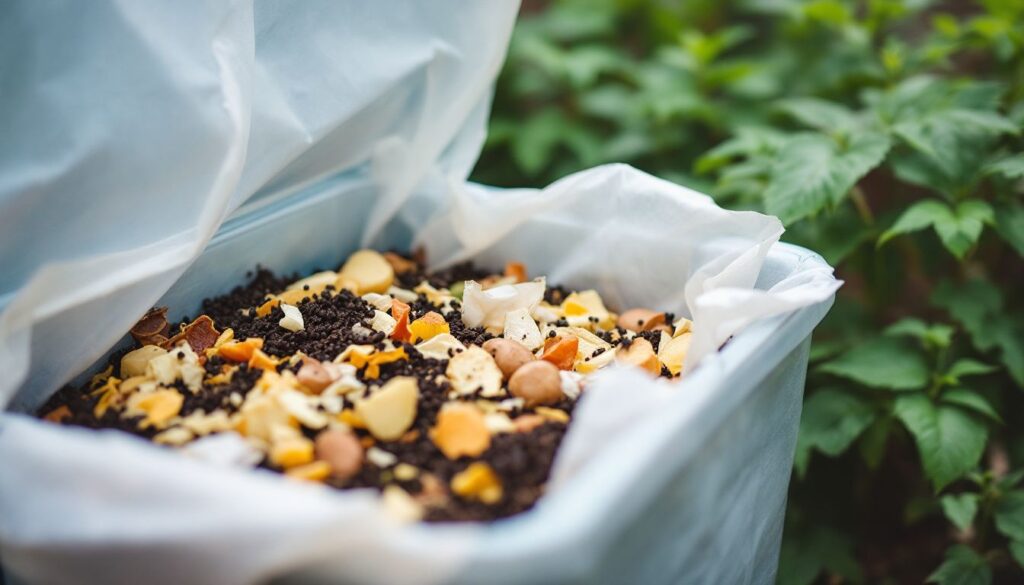
During hot weather, our worm bins need special care to keep our wriggly friends happy. We must cut back on food scraps when temperatures soar. Too much food waste creates extra heat as it breaks down, making the bin even hotter.
This excess heat stresses worms and slows their activity.
Smart feeding during heat spells keeps your worm farm productive and pest-free.
Nitrogen-rich food waste becomes a problem in summer heat. These materials heat up quickly and attract unwanted pests. Moving bins indoors offers some relief, but reducing feeding remains crucial.
We suggest cutting normal feeding amounts by half during very hot periods. This simple step helps maintain proper bin temperature and prevents pest infestations that thrive in summer conditions.
Methods to Maintain Temperature in Cold Weather
We keep our worms cosy in winter with clever warming tricks that boost their activity and speed up composting. Read on to learn our top methods for maintaining perfect vermicompost temperatures during cold months!
Add insulation to the worm bin
We need to add proper insulation to our worm bins during cold months to keep our wriggly friends warm and active. Good insulation stops heat loss through conduction, convection, and radiation – the three main ways warmth escapes from your bin.
Several materials work well for this task. Straw creates a thick barrier that traps air and blocks cold. Bubble wrap offers excellent insulation while still being lightweight. Old blankets draped over the bin provide a simple yet effective shield against dropping temperatures.
The Urban Worm Blanket serves as a purpose-made option for serious worm farmers who want reliable thermal protection. These insulating methods help maintain the ideal temperature range so your worms can keep processing food waste even during winter.
Keep the bin in a heated or enclosed area
We place our worm bins in heated indoor spaces during cold months for best results. Kitchens, utility rooms, and spare bedrooms offer ideal protection from freezing temperatures. Unheated basements and garages work well too, as they stay about 20°F warmer than outdoor air.
This controlled environment helps maintain proper temperature for our worms to stay active. Indoor vermicomposting gives us a big advantage in winter when outdoor compost piles stop working.
The enclosed storage protects our worm friends from harsh weather while creating the perfect climate for them to process kitchen scraps. Proper weatherproofing ensures our system continues to break down waste even during the coldest days.
Next, let’s explore how seed starting mats can provide additional warmth for your vermicomposting system.
Use seed starting mats for warmth
Seed starting mats offer an excellent solution for keeping worm bins warm during cold weather. We’ve found that quality mats like Vivosun can raise temperatures by up to 20°F, giving our worms the consistent warmth they need to stay active.
These special heat mats work better than old methods such as incandescent rope lighting, which posed safety risks in moist compost environments.
Our worm friends thrive with steady heat sources placed under their bins. The mats designed for seed germination provide safe, reliable warmth without drying out the bedding material.
Many gardeners already own these heat pads for starting seedlings, making them a practical choice for winter vermicomposting. Simply place the mat beneath your worm bin and monitor the temperature to maintain ideal conditions for your composting helpers.
Increase thermal mass with additional bedding
We add extra bedding to boost thermal mass in our worm bins during cold weather. Thermal mass acts as a natural temperature buffer, helping our worms stay cosy when outside temperatures drop.
In large systems like the Urban Worm Bag, proper thermal mass becomes even more vital. The bedding materials – such as shredded cardboard, newspaper, or dried leaves – create layers that trap heat and maintain stable conditions.
A full bin performs much better in cold conditions than a half-empty one. The greater volume of materials provides more insulation against temperature swings. We pile bedding higher around the edges of the bin where cold can penetrate most easily.
This simple step creates a protective barrier that keeps our worm population active and productive throughout winter months.
Monitoring and Adjusting Vermicompost Temperature
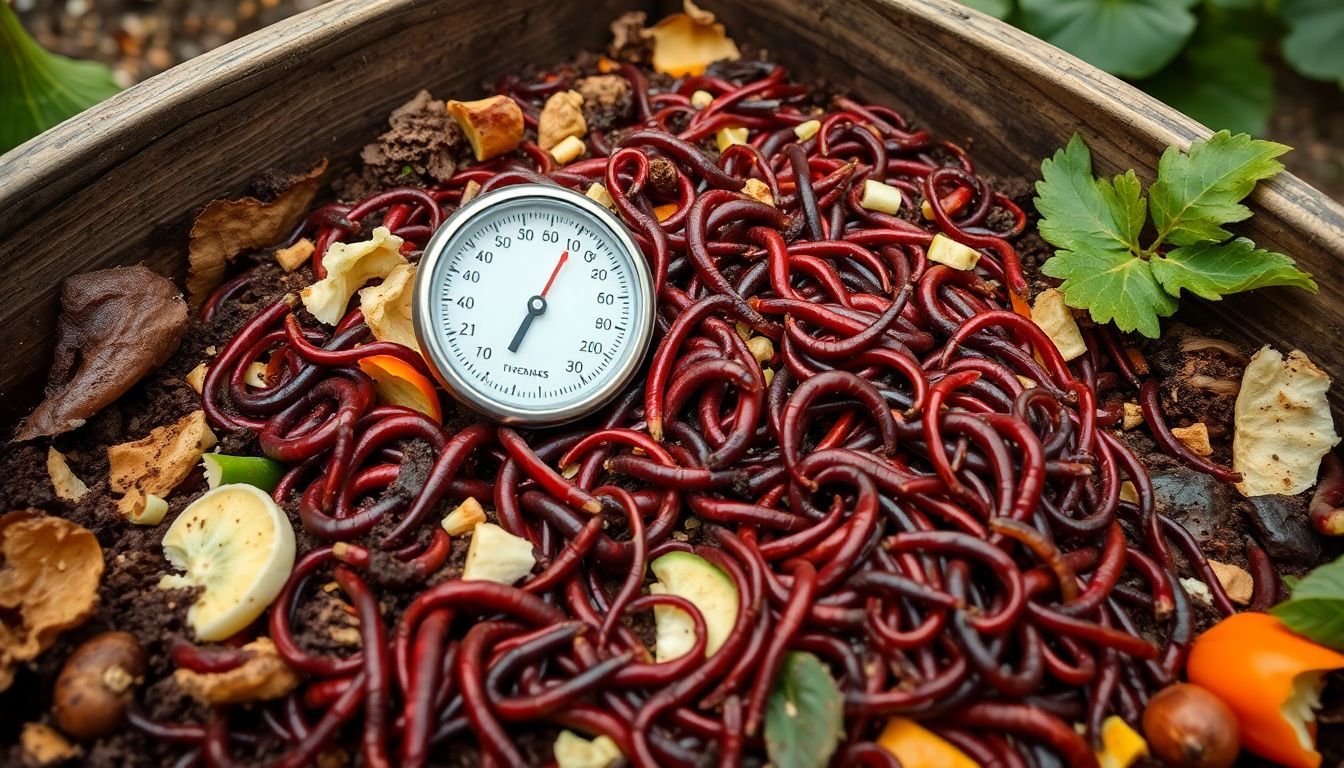
We need to check our worm bin’s temperature often to keep our worms happy. A soil thermometer helps us spot problems before our worms get too hot or cold.
Tools for tracking temperature
We use several tools to monitor our vermicompost temperature for the best results. A simple compost thermometer with a long probe works well to check the core temperature of your worm bin.
These temperature measuring instruments often have colour-coded zones that show if your bin falls within the ideal range (15-25°C). Digital compost temperature sensors offer more precise readings and some models can track data over time.
For larger systems, thermal imaging devices help spot hot or cold spots that might stress your worms.
Compost heat monitoring doesn’t need fancy equipment to start. A basic soil thermometer costs about £10-15 and will serve most home vermicomposters well. For more serious vermicompost thermal management, wireless sensors with phone alerts can warn you if temperatures rise too high during summer heatwaves or drop too low in winter.
These temperature recording tools help us maintain the perfect environment for our worms to thrive and create rich compost year-round.
Recognising signs of heat or cold stress in worms
Worms show clear signs when they feel too hot or cold in your worm farm. Heat stress makes worms try to escape their bins or gather near the surface. They also slow down their eating and movement.
Cold stress causes worms to become sluggish and feed less. They often huddle together in warmer spots within the bin. Our worm friends need temperatures between 55°F and 77°F to stay happy and productive in the composting process.
Keeping an eye on these warning signals helps us maintain optimal environmental conditions for our worm farm. Worms that feel comfortable will process organic waste more quickly and create better soil fertility.
The right temperature supports healthy biological activity in your vermiculture system. Next, let’s explore some practical seasonal maintenance tips to keep your worm compost thriving year-round.
Seasonal Maintenance Tips for Vermicomposting
We change our worm care routines with the seasons to keep our wiggly friends happy. Summer needs more shade and moisture checks, while winter calls for extra insulation and careful feeding plans.
Adapting the bin setup for summer and winter
We adapt our vermicompost bins differently for summer and winter to keep our worms happy. In summer, we move bins to shady spots and add extra ventilation holes to prevent overheating.
For winter, we wrap our bins with bubble wrap or old blankets for insulation. Moving bins indoors during cold months protects worms from freezing temperatures.
The C:N ratio plays a big role in bin temperature control. We aim for a 50:1 or higher ratio in winter to generate more heat through microbial activity. Adding more carbon-rich materials like cardboard and leaves helps achieve this balance.
This simple adjustment boosts the natural heating process inside the bin, creating a cozy home for our worms during chilly weather.
Adjusting waste input based on seasonal conditions
Our worms need different care as seasons change. During winter months, worms become less active and their appetite drops. This means they process food more slowly in cold weather. We must reduce the amount of kitchen scraps we add to our bins during these times.
Too much food sitting unused can create odours and attract pests to your vermicompost system.
Summer brings higher temperatures and more active worms. Our wriggly friends eat more and reproduce faster in warm weather. This allows us to increase waste inputs during hot months.
The key to success lies in watching how quickly your worms process materials. If food disappears quickly, you can add more. If scraps pile up, cut back on feeding. Proper seasonal adjustments help maintain optimal worm health and activity throughout the year.
Next, let’s explore specific seasonal maintenance tips for keeping your vermicomposting system running smoothly all year round.
Conclusion
Success with vermicomposting depends on keeping worms at the right temperature. Your worm friends need a cozy home between 72°F and 80°F to eat waste quickly and make rich compost.
Watching bin temperatures and making simple changes with the seasons will keep your worm farm working well all year. Small steps like adding shade in summer or extra bedding in winter make a big difference.
Happy worms mean better compost for your garden and less waste in landfills!