Tired of wasting money on plant foods that promise the world but deliver little? We were in the same boat with our garden last spring. That’s when we stumbled upon vermicompost tea – what a game-changer! This rich brew made from worm castings works wonders for plant growth and soil health without nasty chemicals.
Our roses perked up within days of the first application! We’ll walk you through brewing your own magic plant drink in five simple steps. After trying it ourselves, once you see how your tomatoes respond, you’ll never look back.
Your garden will be the envy of the neighbourhood before summer’s end!
What is Vermicompost Tea?
Vermicompost tea is a nutrient-rich liquid fertiliser we make from worm castings. This organic solution comes from steeping high-quality vermicompost in water, which pulls out beneficial microbes and nutrients.
Our worm friends create castings that look like rich black earth, packed with plant-boosting goodness. The tea differs from leachate (the liquid that drains from worm bins), as leachate may contain harmful compounds for plants.
Vermicompost tea brings the power of worm castings to your garden in liquid form, making nutrients instantly available to plants.
The brewing process turns solid worm compost into a potent liquid that plants can absorb right away. This natural fertiliser boosts microbial activity in soil while feeding your plants.
Next, we’ll explore the amazing benefits this organic solution offers to your garden.
Benefits of Vermicompost Tea
Vermicompost tea offers amazing benefits for your garden and plants. We’ll explore how this natural brew can transform your gardening results with minimal effort.
Enhances plant growth
Vermicompost tea works wonders for plant growth in our gardens. We’ve seen how this nutrient-rich liquid feeds plants directly through their leaves and roots. Plants grow stronger, taller, and produce more flowers and fruits with regular tea applications.
Patricia noted in July 2008 that she plans to use worm castings specifically for making this powerful brew.
Our plants thrive with worm tea because it delivers essential nutrients in a form they can use right away. The tea acts as a protective shield against common garden problems, keeping plants healthy throughout the growing season.
Soil microbes multiply after application, creating a living web that supports plant development. This organic fertilizer boosts growth without harsh chemicals, making it perfect for sustainable agriculture practices.
Improves soil structure
Beyond plant growth, vermicompost tea works wonders for soil structure. This liquid gold helps break up heavy clay soils and binds sandy soils together. We see dramatic changes in soil texture after just a few applications.
Good soil structure is the foundation of a thriving garden ecosystem.
Vermicompost tea adds beneficial microorganisms to your soil, including bacteria, fungi, actinomycetes, and protozoa. These tiny helpers create channels in the soil that improve drainage and air flow.
The improved soil structure lets roots grow deeper and access more nutrients. Your plants will thank you with stronger growth and better yields. The tea also helps soil hold water better, which means less watering for you during dry spells.
Boosts nutrient availability
Vermicompost tea makes nutrients more available to plants right away. Plants can use these nutrients faster than solid compost because they’re already dissolved in water. The tea contains both major nutrients and trace elements that feed plants directly through their leaves and roots.
We add rock dust, kelp, or alfalfa pellets to our brew for extra plant food. These extras create a complete organic fertilizer that works quickly.
The tea helps balance soil pH levels too. Gypsum works well with acidic peat moss to keep pH stable, as Bentley noted in 2008. This balance lets plants take up more nutrients from the soil.
The rich microbial life in the tea also breaks down organic matter in soil, turning it into food plants can use.
Environmentally friendly
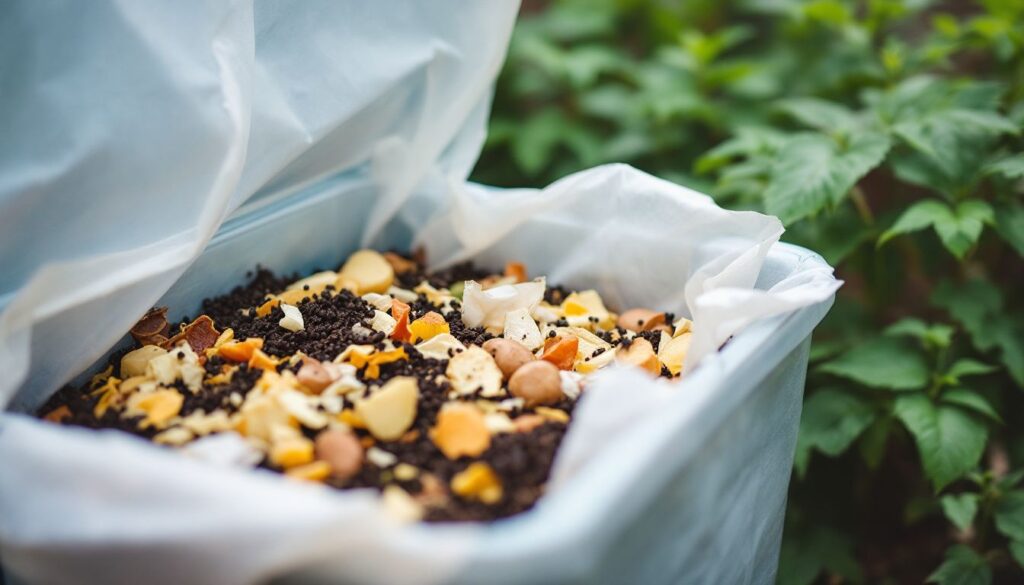
Vermicompost tea offers a truly eco-friendly approach to gardening. We reduce chemical runoff into our waterways by choosing this natural fertiliser over synthetic options. Worms work hard for our planet, consuming half their body weight in scraps daily and turning waste into valuable compost.
This process keeps organic matter out of landfills where it would create harmful methane gas.
Our gardens thrive without harsh chemicals that harm beneficial insects and soil life. The tea strengthens plants naturally, reducing the need for pesticides that damage our ecosystem.
Healthy soil created by worm tea supports a diverse range of microorganisms essential for sustainable agriculture. Next, let’s explore the materials you’ll need to brew your own vermicompost tea at home.
Materials Needed to Brew Vermicompost Tea
We need several key items to make great vermicompost tea for our plants. Gathering the right materials ensures your brew will be full of helpful microbes and nutrients.
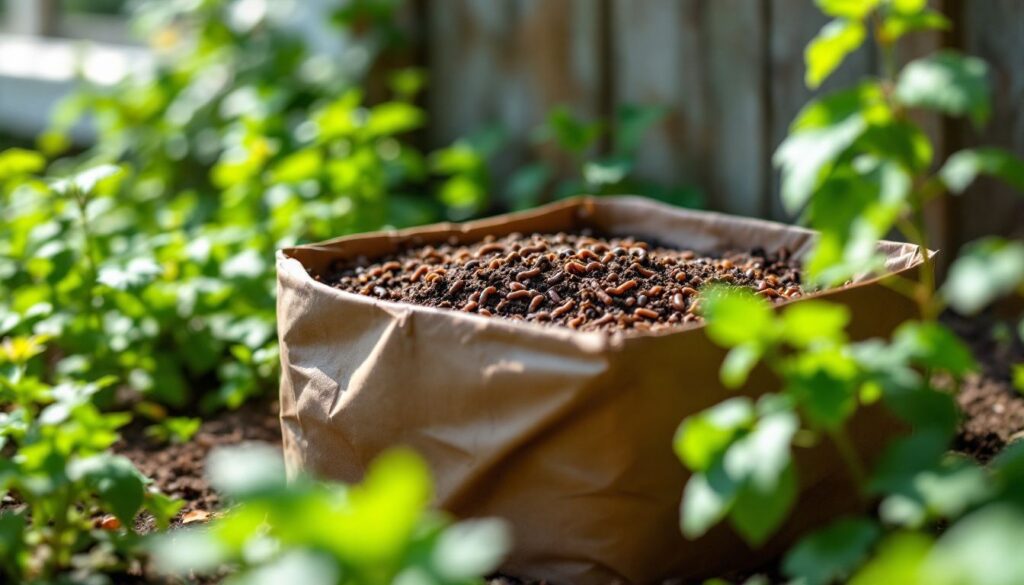
- High-quality worm castings (500 ml) – These form the base of our tea and contain the beneficial microbes that help plants thrive.
- Permeable bag – A muslin bag, old tights, or cheesecloth works well to hold the compost while brewing.
- Aged water (5 gallons) – Tap water must sit for 1-2 days to remove chlorine, but rainwater or pond water works best.
- Large bucket – A 5-gallon bucket gives enough space for proper brewing and easy mixing.
- Aquarium air pump with tubing – This adds oxygen to the tea, which helps good microbes grow.
- Airstone (optional) – This creates smaller bubbles for better aeration throughout the mixture.
- Simple sugars like molasses – These feed the microbes and help them multiply during brewing.
- Rock dust – This adds extra minerals to your tea for stronger plants.
- Kelp or alfalfa pellets – These organic fertilisers boost the nutrient content of your finished tea.
- Microbial support additives – These help the good microbes grow faster in your brew.
Step-by-Step Guide to Brewing Vermicompost Tea
Now we’ll show you how to brew your own vermicompost tea at home. Our simple process uses basic items you likely have around your garden shed.
Step 1: Gather your ingredients and equipment
We need to collect all our supplies before we start brewing our worm tea. Our main ingredients include 500 ml of high-quality worm castings or vermicompost, which contains nutrient-rich organic matter.
We’ll also need a permeable bag like a muslin cloth, cheesecloth, or even old pantyhose to hold our earthworm castings. A 5-gallon bucket works best for brewing the microbial-rich compost tea.
For water, we prefer aged rainwater or pond water as these contain fewer chemicals that might harm the helpful microbes in our organic fertilizer. These simple tools create the perfect setup for making this natural soil enhancer that plants love.
Step 2: Prepare and aerate the water
We start with proper water preparation for our vermicompost tea. Tap water contains chlorine that harms beneficial microbes, so we let it sit for 1-2 days to dechlorinate naturally.
This aged water creates the perfect base for brewing. Next, we add an aquarium air pump to oxygenate the water for about 24 hours. The pump creates bubbles that fill the water with oxygen, making a lively environment for good bacteria to grow.
Proper water preparation is the foundation of successful vermicompost tea brewing.
For enhanced oxygenation, an airstone works brilliantly as an optional aeration accessory. This simple device produces smaller bubbles, increasing oxygen levels in your brew. Good aeration prevents bad smells and helps beneficial microorganisms multiply quickly.
Our tea becomes more effective with this water treatment step, setting the stage for adding vermicompost in the next phase.
Step 3: Add vermicompost and optional nutrients
Now it’s time to add the magic ingredient – vermicompost! We place our vermicompost in a porous bag and tie it securely. This acts like a tea bag, allowing the nutrients to steep into the water while keeping solid materials contained.
For best results, we add about 1 cup of vermicompost per 5 litres of water. To boost microbial activity, we mix in 1-2 tablespoons of molasses which serves as food for beneficial microbes.
Our soil health gets an extra lift with optional amendments such as rock dust for minerals, kelp for growth hormones, or alfalfa pellets for natural plant nutrients. These natural soil conditioners create a powerful nutrient enrichment brew that plants love.
Step 4: Brew the tea
Now comes the brewing process! We submerge our tea bag in the water and let the magic happen. The mixture needs to aerate for about 24 hours to extract all the good stuff from the vermicompost.
During this time, we stir the tea bag every few hours. This movement helps release more nutrients into the water. The bubbling action keeps oxygen flowing through the mixture, which feeds helpful microbes.
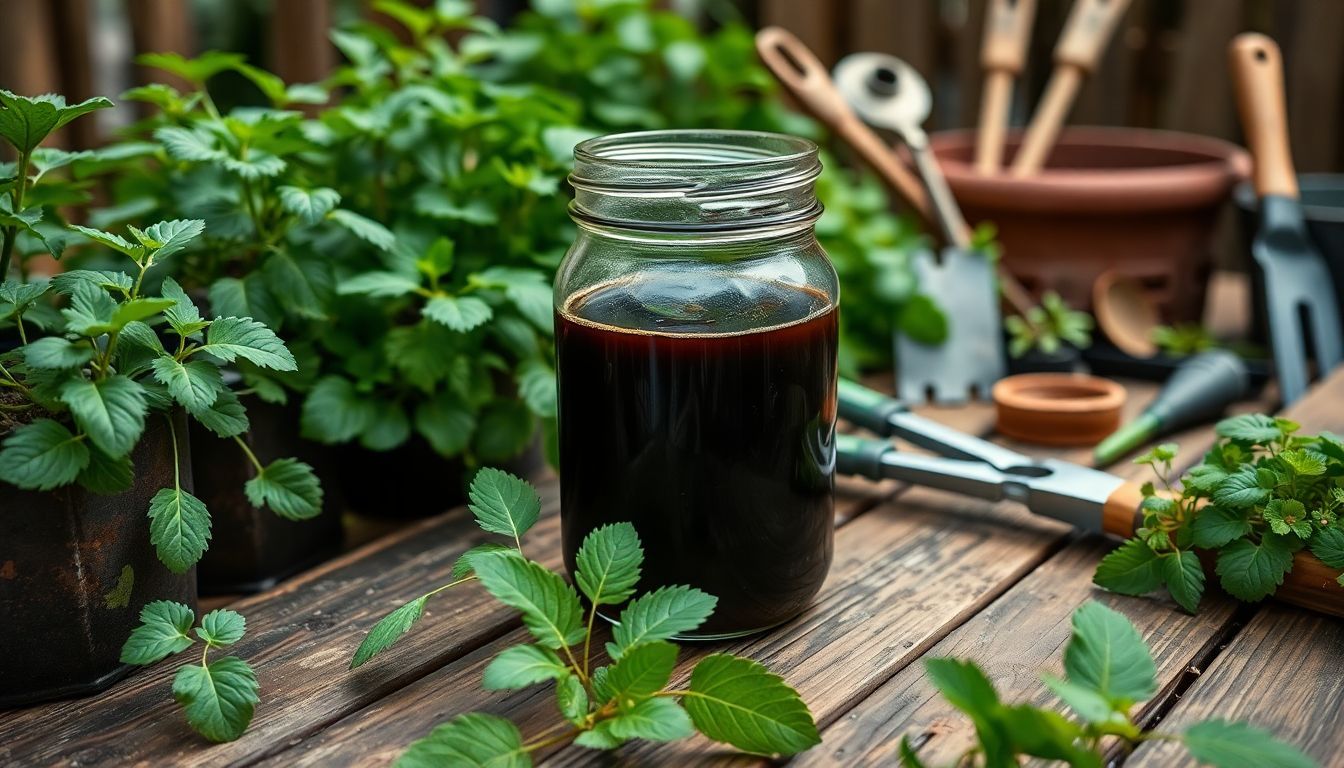
Our tea gets stronger and more effective with each hour of brewing. The liquid will darken as it steeps, showing that nutrients are moving from the compost into the water.
Step 5: Strain and store the tea
We need to strain our tea once it turns light brown. This step removes any solid bits that might clog our sprayers. We pour the mixture through a fine sieve or cheesecloth into clean containers.
The liquid should flow easily, leaving the solids behind.
For best results, we use the tea right away on our plants. If that’s not possible, we store it in a cool place for up to three days. The tea loses its power after this time. We make sure to label our containers with the brewing date to track freshness.
Fresh tea works best for our garden needs.
How to Apply Vermicompost Tea to Your Plants
Vermicompost tea offers amazing benefits for plant health in organic gardening. We want to share the best ways to use this natural fertiliser to boost your plants’ growth and keep them strong.
- Mix the tea with water at a 50:50 ratio for better coverage and to avoid burning tender plants.
- Pour the tea into a clean watering can or garden sprayer for easy application to your soil and plants.
- Water the soil around your plants with the tea to feed roots and improve soil health.
- Spray the tea on leaves and stems to fight pests and diseases as a natural pest control method.
- Apply the tea once a week for most plants during the growing season.
- Adjust how often you use the tea based on your plants’ needs – more for fast-growing plants, less for slow growers.
- Use the tea right after brewing for the best results and most active nutrients.
- Apply tea in the early morning or late evening to prevent quick evaporation in hot sun.
- Soak new seedlings’ roots in diluted tea before planting to give them a strong start.
- Store any unused tea in a cool, dark place for up to three days if you can’t use it all at once.
Conclusion
Making worm tea at home gives your plants a natural boost. You can brew this magic liquid with simple tools and fresh worm castings. Your garden will thank you as plants grow stronger and soil gets healthier.
Try this eco-friendly method today and watch your garden thrive. Start small, learn as you go, and enjoy the green results!