Getting the right vermicompost moisture level can be a bit of a faff for many worm farmers. We’ve struggled with this same challenge in our bins and noticed that most food waste holds 80-90% water, which often turns things rather soggy.
Our guide will show you dead simple ways to test, sort out, and keep perfect moisture in your worm bin. Your little wrigglers will be ever so grateful!
Importance of Maintaining Optimal Moisture in Vermicomposting
Proper moisture levels play a vital role in successful vermicomposting. Our worm friends breathe through their skin and need the right amount of wetness for oxygen transfer. Too much water from food scraps (which contain 80-90% water) pushes out air from the bin.
This creates bad spots without oxygen called anaerobic conditions. These spots harm helpful microbes and lower the quality of your final compost.
The secret to happy worms is like Goldilocks – not too wet, not too dry, but just right.
Leachate (liquid that drips from your bin) warns us about too much moisture. This excess water can kill worms and slow down the composting process. The best worm bins balance moisture to support both worms and microbes.
We must watch our bins closely, as the right moisture level helps break down organic waste faster and creates richer vermicompost for your plants.
Ideal Moisture Levels for Vermicompost
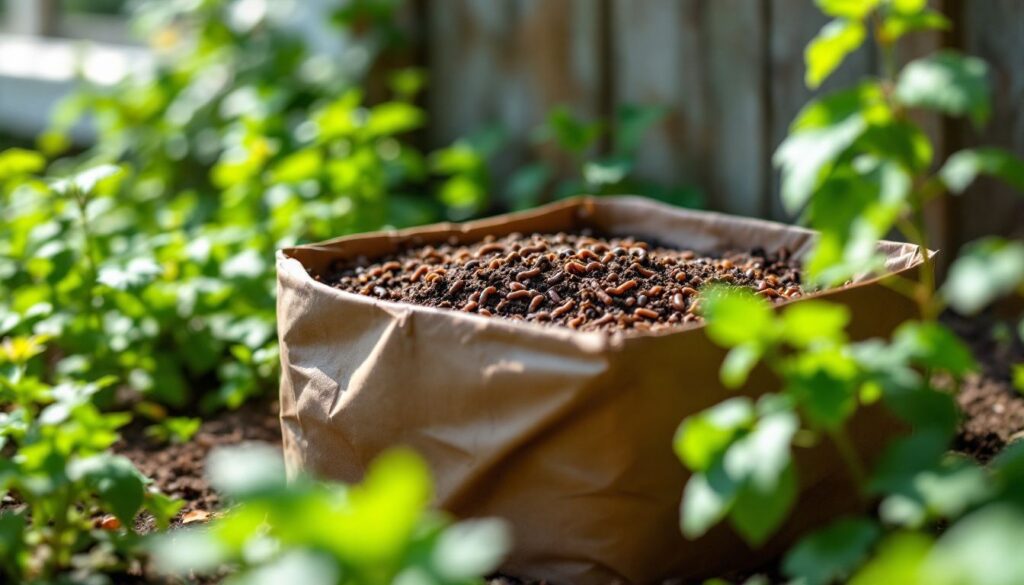
Now that we understand why moisture matters, let’s focus on the exact levels your worm bin needs. Most experts agree that the ideal moisture content for vermicompost sits between 50% and 60%.
This range keeps worms happy while supporting the biological activity that makes vermicompost so valuable. Our research shows some successful variations in this approach. Heather Rinaldi has proven that pre-composted waste can create active vermicompost with moisture below 50%.
For those preparing to harvest, Gavin Newton dries his castings to 30%-40% before sifting. Large-scale operations also follow similar guidelines – Francisco Niembro maintains 40%-60% moisture in his windrow systems.
The sweet spot for most home bins stays at 50%-60%, but these numbers show you have some flexibility based on your specific setup and goals.
How to Measure Moisture Levels in a Worm Bin
We’ll show you simple yet effective ways to check moisture levels in your worm bin. Read on to learn both high-tech and DIY methods to keep your worms happy.
Using a moisture meter
A moisture meter gives us exact readings of how wet our worm bins are. These handy tools take the guesswork out of vermicomposting by showing the exact moisture level as a number. Most worm farmers aim for 70-80% moisture content for happy worms.
We stick the meter’s probe into different parts of the bin to check if all areas have the right dampness. Good meters cost between £15-£30 and last for years if kept clean after each use.
The right moisture meter acts like a window into your worm bin’s health – too dry and worms struggle, too wet and they drown.
The best part about moisture meters is how they help us spot problems before our worms suffer. Digital models often come with color-coded displays that show if conditions are perfect or need fixing.
This helps us move on to other ways of checking moisture when a meter isn’t handy.
Simple DIY methods
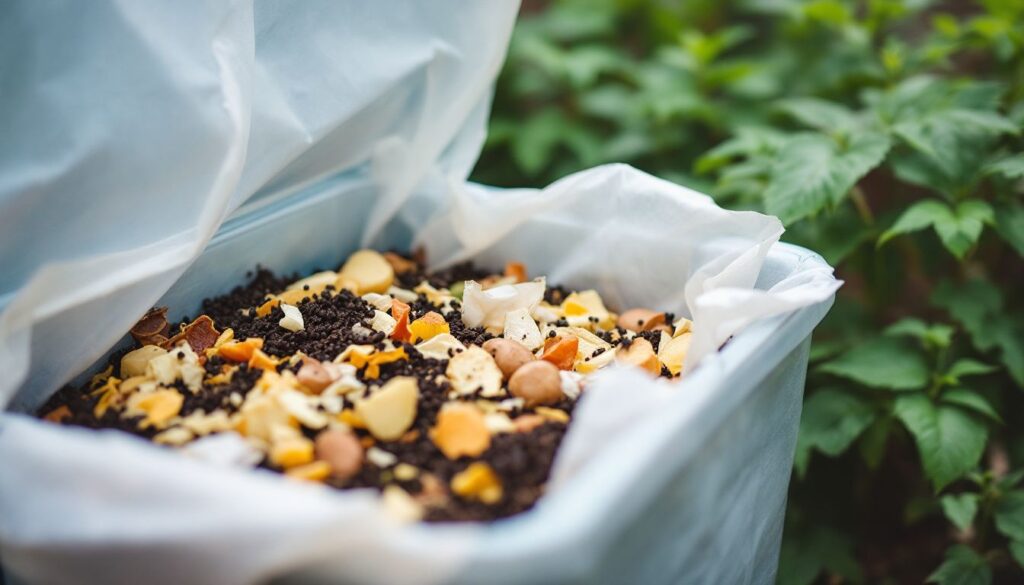
We use two main DIY methods to check moisture in our worm bins without fancy tools. The hand-squeeze test gives quick results based on how the compost feels. If we squeeze a handful and it feels dry and dusty, the moisture sits below 42%.
Perfect moisture (58%-63%) leaves a wet sheen on our hands without dripping water. Our team also loves the chocolate muffin test – ideal compost should hold together when squeezed but crumble easily when poked.
For more exact readings, we try the lab-worthy moisture test. We weigh a sample, dry it in an oven at 220°F for 24 hours, then weigh it again. The formula ((Wet Weight – Dry Weight) / Wet Weight) x 100 tells us the exact moisture content.
These simple tests help us keep our worms happy with the right amount of wetness.
Tips for Adjusting Moisture Levels
We’ll show you simple ways to fix moisture problems in your worm bin. Learn more about these handy tips!
Adding water to a dry worm bin
Dry worm bins need careful attention to keep our composting worms happy and productive. We mist dry areas with a spray bottle for gentle moisture that won’t shock the worms or create puddles.
This method works best for small bins or spots that need quick fixes. The fine mist helps spread water evenly through the bedding without flooding.
The secret to successful vermicomposting lies in maintaining perfect moisture – not too wet, not too dry.
Soaked newspaper makes a great moisture-holding cover for dry worm bedding. We place several sheets of newspaper in water until they absorb moisture, then lay them flat on top of the bedding.
This simple trick serves two purposes – it adds water slowly to the bin and creates a humid environment that worms love. The newspaper cover also helps stop the bedding from drying out too quickly between watering sessions.
Using absorbent materials for excess moisture
While adding water helps dry bins, excess moisture creates its own problems. Too much water in your worm bin can harm your wriggly friends. We fix wet bins by adding dry bedding materials like shredded paper or cardboard.
These materials soak up extra moisture quickly and restore balance to the bin. Tote-style bins need special attention for moisture control. We tip our bins to drain water if they lack proper drainage systems.
This simple step prevents drowning worms and bad smells. For best results, we drain our tote-style bins at least twice a year. Proper drainage keeps the bedding moist but not soggy.
Your worms will thank you for maintaining these ideal conditions in their home.
Common Problems Caused by Incorrect Moisture Levels
Incorrect moisture levels can harm your worms and slow down the composting process. Read on to learn how to fix these problems fast!
Issues with overly wet bins
We face serious problems with bins that hold too much water. Excessive moisture creates bad smells and reduces oxygen in the compost. Our worms need oxygen to live and work properly.
Too much water pushes out air, creating anaerobic conditions where harmful bacteria grow. These bacteria make the bin smell awful and slow down the composting process.
Muddy worm castings result from overly wet conditions, making them hard to harvest and use. The wet environment also stresses our worms, causing them to try to escape or even die. Proper drainage becomes essential to fix these moisture issues.
Now let’s explore the challenges that come with bins that are too dry.
Challenges with overly dry bins
Dry worm bins create serious problems for our wriggly friends. We notice smaller worms in arid bins, with less movement around food sources. Our worms try to escape these dehydrated environments because they can’t thrive without proper humidity.
The lack of moisture leads to fewer cocoons and baby worms, which hurts the whole colony. Worms need damp surroundings to breathe through their skin, so inadequate moisture levels can harm their basic functions.
Droughtlike conditions in vermicompost systems slow down the breakdown of materials. Our worms struggle to process food in underhydrated bins, which means less quality compost for our gardens.
Low moisture content makes the bedding harsh and uncomfortable, causing stress to the worm population. Dryness issues often appear gradually, making them easy to miss until the damage is done.
Next, let’s explore best practices for keeping your worm bin at just the right moisture level for happy, productive worms.
Best Practices for Long-Term Moisture Management
We’ll share top ways to keep your worm bin at the right moisture level for the long haul. Read on to learn our tested methods for worm bin success!
Regular monitoring
We check our worm bins often to make sure they have the right amount of moisture. Our tests show most bins stay above 68% moisture, as noted by Churchill. This regular check helps us catch problems before they harm our worms.
Daily or weekly checks are best, depending on your climate and bin size.
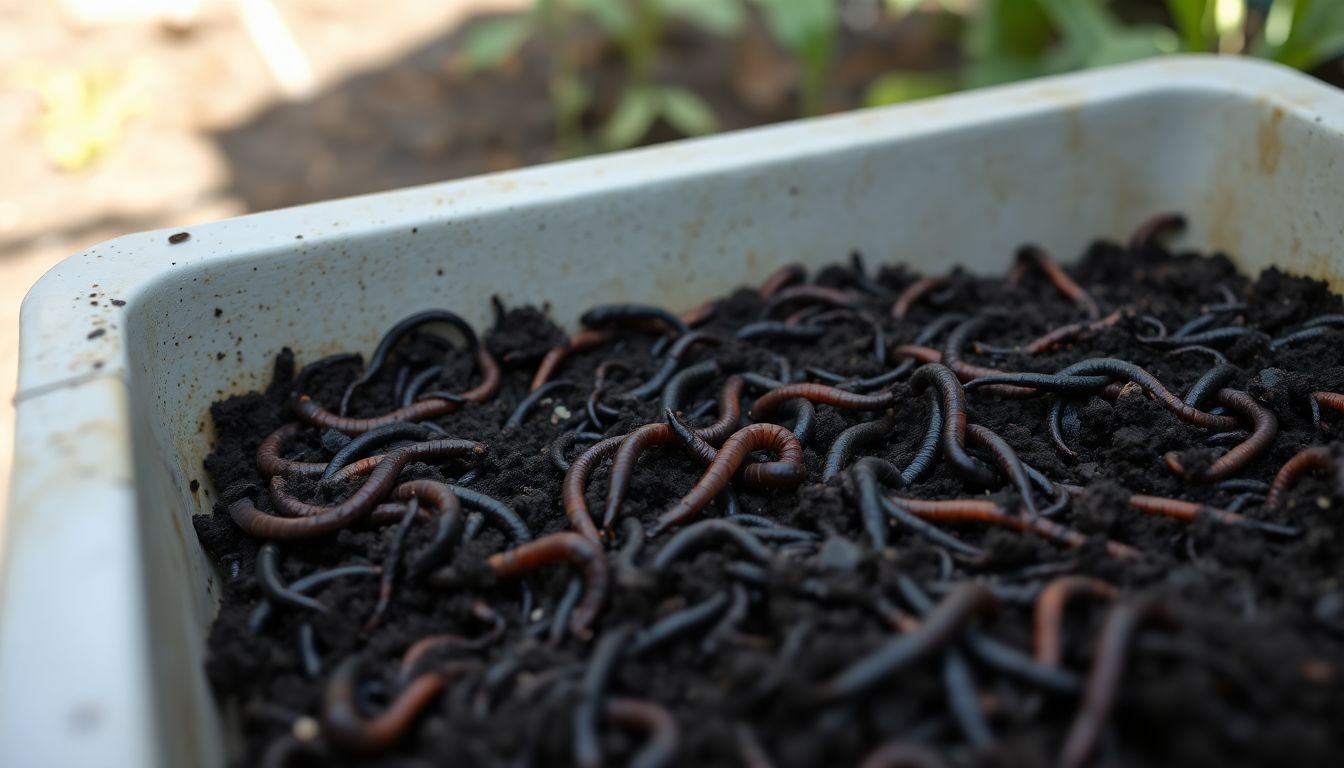
Moisture meters give us exact readings without much work. We touch the compost with clean hands as a quick test too. The compost should feel like a damp sponge – wet but not dripping.
Proper monitoring keeps our worm bins healthy and stops both mould growth and worm stress. This simple habit makes our vermicomposting more successful.
Balancing bedding and food inputs
We balance our worm bin moisture by mixing dry bedding with wet foods. For juicy items like watermelon or cantaloupe, we add extra dry bedding to soak up excess water. The Urban Worm Bag Version 2 helps control moisture with its special fabric inside.
Our approach changes with different scraps. Drier foods such as broccoli or cauliflower need less bedding since they don’t add much water to the bin. This simple food-bedding balance keeps moisture levels just right for happy worms.
Proper moisture control makes our compost system work better and stops problems before they start.
Conclusion
Proper moisture control makes all the difference in successful vermicomposting. Your worms need the right balance – not too wet, not too dry – to create rich, nutrient-packed castings.
Regular checks with simple tools like moisture meters or the squeeze test help spot problems early. Adding dry bedding fixes soggy bins, while light misting helps during dry spells.
Mastering moisture management takes practice, but the reward is healthy worms and top-quality compost for your garden.