Do you struggle to make rich soil for your garden from kitchen scraps? We faced this same problem in our gardens, and learned that vermicompost is made by using special worms to break down waste into plant food.
Our guide will show you the simple steps to set up your own worm bin and create this black gold for your plants. The joy of watching those little wrigglers turn your tea bags and potato peelings into dark, crumbly goodness is quite remarkable! Read on to turn your food waste into garden treasure, and perhaps enjoy a cuppa while your new garden helpers do the hard work.
What is Vermicomposting?

Vermicomposting is a natural process that uses specific earthworm species to break down organic waste. We call this method “vermiculture” – a smart way to manage waste while making rich plant food.
The worms eat through kitchen scraps, garden waste, and other organic matter to create worm castings. These castings form the basis of vermicompost, which has fewer harmful things in it than the waste it came from.
This process works faster than normal composting and makes a product with lower salt levels and a neutral pH.
Vermicompost turns waste into wealth through the humble work of earthworms.
Vermicompost serves as both an organic fertiliser and soil helper. It holds lots of water-based nutrients that plants can use right away. The process has grown popular across the globe, with large-scale operations now running in Canada, Italy, Japan, India, Malaysia, the Philippines, and the USA.
Some places even use this method to clean sewage through a process called vermifiltration, which takes out organic bits and germs from dirty water. This makes vermicomposting a key part of green waste handling systems worldwide.
Suitable Worm Species for Vermicomposting
Choosing the right worm species is vital for successful vermicomposting. Red wigglers, white worms, and European nightcrawlers each offer unique benefits for breaking down organic waste.
Red Wigglers
Red wigglers (Eisenia fetida and Eisenia andrei) stand as the top choice for vermicomposting. We find these worms perfect for breaking down organic waste due to their amazing appetite and quick reproduction.
They can double their population every 60 days in the right conditions! These surface dwellers thrive in temperatures between 15-25°C, making them ideal for home composting systems.
Red wigglers will slow down at 10°C but may die if temperatures rise above 30°C, so proper temperature control matters greatly.
These special earthworms excel in flow-through composting systems because they prefer to live near the surface of soil or compost. Their natural habits make them efficient at turning kitchen scraps and garden waste into rich, dark vermicompost full of nutrients.
Red wigglers process waste faster than many other worm species, which speeds up the composting process. White worms offer another option for those looking to expand their vermiculture operation.
White Worms
While Red Wigglers often steal the spotlight, White Worms (Eisenia fetida) offer excellent options for vermicomposting systems. These pale-colored worms adapt well to various conditions and show remarkable resilience in composting setups.
We find White Worms thrive best with 50-70% moisture levels and soil pH around 7. They work hard to transform organic waste into nutrient-rich fertilizer that plants love.
The humble white worm turns today’s waste into tomorrow’s garden gold.
White Worms produce vermicompost with high organic carbon content that improves soil structure. Their activity introduces beneficial microorganisms that enhance soil health naturally.
The process starts by adding these worms to prepared bedding material where they begin breaking down organic matter. Many gardeners choose White Worms for their steady work rate and ability to survive in different environments.
European Nightcrawlers
European Nightcrawlers (Eisenia hortensis, Dendrobaena veneta) make great worms for our compost bins. These worms work hard to break down organic waste and create rich soil. They dig deep tunnels that help air flow through the soil.
We find them perfect for both indoor and outdoor systems. Their size makes them easy to handle when setting up a worm bin. These crawlers eat through kitchen scraps and yard waste with amazing speed.
They thrive in moist bedding made from shredded paper or dried leaves. The worms need a cool spot between 15-25°C to work best. Many gardeners choose these worms because they adapt well to different conditions.
Choosing the Right Site for Vermicomposting
Picking the right spot for your worm farm makes a big difference to your success. Read on to learn about indoor and outdoor options for your vermicomposting setup.
Indoor Systems
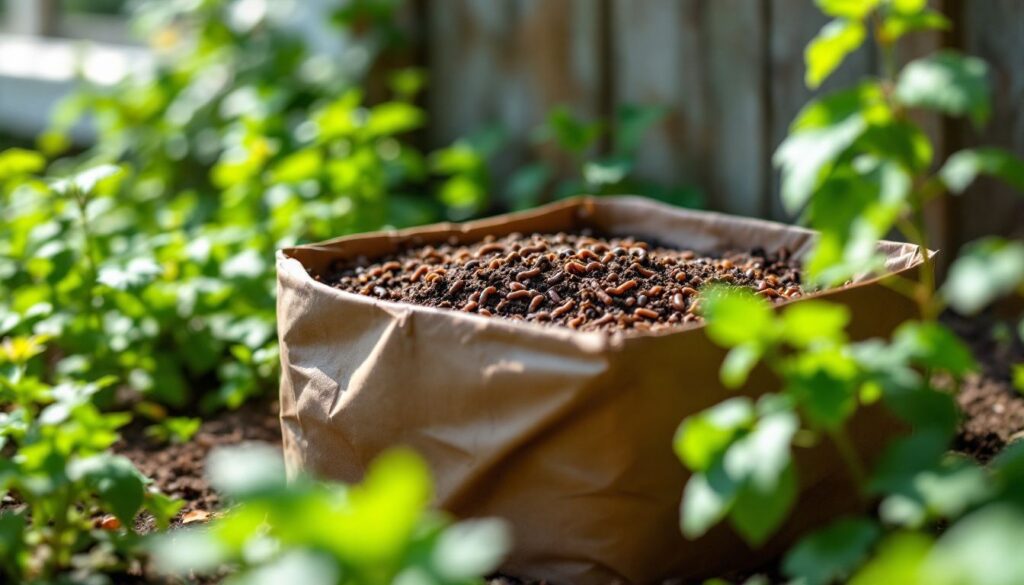
We love indoor vermicomposting because it works in any home, flat, or office. Indoor systems let us recycle kitchen scraps year-round without worrying about weather. For small-scale bins, we can use plastic, wood, Styrofoam, or metal containers.
These bins need air holes on the sides and top to keep our worms happy. Good drainage features stop the bedding from getting too wet. A tray under the bin catches liquid that drains out, which makes a great plant food.
Our indoor worm bins fit nicely under sinks, in cupboards, or even in living spaces if they’re kept clean. The best part? Indoor systems produce no smell if we manage them right. These eco-friendly waste disposal methods help us cut down on food waste while making rich compost for our plants.
Outdoor Systems
While indoor systems work well for small spaces, outdoor systems offer more room for larger-scale vermicomposting. Our outdoor options include windrow and raised bed systems that handle bigger amounts of organic waste.
Windrow systems create long mounds placed directly on concrete surfaces. These mounds allow worms to process large volumes of kitchen scraps, garden waste, and other biodegradable materials.
Raised bed systems provide another excellent choice for sustainable gardening and soil improvement. We build these beds above ground level, making them easier to access while protecting worms from flooding.
Outdoor waste management through vermicomposting turns what might go to landfills into rich soil amendments. The concrete base in windrow systems helps with drainage and prevents unwanted pests from entering the compost area.
Preparing the Bedding Material
Preparing the right bedding mix forms the base of your worm farm, with the perfect blend of organic matter and moisture giving your worms a cosy home to thrive. Read on to learn the exact steps to create the ideal worm habitat.
Organic Matter Selection
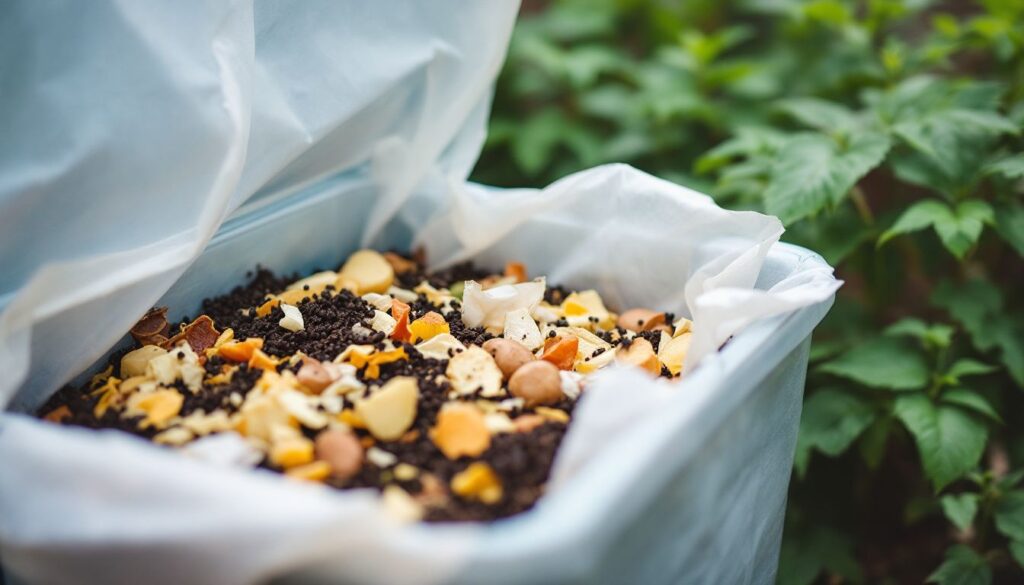
We select the right organic matter to create a perfect home for our worms. Fruits and vegetables make great food for worms in small home bins. Coffee grounds, tea bags, and eggshells add variety to their diet.
Grass clippings and leaves from your garden work well too. These materials break down easily and provide nutrients for the worms to turn into rich compost.
The best vermicompost starts with diverse organic materials that worms love to eat.
For bigger systems, we use different materials. Manure from farm animals works well in large-scale operations. Food processing waste and brewery leftovers provide excellent feed for worms.
Agricultural waste and sewage sludge can also be used in commercial vermicomposting. The key is choosing biodegradable matter that breaks down naturally. Green waste mixed with brown materials creates the ideal balance for worms to thrive and produce natural fertilizers.
Moisture Content Requirements
We need to keep the right amount of water in our worm bedding. The best moisture level sits between 70-85%, which is wetter than normal compost piles. This higher moisture helps worms move through the material and digest food better.
You can test the dampness with a simple squeeze test – the bedding should feel like a damp sponge. If you squeeze it hard, a few drops of water should come out, but not more. Too dry, and the worms might die from dehydration.
Too wet, and they could drown or suffer from lack of air. The finished vermicompost should look dark and moist, similar to a wrung-out sponge. Proper moisture levels create the perfect home for your worms to turn kitchen scraps into rich plant food.
Next, we’ll explore what types of food work best for feeding your hungry worms.
Feeding the Worms
We feed our worms a mix of fruit peels, tea bags, coffee grounds, and veggie scraps to make rich compost. Read on to learn what foods make your worms thrive and which ones to avoid!
Types of Feedstock
We provide our worms with a mix of organic waste that helps them thrive. Fruits, vegetables, coffee grounds, tea bags, grains, and eggshells make perfect food for home vermicomposting systems.
Garden waste like leaves and grass clippings also works well as worm feed. Our worms turn these kitchen scraps and plant-based materials into rich compost through their digestion process.
Larger vermicomposting operations need more substantial amounts of biowaste. These systems often use manure, sewage sludge, brewery waste, and food processing byproducts. Agricultural waste serves as excellent feedstock for commercial-scale worm farms.
The key to success lies in offering diverse organic materials that break down easily. Proper recycling of this biodegradable waste through worms creates valuable fertiliser while reducing landfill burden.
Avoiding Harmful Materials
We must keep harmful items away from our worm bins to maintain a healthy vermicompost system. Meat and dairy products attract pests and create bad smells, so they don’t belong in your worm bin.
These animal-free choices help create a plant-based approach to composting that works best. Our worms thrive on vegetarian diet options like fruit scraps, vegetable peels, and coffee grounds.
Certain materials can harm or even kill your worms. Citrus peels, onions, and garlic contain acids that may irritate the worms. Avoid adding oily foods, pet waste, or diseased plants to your bin.
These ethical eating choices ensure your worms stay happy and produce rich, cruelty-free compost for your garden. A plant-friendly approach makes your vermicomposting more successful and odour-free.
Maintaining Optimal Conditions
We keep our worm bins at the right warmth, wetness, and acidity to help our worms make great compost. Read on to learn more about our top tips for happy, healthy worms!
Temperature Control
Temperature management plays a vital role in successful vermicomposting. We maintain our worm bins between 15-25°C (59-77°F) for optimal results. Red worms can survive at temperatures as low as 10°C (50°F), but they may die if the heat rises above 30°C (86°F).
Proper thermoregulation helps worms thrive and reproduce quickly. Under ideal thermal conditions, red worm populations double every 60 days.
For outdoor systems, we place bins in shaded areas during summer and insulate them in winter. Indoor systems need spots away from direct heat sources or cold drafts. Regular checks with a soil thermometer help us track and adjust the climate inside the bin.
This careful temperature modulation ensures our worms stay active and healthy year-round.
Carbon to Nitrogen Ratio
We maintain a proper carbon to nitrogen ratio in our vermicompost bins for the best results. The ideal C:N ratio should be greater than 50 for worms to break down materials well. This balance helps the tiny creatures digest food scraps and turn them into rich soil.
Carbon comes from dry leaves, paper, and cardboard. Nitrogen comes from food waste and green plant matter. Too much nitrogen creates a smelly bin with unhappy worms. Too much carbon slows down the whole process.
We mix these materials carefully to keep our worm friends happy and productive. The right balance also helps helpful microorganisms thrive in the bin. Next, we’ll look at pH balance, another key factor in successful vermicomposting.
pH Balance
We need to keep the pH balance right for our worms to thrive. The best vermicompost has a neutral pH, which means it’s neither too acidic nor too alkaline. Our worms work best in this balanced environment where they can break down organic matter properly.
Soil pH affects how well plants can use nutrients in the compost.
The curing process plays a vital role in pH management. We cure our compost for up to three months to neutralise acids and stabilise nutrients. This step ensures microbial activity continues at the right pace.
Proper pH levels boost soil fertility and make nutrients more available to plants. Regular testing helps us maintain optimal conditions for the best quality vermicompost.
Harvesting Vermicompost
We collect the rich, dark vermicompost when it fills about 80% of our bin. The worms leave behind nutrient-rich castings that make plants grow strong and healthy.
Separation Methods
We use several methods to separate worms from finished vermicompost. The light method works well as worms move away from bright light, allowing us to scrape off the top layer of compost.
Another approach involves creating small piles of compost on a tarp and waiting for worms to move to the bottom, then collecting the worm-free top portion. Screening offers a quick solution where we sift the material through mesh screens to separate worms from their castings.
Drying helps remove excess moisture before screening to ensure the compost passes through easily. The side-to-side method requires placing fresh food on one side of the bin so worms migrate there, leaving the other side ready for harvest.
The timing for harvesting plays a key role in successful separation. Most vermicompost becomes ready for harvest after 2-3 months when it appears dark brown, crumbly, and earthy-smelling.
The material should show few recognizable food scraps and feel like moist coffee grounds. Proper timing ensures worms have processed most organic waste into valuable soil amendment.
Let’s now explore the optimal timing for harvesting your vermicompost.
Timing for Harvesting
We need to wait for the right time to collect our vermicompost. The perfect moment comes when the compost looks dark and moist, much like a damp sponge. This usually takes about 3-5 months from when we first set up our bin.
Our worms work hard to break down the organic matter into rich humus during this period. The compost needs curing for up to three months after collection. This curing step helps neutralise acids and makes the nutrients stable for plant use.
Proper timing ensures we get the most nutrient-rich soil amendment possible for our gardens. The next step involves learning the various methods to separate worms from the finished compost.
Benefits of Vermicompost
Vermicompost offers amazing benefits for our gardens and farms. It contains more nutrients than regular compost, with higher levels of nitrogen and phosphorus that plants can easily use.
Our soil gains better structure too – air flows better, water stays longer, and helpful microbes thrive. Plants respond with stronger roots, faster seed sprouting, and bigger harvests.
Many farmers report seeing growth hormones like auxins in their plants after using this organic fertilizer.
The earth thanks us for making vermicompost too! We cut down waste going to landfills and lower greenhouse gas emissions at the same time. Starting a worm bin costs very little money compared to buying chemical fertilizers.
Some people even create jobs by selling their extra worms and compost. The rich, dark soil we make helps reduce heavy metals that could harm plants. This sustainable practice turns kitchen scraps into garden gold while making our planet healthier.
Conclusion
Making vermicompost turns waste into garden gold through simple steps. We start with the right worms, create proper bedding, and feed them kitchen scraps. The process needs care – keeping good moisture, air flow, and warmth helps worms thrive.
After a few months, rich dark compost forms that plants love. This natural method cuts waste while making soil better for growing healthy plants and food.