Struggling to know how much and how often to feed your worms? We had the same problem when we started our worm bins. We learned that proper vermicompost feeding keeps worms healthy and makes rich castings.
Our guide shows you all about food types, amounts, and feeding times that help your worm bin thrive. Keep reading to turn your kitchen scraps into garden gold!
Understanding Vermicomposting and Worm Feeding
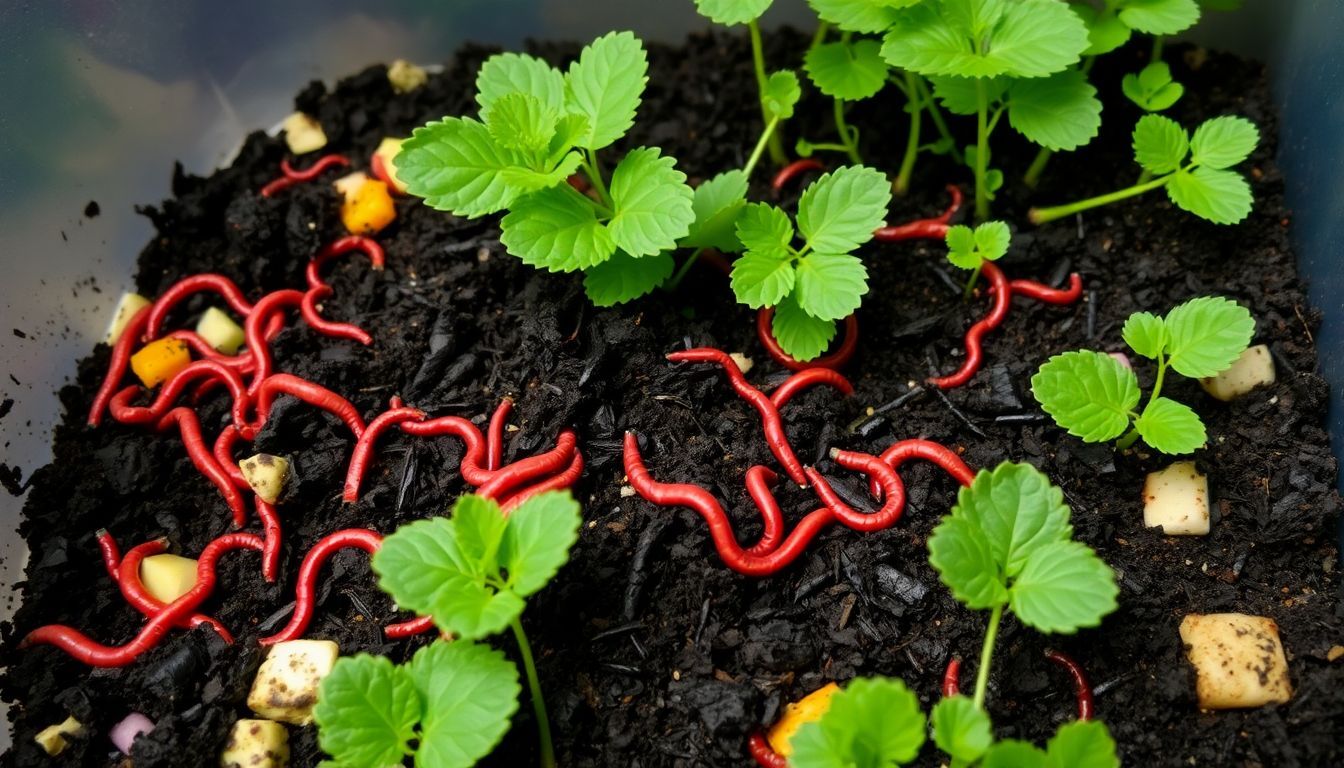
Now that we’ve covered the basics, let’s explore how vermicomposting works and what worms need to thrive. Vermicomposting is a natural process where worms turn food scraps into rich soil.
These tiny workers break down organic waste and create worm castings over several months. Our worm friends eat mainly fruit and vegetable scraps as they work to enrich soil through bioconversion.
They are quite hungry little creatures! Worms can eat about half their body weight each day, which means proper feeding is key to success.
Feed your worms well, and they’ll reward you with black gold for your garden.
The amount of food your worms need depends on how many you have. A pound (0.45 kg) of worms can process up to 3.5 pounds (1.59 kg) of food waste weekly. This makes them great partners in reducing kitchen waste while creating valuable compost.
The worms digest the food and produce castings that help plants grow strong. These castings contain helpful microbes that boost soil health. Proper feeding keeps your worm farm running smoothly and odour-free.
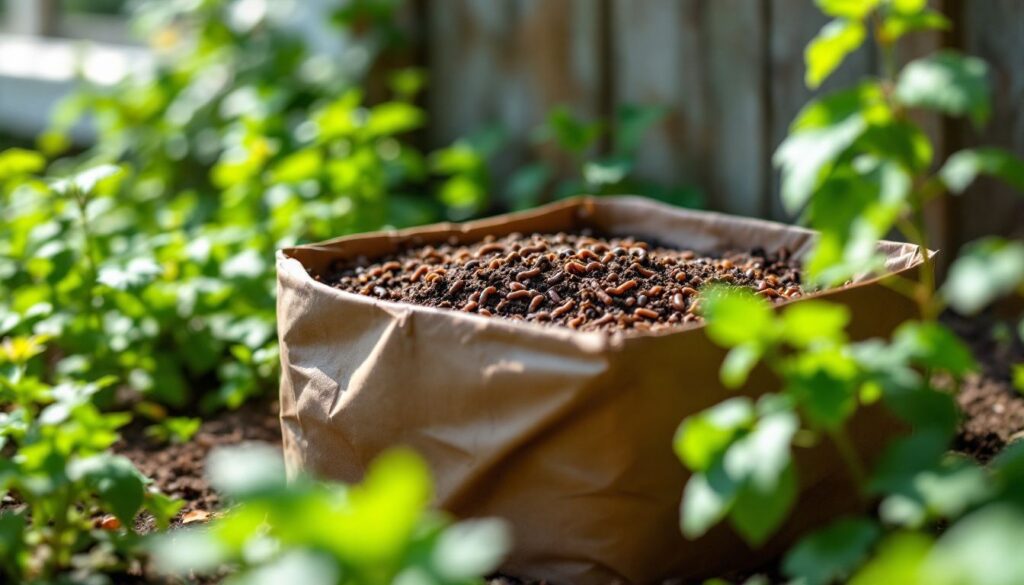
What to Feed Worms
Worms thrive on a mix of kitchen scraps and garden waste. Choose the right foods to keep your worm farm happy and healthy.
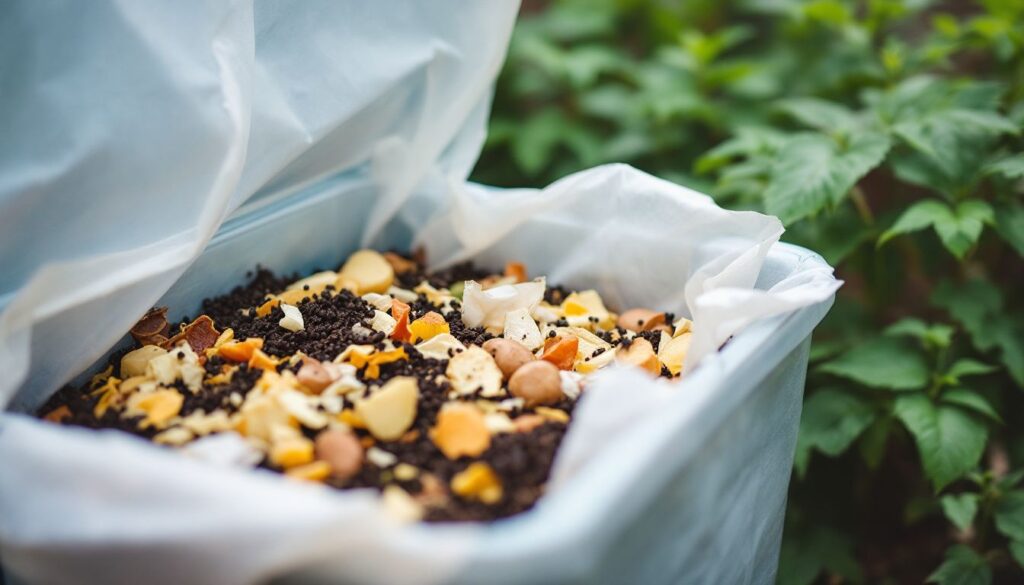
Suitable food scraps and organic materials
We feed our worms a mix of fruit and vegetable scraps to keep them happy. Melons, cantaloupe, pumpkin, and banana peels top the list of worm-friendly foods. These edible leftovers break down fast and worms love them! Our compost bins need both green and brown materials for balance.
Green materials (rich in nitrogen) include coffee grounds, crushed eggshells, plant waste, and tea leaves. Brown materials (carbon-based) consist of shredded newspapers, cardboard, egg cartons, and copy paper.
These natural waste items create the perfect nutrient-rich feed for a thriving worm population. Food with existing microbial activity works best as it starts the breakdown process before worms dig in.
Foods to avoid for worm health
While your worms will happily munch on many kitchen scraps, some foods can harm their health. We need to keep certain items out of our worm bins to maintain a thriving vermicompost system.
- Onions and garlic can irritate worms and create strong odours in your bin.
- Hot peppers contain capsaicin that may burn or harm your worm population.
- Citrus fruits and peels are too acidic and can make the bin environment hostile for worms.
- Bread, rice, and beans tend to attract pests and can mould quickly in the moist bin.
- Meat and dairy products rot with bad smells and draw unwanted pests to your worm farm.
- Oily foods coat worms’ skin and block their ability to breathe properly.
- Salty foods can dehydrate worms and upset the moisture balance in your bin.
- Tomatoes and potatoes might sprout in your bin and contain solanine when green.
- Animal waste that hasn’t been pre-composted can contain harmful pathogens.
- Heavily processed foods often have preservatives that may harm your worm colony.
How Much to Feed Worms
Worms need the right amount of food to stay healthy and work well. We suggest feeding about half their body weight each week to keep your bin in top shape.
Determining the right quantity based on worm population
Getting the food amount right keeps your worm farm healthy. We’ve found that one pound of worms can eat up to 3.5 pounds of food each week. This ratio helps us plan how much to feed based on our worm population size.
Our worms need enough food to thrive but not so much that it rots in the bin.
Feed your worms what they can finish in a week, and they’ll reward you with rich compost.
Food amounts must match consumption rates for best results. We never add more than a week’s worth of food at once. This practice stops problems like mold and bad smells. The key lies in watching how quickly our worms eat through their food.
If they finish early, we slightly increase the amount next time. Too much leftover food means we need to cut back on portions.
Feeding Frequency
We need to set a proper feeding schedule for our worms to thrive. Most worm bins do well with feedings once or twice a week, but this changes based on your bin size and worm count.
Daily vs. weekly feeding schedules
We feed our worms based on their needs and our bin size. For most bins, adding food every 2-3 days works well, using about 1 cup (240 ml) of scraps each time. Smaller bins might need less frequent feeding, perhaps once a week.
Our worms eat more in warm conditions and less in cooler temperatures. The key lies in watching how quickly they process food – if scraps disappear fast, they’re ready for more.
Our feeding routine should include rotating where we place food in the bin. This helps all worms access meals and prevents food buildup in one spot. Burying food 3-4 inches (8-10 cm) under the bedding keeps pests away and reduces odours.
The right schedule creates happy worms and excellent compost. Next, let’s explore best practices for preparing worm food to speed up the composting process.
Best Practices for Food Preparation
We’ll show you how to prep food for your worms to speed up the composting process and keep your bin healthy. Read on to learn our top tips for getting the most from your vermicompost system.
Chopping, blending, and pre-composting tips
Food prep makes a big difference in how fast worms eat your scraps. We chop food waste into small bits to help worms digest it faster. A quick pulse in the blender turns kitchen scraps into worm-friendly mush.
Freezing food scraps first, then thawing them breaks down cell walls and speeds up the eating process.
The smaller the food particles, the quicker your worms can process them into rich vermicompost.
Pre-composting is another top tip for worm feeding success. Letting food sit for 1-2 days starts the breakdown process, making it more appealing to worms. Worms don’t rush to fresh food right away – they wait for microbes to start working first.
This natural process creates the perfect meal for your worm population and boosts your food waste reduction efforts.
Signs of Overfeeding or Underfeeding
Spotting the signs of wrong feeding amounts helps you fix problems fast. Watch for smelly bins or slow processing when overfeeding, and hungry worms or slow growth when underfeeding.
Common issues and how to resolve them
Worm bins can face several problems if we don’t feed them right. We can fix most issues with simple steps once we know what to look for.
- Foul smells often mean we’ve added too much food. Cut back on feeding and mix the bedding to add more air.
- Excess heat in the bin signals overfeeding. Too much food creates heat from fast decay, which can harm worms.
- Wet, soggy bedding happens when food with high water content breaks down. Add dry bedding like torn paper to soak up extra moisture.
- Fruit flies or other pests show up when food sits on top of the bin. Bury food scraps deeper in the bedding to keep pests away.
- Slow food breakdown means the pieces may be too large. Chop or blend food into smaller bits for faster processing.
- Worms climbing the sides or lid try to escape poor bin conditions. Check oxygen levels and make sure the bin isn’t too wet.
- Mould growth appears when air flow is poor. Turn the bedding to add oxygen and reduce feeding amounts.
- Stressed or dying worms point to serious bin problems. Test the pH and fix any wetness or oxygen issues right away.
- Food sitting untouched for days means you’re likely overfeeding. Scale back and wait until most food is gone before adding more.
- Dry bedding causes worms to stop eating. Mist the bin with water until it feels like a wrung-out sponge.
Now let’s look at how to keep your vermicompost bin healthy through proper care and upkeep.
Maintaining a Healthy Vermicompost Bin
We need to keep our worm bin’s moisture, pH, and smell in check. A healthy bin means happy worms and better compost for your garden.
Managing moisture, pH, and odour
Proper moisture levels remain vital for happy worms in your compost bin. We aim to keep our bins as damp as a wrung-out sponge – never soggy with pools of water or too dry. Too much water? Add dry shredded newspaper to soak up excess moisture or use a paper towel to wick away standing water.
Good air flow stops bad smells from forming, as poor ventilation creates anaerobic conditions where harmful bacteria thrive.
Temperature control plays a key role in worm health and odour management. Our wriggly friends perform best between 65–77°F (18–25°C), though they can survive in ranges from 40–85°F (5–29°C).
Extreme heat or cold stresses worms and affects their ability to process food, leading to potential pH imbalances and unpleasant smells. Regular bin checks help us spot problems early and maintain the perfect home for our composting helpers.
Conclusion
Worm feeding success rests on three key factors: right food, right amount, and right timing. Your worms will thrive with a mix of kitchen scraps, proper moisture, and care to avoid overfeeding.
Watch for signs like slow food breakdown or bad smells that signal feeding problems. Regular bin checks help keep the perfect balance for happy worms and rich compost. Start small, learn as you go, and soon you’ll master the art of vermicomposting for your garden needs.