Make a Homemade Worm Bin
Are you interested in creating your own homemade worm bin? Well, you’re in the right place! Setting up a worm bin at home is an easy and sustainable way to recycle kitchen waste while benefiting your garden. Let’s get right into learning how to make your own composting system, to produce some beautiful worm casting.
Choose the Right Container to Make a Worm Bin
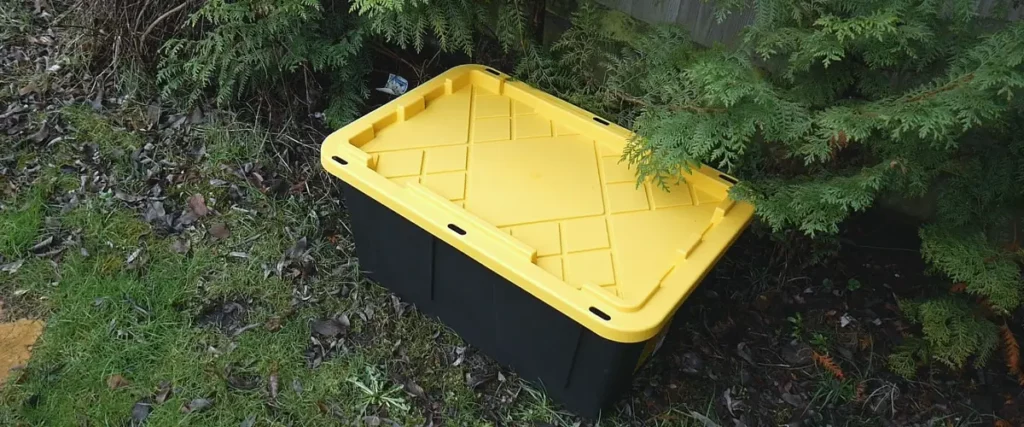
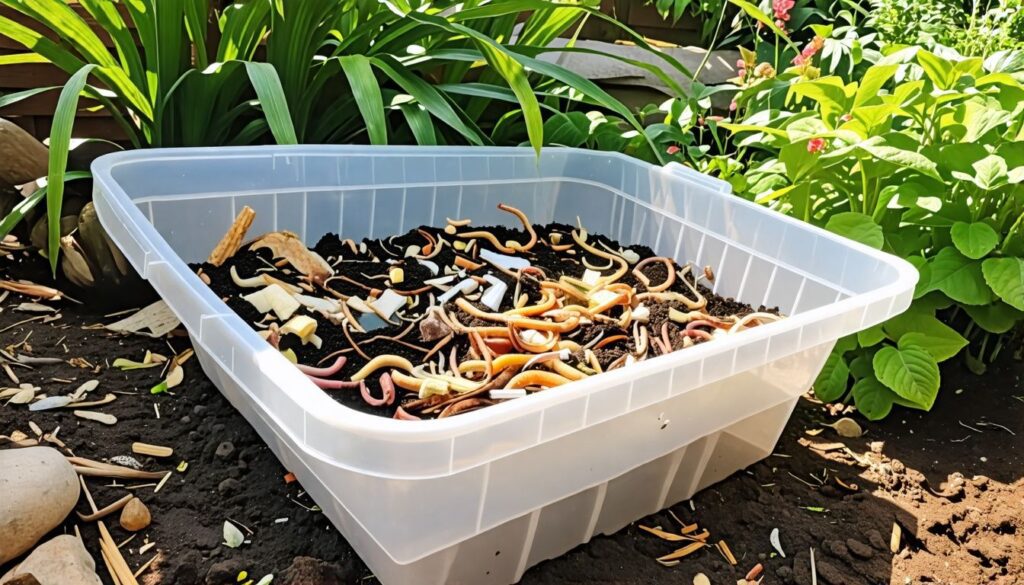
The first step to creating a homemade worm bin is to find a suitable container. I recommend using a plastic 27 US Gallon or 100-liter tote with a lid. The lid is necessary especially if you this will be an outdoor worm bin, to keep the rain from flooding it.
What you’re looking for is a container that has more width than depth. This provides optimal surface area for the worms, making it easier for them to feed and breed. A bucket might work but isn’t the best choice due to its lack of surface area. Also, make sure the container isn’t transparent, worms like the dark!
Air Flow is Crucial to Vermicomposting
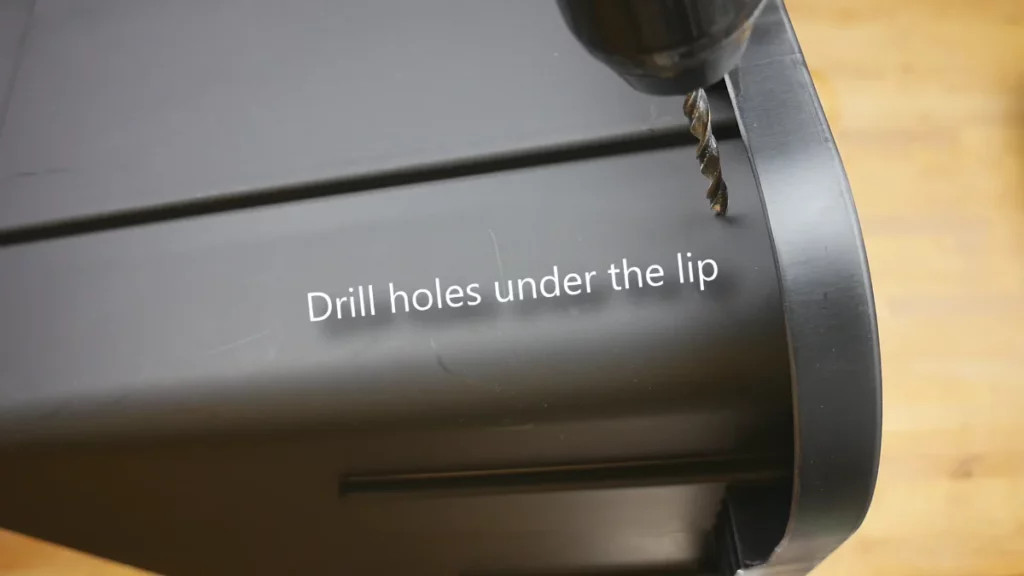
Worms need to breathe, just like any other animal. To facilitate this, you’ll want to create some ventilation holes at the top of your bin. I suggest drilling holes just below the lip to prevent water from entering the bin, especially if you plan to place it outdoors. Make sure to clean out all the little plastic bits created by the drilling to keep your worm compost clean.
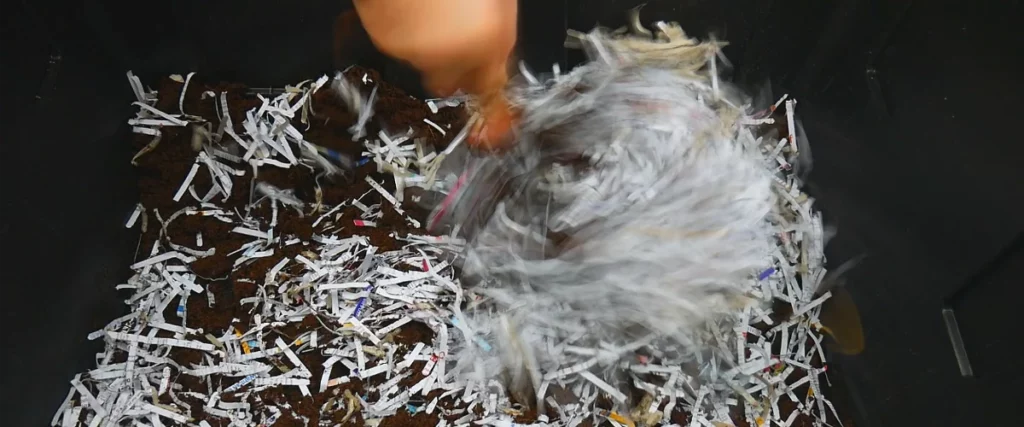
Preparing the Bedding: Shred Newspaper and Cardboard
The next step in setting up your homemade worm bin is preparing the bedding. The key qualities to look for in bedding materials are neutral pH, moisture retention, and good air flow. A mix of coconut coir, shredded newspaper, and cardboard makes for an excellent bedding. Ensure that the bedding is damp before adding it to the bin. Here are the steps to prepare the bedding for your homemade worm bin:
1. Gather the materials: You will need coconut coir, shredded newspaper, and cardboard. These materials provide a balanced and favourable environment for the worms.
2. Coconut coir: Start by rehydrating the coconut coir. It usually comes in a compressed block or brick, so you will need to soak it in water and let it expand. Follow the manufacturer’s instructions to achieve the appropriate moisture level. Once expanded, fluff it up with your hands to create a light and fluffy texture.
3. Shredded newspaper: Take some newspaper and shred it into small pieces. Avoid using coloured or glossy pages as they may contain chemicals that can be harmful to the worms. Soak the shredded newspaper in water for a few minutes to soften it and make it more pliable.
4. Cardboard: Cut the cardboard into small pieces or shred it using a shredder, or rip it up into small pieces. Soak the cardboard pieces in water for a few minutes to make it slightly damp. This will help with moisture retention in the worm bin.
5. Mixing the bedding: In a separate container or a large bucket, combine the coconut coir, shredded newspaper, and damp cardboard pieces. Mix them thoroughly to ensure an even distribution of materials. Adjust the proportions as needed, aiming for a balanced mixture.
6. Check the moisture level: The bedding should have a damp consistency, similar to a wrung-out sponge. It should not be too wet or dripping water. If the mixture feels too dry, add a little water and mix again. If it feels too wet, add more dry bedding materials like shredded newspaper or cardboard.
7. Add the bedding to the worm bin: Once you have achieved the desired moisture level, transfer the bedding mixture into the worm bin. Spread it evenly, filling the bin to a depth of at least 6 inches (15 cm).
8. Let it settle: Allow the bedding to settle for a day or two before adding the worms. This gives time for the beneficial microorganisms to start breaking down the bedding materials and creates a welcoming environment for the worms.
Remember, maintaining the proper moisture level is crucial for the worms’ health and overall success of the worm bin. Regularly monitor the moisture and adjust as necessary by misting with water or adding more dry bedding materials.
Getting the Moisture Level Right
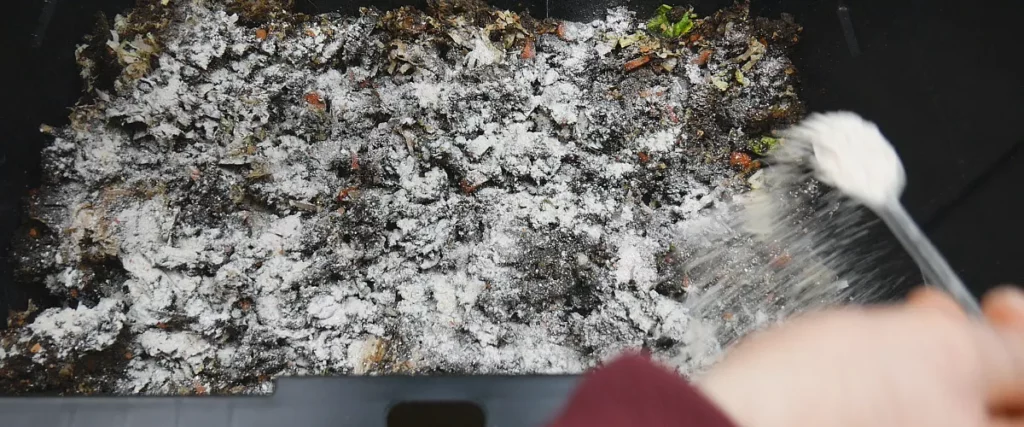
After fluffing up the bedding, make sure it’s evenly moist. If you’re using only coconut coir and find that it’s too wet, mix in some shredded paper or cardboard to absorb excess moisture. I also like to add some used coffee grounds to the bedding. Worms absolutely love this, and it’s a great way to recycle your coffee waste by adding it to your DIY worm bin. You should also consider drilling a few holes in the bottom of your new bin to allow any excess moisture to drain away.
Establishing the Worm Ecosystem in your Worm Compost Bin
If you’re fortunate enough to have an existing worm farm, use some of its vermicompost to jumpstart your new one. An established worm bin has beneficial microorganisms that help break down food waste, which worms eat. If you’re starting from scratch, add some food scraps and compost to help cultivate the microorganisms.
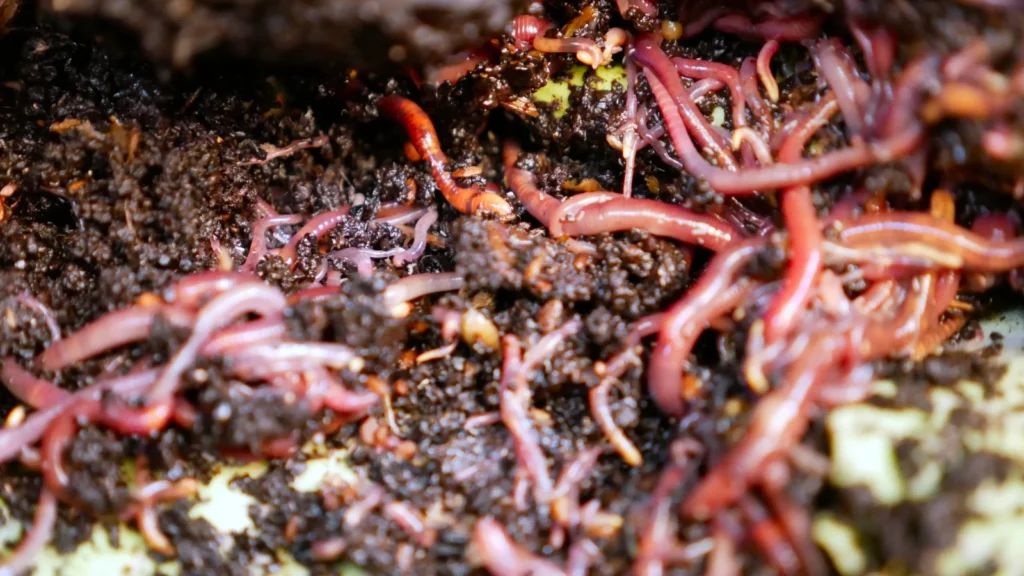
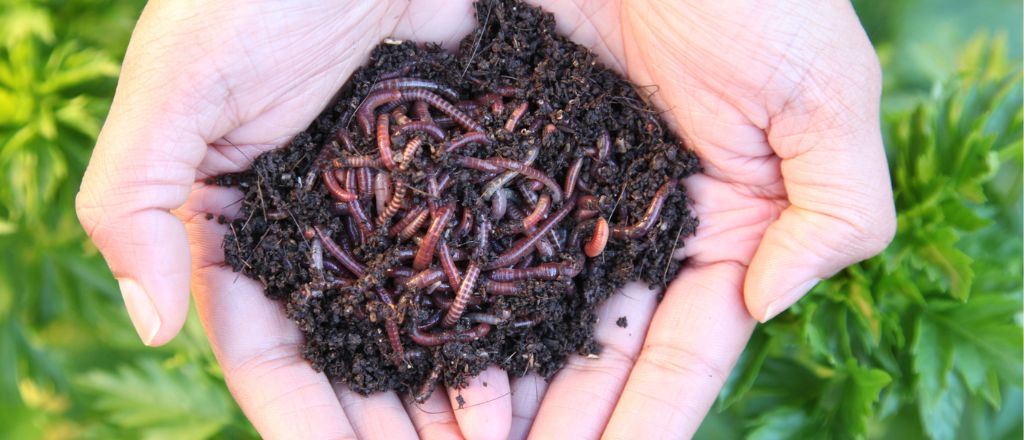
Adding Worms to your Homemade Worm Bin
Let the newly established worm bin settle for 12 to 24 hours before you consider adding worms. Don’t add too many worms in the beginning. For a 100 litre or 27 US Gallon container, half a pound of worms will do the job. And remember that not all worms are ideal for the composting process. I like to keep a mix of Red Wigglers and European Nightcrawlers, both are fantastic composting worms.
Final Touches
Once your worms have settled and moved beneath the top layer of the bedding, it’s a good idea to add some ground eggshells and worm chow. Just remember to spray down the bedding with a spray bottle to maintain the right level of moisture. Don’t rush to add too much food for your worms. While you might be tempted to through in a bunch of kitchen scraps right away, the worms need to settle into their new environment first. After 2 to 3 days, you can start adding small amounts of kitchen scraps and used coffee grounds. Make sure to cover over the scraps with existing compost or bedding to reduce the risk of fruit flies.
And voila, you have created your first worm bin! Place the lid on the bin and set it in its final location. Worms are hardy creatures, so they should be fine in most temperatures, although they do prefer a warmer climate.
Conclusion
Creating a homemade worm bin is a fantastic way to recycle waste and enrich your garden soil. Follow these steps, and you’ll be on your way to becoming a composting pro. If you have any questions, feel free to leave them in the comments section below.
Thanks for reading, and happy composting!
Pingback: What is Worm Composting? Vermicomposting Secrets!
Pingback: Ultimate Worm Chow Recipe