Getting worms and compost apart can be quite the faff, messy and slow as anything. We’ve all been there, haven’t we? After much trial and error, we found that timing your vermicompost harvest makes all the difference.
Our handy guide shows dead simple ways to collect those lovely rich worm castings without the usual bother. Fancy making your next harvest quick and clean? Let’s crack on then.
Preparing Your Worm Bin for Harvest
Getting your worm bin ready for harvest is a key step in the vermicomposting process. We need to check for the right signs and adjust moisture levels before we start collecting our black gold.
Signs Your Vermicompost is Ready
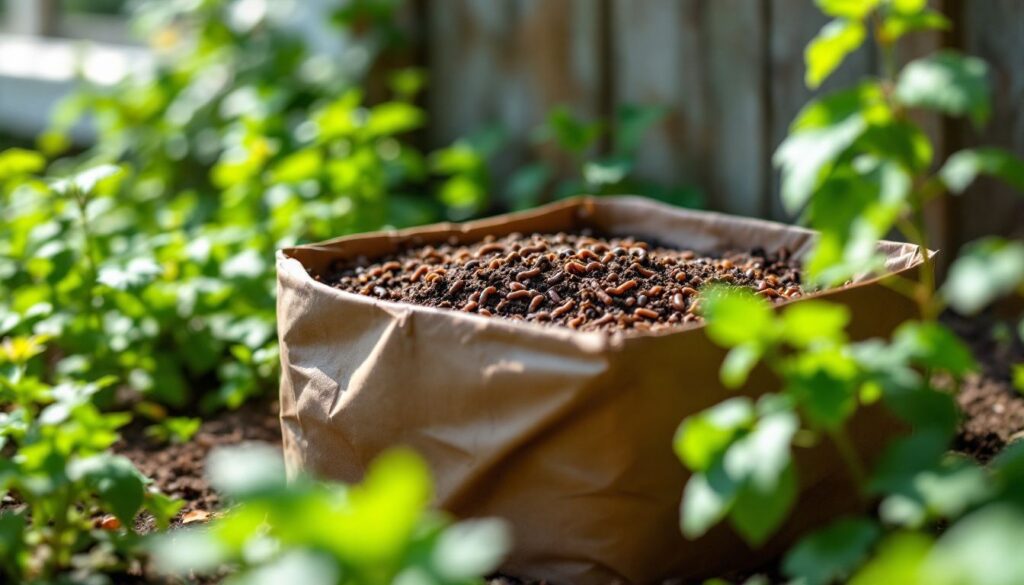
We know good vermicompost by its look and feel. Ready compost appears dark brown to black and smells earthy like forest soil. The original food scraps should no longer be visible in mature worm castings.
Texture varies based on your bin type – enclosed plastic systems often produce wet, sticky compost, while well-ventilated bins create drier, crumbly material. Our worm bins need regular mixing during the drying phase to stop clumps from forming.
Perfect vermicompost feels like crumbled chocolate cake – dark, rich and full of life-giving nutrients for your plants.
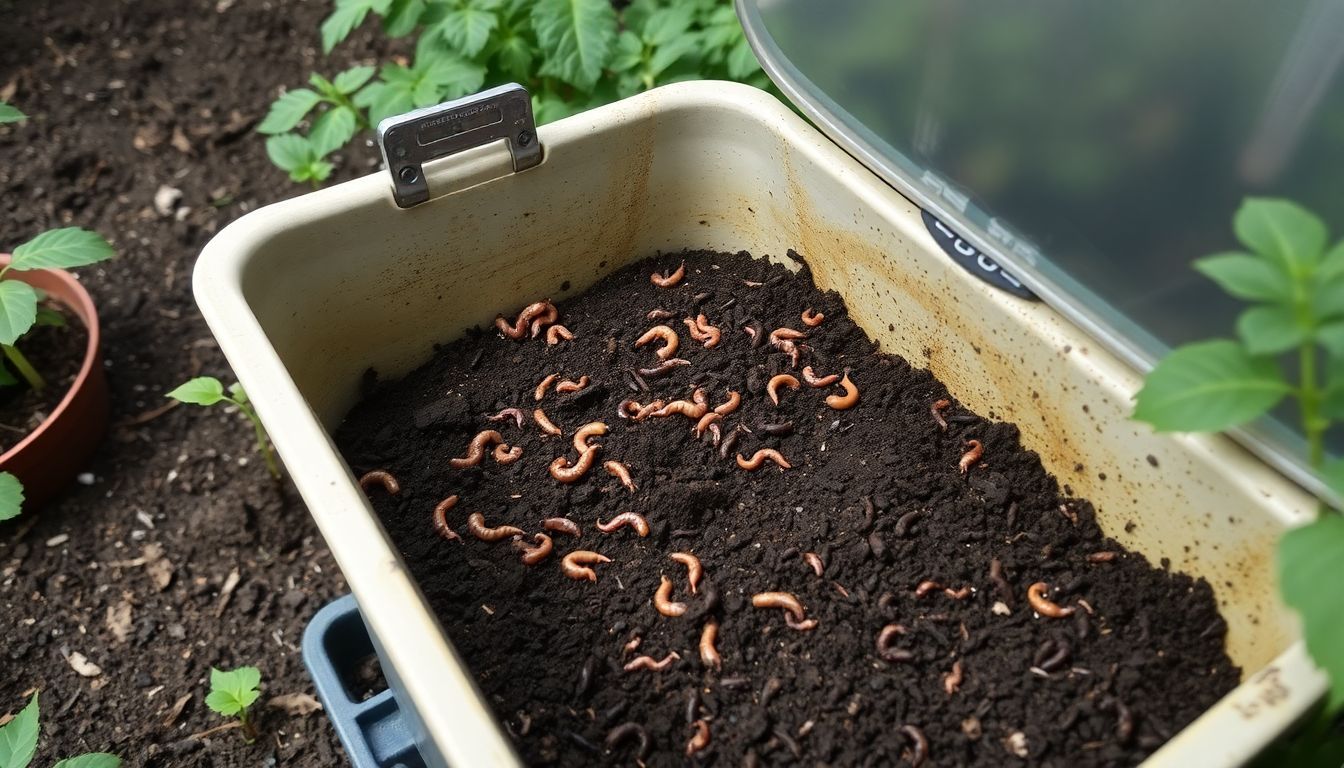
Most worm farmers notice a drop in bin temperature as a sign of readiness. The worms also change their behaviour – they stop feeding actively and move away from finished areas. Finished castings collect easily in a plastic tote placed below your main system.
Proper air flow helps create that ideal crumbly texture we aim for in our final product.
Reducing Moisture Levels for Easier Harvesting
Proper moisture control makes a big difference in how easily we harvest our vermicompost. Too much moisture creates clumpy, wet castings that stick together and become hard to separate from the worms.
Our goal is to reduce moisture levels in the bin about a week before harvest time. This simple step helps the material become less sticky and more granular.
Drying the bin slightly speeds up the screening process, though we must balance this carefully. Excessive drying can harm the beneficial microorganisms living in the compost. To reduce moisture, we stop adding wet food scraps and leave the bin lid slightly open for a few days.
Small adjustments to humidity levels transform a messy harvesting job into a smooth, efficient process that protects both worms and the valuable microbes in our finished compost.
Manual Separation Techniques
Manual separation methods offer a hands-on way to collect worm castings. We’ll show you how to sort through your compost bin and use the pyramid method for clean results.
Hand Sorting
Hand sorting offers a simple way to separate worms from finished compost. We find this method works well for small worm bins where other techniques might be too complex.
- Spread a tarp or plastic sheet on the ground to create a clean work surface for manual separation.
- Empty your worm bin contents onto the tarp in small piles for easier hand sifting.
- Wear gloves to protect your hands during the hand selection process.
- Form the compost into several small mounds rather than one large pile.
- Start at one edge of each mound and gently pick through the material.
- Place worms in a separate container as you find them through careful hand screening.
- The process takes time but allows for thorough manual classification of materials.
- Children often enjoy helping with this task as they can learn about worms up close.
- Bright light helps during hand grading as worms will try to move away from it.
- Sort through one handful at a time to avoid missing worms or cocoons.
- A small garden trowel helps move processed compost to your storage container.
- This method works best for bins under 2-3 square metres in size.
Pyramid Method
After hand sorting, we can try the pyramid method for a less hands-on approach. The pyramid method offers a smart way to separate worms from compost with less direct handling.
- We place the vermicompost in a cone shape on a tarp or large sheet of plastic in bright light.
- Worms move away from light and burrow deeper into the pile, allowing us to scrape off worm-free compost from the top.
- The process works through the natural behaviour of worms seeking darkness and moisture at the bottom of the pile.
- We remove small amounts of compost from the top of the pyramid every 10-15 minutes.
- This traditional separation process continues until only a small pile of worms and unfinished compost remains at the bottom.
- The pyramid method takes about 1-2 hours to complete but needs less effort than hand sorting.
- We can speed up the process by using a bright lamp aimed at the top of the pile.
- This nonmechanised separation method works best with drier compost as worms move more quickly through dry material.
- The pyramid shape makes gravity work for us, as worms naturally move downward.
- We find this conventional separation method works well for medium-sized worm bins with 2-5 pounds of worms.
Light Tray Method
The Light Tray Method uses worms’ dislike of bright light to help you harvest. We place a bright light above the compost, making worms move downward, leaving clean castings on top for easy collection.
How Light Encourages Worm Migration
Worms naturally shy away from light. This basic trait makes them burrow deeper into soil when exposed to brightness. We use this behaviour to our advantage during vermicompost harvesting.
Light triggers a survival response in worms, causing them to move downward to darker areas where they feel safe.
Light is the worm farmer’s secret tool – it moves the workers without touching them.
Our light tray method works because of this simple reaction. By placing a light source above the compost, we create an uncomfortable zone for the worms. They respond by migrating deeper into the bin, away from the light.
This natural movement helps separate worms from finished compost with minimal handling.
Step-by-Step Guide to Using the Light Tray Method
Now that we know how worms move away from light, we can use this to our advantage. The Light Tray Method makes sorting worms from compost quick and easy.
- Place your vermicompost on a tarp in a bright area or under a lamp.
- Spread the compost into a thin layer about 5-8 cm deep.
- Wait 10-15 minutes as the worms dig down to escape the light.
- Gently scrape off the top layer of compost that is now mostly worm-free.
- Repeat steps 3-4 until you see a high number of worms in the remaining material.
- Mix your compost during the drying phase to stop clumps from forming.
- Store the worm-free compost in a dry container for later use.
- Return the worms and any leftover material to your bin with fresh bedding.
- Try using a homemade screener to sift through larger chunks if needed.
- Combine this method with side-to-side migration for best results.
- Keep the sorted compost slightly moist until you’re ready to use it.
- Apply your harvested compost to plants right away or store it for up to six months.
Migration Techniques
Migration techniques help worms move to fresh bedding on their own. We use these natural movements to make harvesting easier and less messy.
Side-to-Side Migration
Side-to-side migration offers an easy way to collect worm castings without much fuss. We find this method works well for long bins where worms can move from one area to another.
- Start with an elongated bin that gives worms room to move sideways.
- Feed only one side of your bin for 2-3 weeks to create a food-rich zone.
- Worms will move toward the food, leaving their castings behind in the unfed area.
- Place fresh bedding and tasty food scraps on the empty side to attract worms.
- The baiting technique pulls worms to the new area through lateral movement.
- Check the old side after a week – most worms should have moved to the new side.
- Harvest the vermicompost from the now worm-free side of your bin.
- This sideways migration method causes less stress to worms than other techniques.
- Long, shallow bins work best for guiding migration flow from one end to another.
- The process takes about 2-3 weeks to complete but needs very little work from you.
- Fresh fruit scraps make excellent bait to encourage bin migration.
- This method works with both homemade and store-bought worm systems.
Vertical Migration Systems
After exploring side-to-side migration, we now turn to vertical migration systems. These systems use worms’ natural instinct to move upward toward fresh food sources.
- Vertical migration works with gravity to make harvesting easier for worm farmers.
- The Worm Factory 360 design draws worms to higher trays as they search for new food.
- We stack trays on top of each other to create a multi-level home for our worms.
- Fresh bedding and food go in the top tray to pull worms upward.
- Worms leave finished compost in lower trays as they climb toward fresh food.
- The bottom trays hold ready-to-harvest vermicompost with few or no worms.
- Continuous Flow-Through Systems feed from the top and allow harvest from the bottom.
- Most worms stay in the top 15-20 cm where food is most plentiful.
- Tower systems can hold more worms and process more waste than single-level bins.
- Vertical systems need less space than side-to-side methods for the same amount of compost.
- Our gardens benefit from steady compost supply that vertical systems provide.
- Soil health improves with regular additions of nutrient-rich worm castings.
- Many farmers use vertical systems for organic waste management on a larger scale.
- Nutrient cycling happens faster in well-designed vertical systems.
- These systems fit well in small spaces like balconies or tiny gardens.
Screening Vermicompost
Screening your vermicompost creates a finer product that works better in gardens. We use different mesh sizes to separate worm castings from larger bits of material.
Benefits of Screening
Screening vermicompost gives us many advantages in our worm farming efforts. We can create a uniform product that meets customer needs by sifting the material through different mesh sizes.
Our screens help remove unwanted items like unprocessed food scraps, bedding, and worm cocoons from the finished product. The process of sieving vermicompost also breaks up clumps, making it easier to spread in gardens or mix with potting soil.
Fine filtering of vermicompost produces a premium product that gardeners love. The act of straining removes larger particles and creates a smooth texture that works well for seed starting and houseplants.
Many gardeners prefer this refined material because it mixes easily with other growing media. Let’s explore how to choose the right screen size for your vermicompost operation.
Choosing the Right Screen Size
The screen size we select greatly impacts our vermicompost quality. We prefer using 1/8-inch screens for finer castings that work well as seed starting mix or potting soil. A 1/4-inch screen creates coarser material that allows worm cocoons to pass through, helping maintain our worm population in the garden.
Many gardeners keep both sizes on hand for different uses. Fine screens catch more material but take longer to process, while coarser screens speed up the job. The mesh type matters too – sturdy metal screens last longer than plastic ones for regular composting tasks.
Storing and Using Vermicompost
Proper storage keeps vermicompost fresh and ready for use. We store our worm castings in breathable containers and apply them to plants as a top dressing or mixed into potting soil.
Proper Storage Techniques
We store vermicompost in a cool, dry place to keep its helpful microbes alive. Fresh vermicompost often feels wet and sticky, so we mix it often during drying. This stops mould growth and helps air flow through the mix.
Our best practice includes stopping worm feeding two weeks before harvest. This gives worms time to process all food scraps. We screen our compost to remove large bits that haven’t broken down yet.
These bits go back into our worm bin for more processing. Proper air flow in storage containers protects the living parts of our compost until we use it in our gardens.
Applications in Gardening and Farming
Worm castings work magic in gardens and farms as top-notch organic fertilisers. Our plants thrive with these nutrient-rich additions that feed soil life and boost plant health. The best part about earthworm castings is they never burn plants, unlike many chemical options.
This safety feature lets us apply them freely around tender seedlings and mature plants without worry.
Garden soil gets a real boost from vermicompost through better water retention and improved structure. Plants grown in soil enriched with worm castings show stronger root systems and greater resistance to pests.
Many farmers report higher yields after adding this eco-friendly soil amendment to their fields. Natural plant nutrition from vermicompost supports sustainable farming practices while reducing the need for chemical inputs.
Conclusion
Harvesting vermicompost doesn’t need to be hard work. You can choose from many methods based on your bin type and time limits. Light methods push worms down while you collect the rich castings from above.
Sorting screens help you get clean compost for your plants, though some gardeners skip this step. Your garden will thank you for the effort as worm castings boost plant growth and soil health like no other natural feed can.