Is your worm bin a bit pongy, swarming with fruit flies, or are your wriggly friends making a break for it? Not to worry – we’ve all been in the same boat with our vermicompost bins and know how maddening these problems can be.
Red wiggler worms need proper care – the right feeding, moisture, and bedding – to transform your kitchen scraps into lovely rich compost. Our straightforward fixes will help you sort your worm bin in no time.
Have a read and get your worm farm back to its best today.
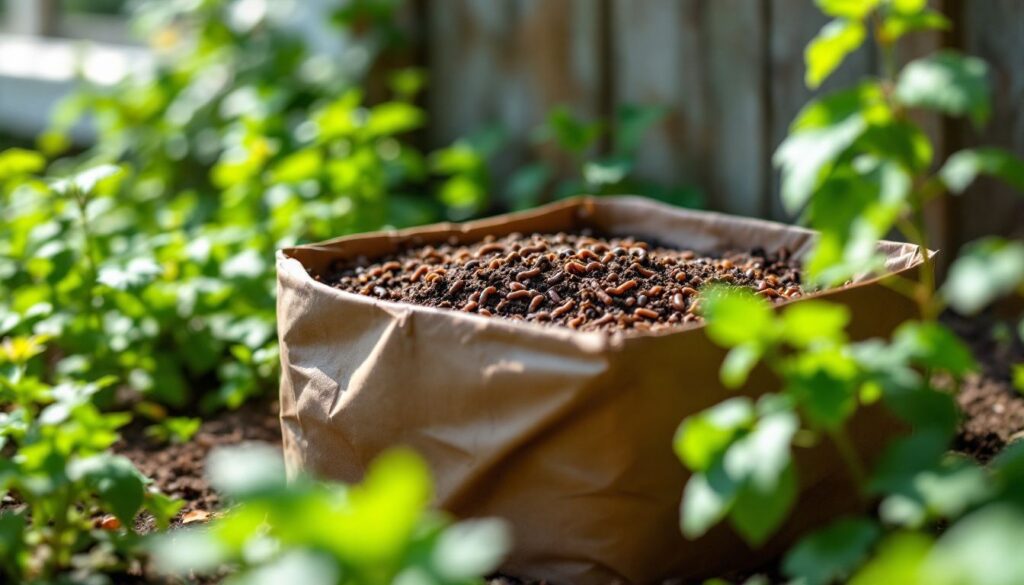
Common Vermicomposting Problems
Worm bins can face several issues that need quick fixes. These problems range from smells to pests, but most have simple solutions.
Bad odours in the worm bin
Bad odours in a worm bin signal something is wrong with your system. A healthy bin should smell earthy, not foul or rotten. Overfeeding often causes these unpleasant smells as food scraps rot before worms can eat them.
Putting in wrong foods or having dead worms also creates stink. Dead worms break down very fast and smell awful because they contain 75% water.
The nose knows – a smelly bin needs attention right away!
We fix most odour issues by changing how we manage the bin. Most problems come from our mistakes, not the worms themselves. Too much food, poor air flow, or wrong moisture levels lead to bad smells.
The good news is these issues can be fixed quickly once spotted. Spring and autumn bring the best worm breeding results, so bins may need extra care during these busy times.
Fruit flies and other pests
Fruit flies create a common nuisance in worm bins. We solved this problem by setting up apple cider vinegar traps near our bins. Sprinkling extra bedding over food scraps also helped keep these pests away.
Mites pose another challenge in vermiculture systems. White or red mites often appear due to too much moisture or food in the bin. Red mites can harm your worms as they may be parasitic.
We found that stopping food additions for two weeks greatly reduced mite populations. Maggots might show up if your bin has poor air flow, too much water, or the wrong foods. These pests signal that something needs fixing in your compost system.
Let’s explore how to adjust moisture levels to keep your worm bin in top shape.
Worms escaping or wandering
Worms trying to escape your bin is a clear sign something isn’t right in their home. Our worm friends may crawl up the sides or even out of the bin if they face poor conditions like overcrowding, wrong temperatures, or bad moisture levels.
Fresh bedding must be added often as worms cannot live long in their own castings. Most escape problems stem from simple human errors we can fix easily. Moisture issues are very common, especially with new worms that arrive in dry peat moss.
These shipped worms may have lost up to 70% of their body mass during the 3-5 day shipping time.
The fix for wandering worms starts with checking your bin’s basic needs. We need to make sure the bedding isn’t too wet or too dry, as both can make worms uncomfortable. The temperature should stay between 15-25°C for happy worms.
If you see worms climbing the walls, try adding fresh bedding or moving the bin to a cooler spot. Now let’s look at how to solve other common issues that might be making your worm bin less than ideal.
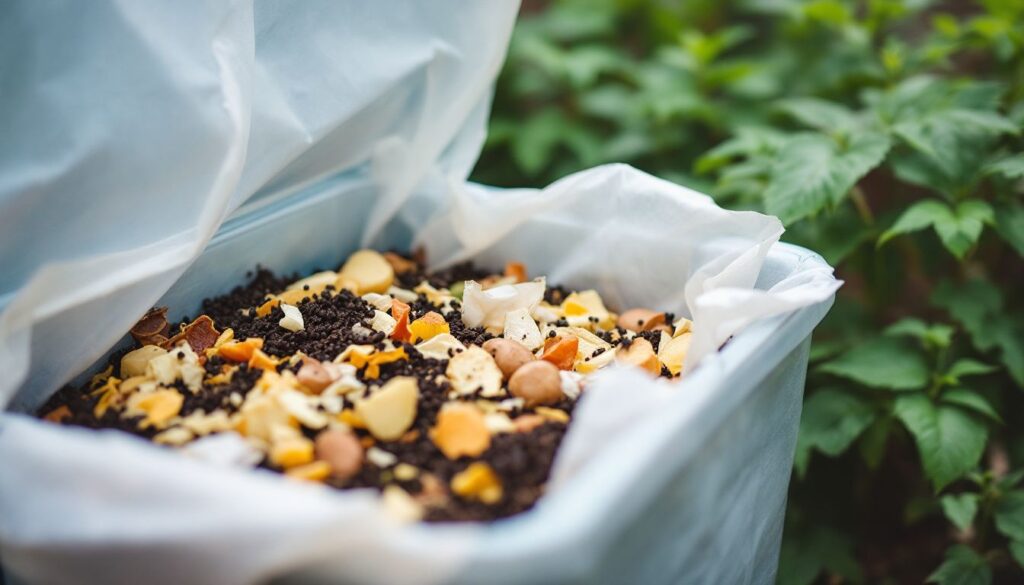
Bin too wet or too dry
A perfect worm bin needs the right amount of water. Too wet, and our red worms might drown or suffer from poor air flow. Too dry, and they can’t move or eat properly. The bedding should feel like a wrung-out sponge – moist but not dripping.
We must check our compost bin regularly to maintain this balance. The microbial activity that helps break down organic waste works best at this ideal moisture level.
Balance is the key to successful vermiculture – not too wet, not too dry.
Our worm friends need a mix of green materials (food scraps) and brown materials (paper, soil) to create the right home. They eat about 1/3 of their weight every 2-4 days, so proper moisture helps this decomposition process.
The sustainable waste management system works best when we pay attention to these details. Let’s explore how to control pests that might appear in your worm bin.
Solutions for Worm Bin Issues
We’ll show you simple fixes for all your worm bin troubles in this section. Read on to learn how to keep your worms happy and your compost healthy!
Managing odours with proper aeration
Worm bins should smell earthy and fresh, not foul or rotten. Bad smells often point to issues we can fix with better air flow and bin care.
- Add brown leaves to your bin to soak up extra moisture and bad smells. Dry leaves work as natural filters that trap odours while keeping the bin balanced.
- Check your bin for signs of overfeeding which causes rotting food and bad smells. Cut back on food scraps if you notice uneaten waste piling up.
- Mix your worm bedding often to create air pockets that help good bacteria thrive. Good air flow stops the growth of smelly, harmful bacteria in your compost.
- Place your bin in a spot with good air flow but not in direct sun or wind. The right spot helps keep odours down without drying out the bin too much.
- Use shredded cardboard as bedding to soak up excess moisture that causes smells. Cardboard has air spaces that help with proper ventilation in the worm bin.
- Bury food scraps under bedding rather than leaving them on top. This simple step cuts down on smells and keeps fruit flies away from your bin.
- Add coconut coir or peat moss to fix a too-wet bin that smells bad. These materials soak up water while still letting air move through the compost.
- Remove any dead worms right away as they cause strong, foul odours. A quick check each week helps spot problems before they create bad smells.
- Make sure your bin has enough air holes on the sides and top. Proper ventilation is key to odour management in worm composting systems.
- Avoid putting meat, dairy, or oily foods in your bin as these items rot quickly and create strong smells. Stick to fruit and veg scraps for best results.
Controlling pests like fruit flies and mites
Pests can turn a healthy worm bin into a mess quickly. We find that most pest issues can be fixed with simple steps that don’t need harsh chemicals.
- Apple cider vinegar traps work well to catch fruit flies that buzz around your bin. Place small cups with vinegar near your bin to lure and trap them.
- Covering food scraps with bedding stops fruit flies from finding places to lay eggs. A layer of dry leaves or shredded paper works as a barrier.
- Mites often show up when bins are too wet or have too much food. We pause adding food scraps for two weeks to reduce their numbers.
- Proper air flow helps keep pest numbers down in your vermicomposting system. Drill extra holes if needed to improve air movement.
- Maggots appear when houseflies lay eggs in bins with too much moisture. Fix this by adding dry bedding to soak up extra water.
- Food that rots too fast can draw unwanted bugs to your bin. Chop scraps into small bits so they break down faster.
- Brown materials like dried leaves help balance the bin and stop pest issues. Mix these with food waste at a 3:1 ratio.
- A thin layer of soil on top of fresh food waste blocks smells that attract pests. This simple trick keeps your bin pest-free.
- Overfeeding worms leads to pest problems in most cases. Cut back on food if you spot bugs taking over your bin.
Adjusting moisture levels in the bin
Moisture balance plays a key role in keeping your worm bin healthy. We’ve found that worms need moist bedding that isn’t too wet or too dry.
- Check moisture levels by squeezing a handful of bedding – it should feel like a wrung-out sponge.
- Add dry brown leaves to fix a too-wet bin, which helps soak up extra water.
- Spray water onto the bedding if it feels dry to the touch.
- Mix wet food scraps with dry bedding to keep the right balance.
- Place a tray under your bin to catch any water that drips out.
- Add holes in the bottom of your bin for better drainage if it stays too wet.
- Cover wet food waste with dry bedding to stop odours and excess moisture.
- Watch for worms climbing the sides, which often means the bin is too wet.
- Fix smelly bins fast by adding brown leaves, as we found this stops both moisture and bad smells.
- Pay extra care to moisture during spring (February-May) and autumn (September-November) when worms breed most.
- Fluff up the bedding once a week to create air pockets and stop wet spots.
- Use a moisture meter if you want to be exact about wetness levels.
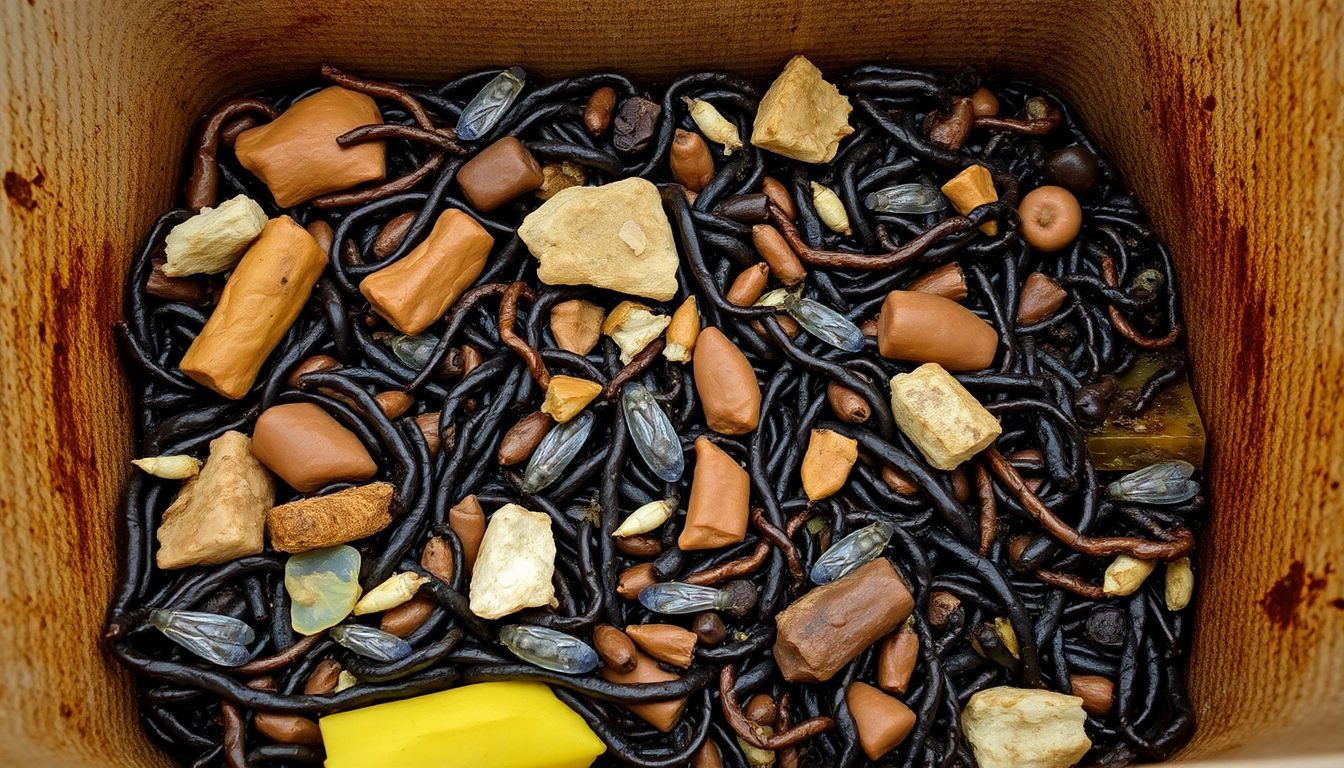
Ensuring worms are healthy and active
A thriving worm bin needs happy, active worms to create rich compost. We can spot several signs that show our worm colony is doing well in our vermicomposting system.
- Check for breeding signs during peak seasons – spring (late February to May) and autumn (September to November). Swollen clitellums and tiny cocoons mean your worms are breeding well.
- Feed worms small amounts of varied food at a time. Make sure they’ve eaten about 80% of the last meal before adding more to maintain worm bin health.
- Watch how your worms move. Healthy worms wiggle quickly when disturbed and burrow into the bedding within minutes.
- Look at worm colour and body condition. Healthy red wigglers should be bright reddish-brown with moist skin.
- Monitor for warning signs like lethargy, strange colours, bad smells, or “string of pearls” formation, which shows toxic conditions in your worm farm.
- Keep proper moisture levels in the bin. The bedding should feel like a wrung-out sponge for best worm activity.
- Count your worms every few months to track population growth in your sustainable worm farming setup.
- Avoid adding citrus, onions, or spicy foods that might harm your worm population.
- Maintain good air flow in your bin to keep oxygen levels high for an active worm colony.
- Split your bin when it gets crowded to give worms enough space to move and eat.
Now let’s look at how to wrap up your vermicomposting system for the best results.
Conclusion
Fixing worm bin issues takes practice, but most problems have simple fixes. Bad smells mean your bin needs more air or less food waste. Pests show up when food sits on top, so bury scraps deeper next time.
Your worms stay happy when the bin has the right dampness – like a wrung-out sponge. Regular checks help spot troubles before they grow big. With these tips, your worm farm will turn kitchen scraps into rich soil for plants all year round.