Feeling overwhelmed by kitchen waste and unsure how to handle it more eco-consciously? You’re not alone. Discovering vermicomposting was a true revelation for us, transforming scraps into gold for our gardens.
Join us as we dive into the world of worm composting, guiding you step by step in creating your very own nutrient-rich empire from everyday waste. Let’s turn what you toss into treasure together.
What is Vermicomposting?

Vermicomposting is the process of using worms to turn organic waste into nutrient-rich compost. This method helps reduce waste and improves soil health, making it a great choice for sustainable gardening.
Definition

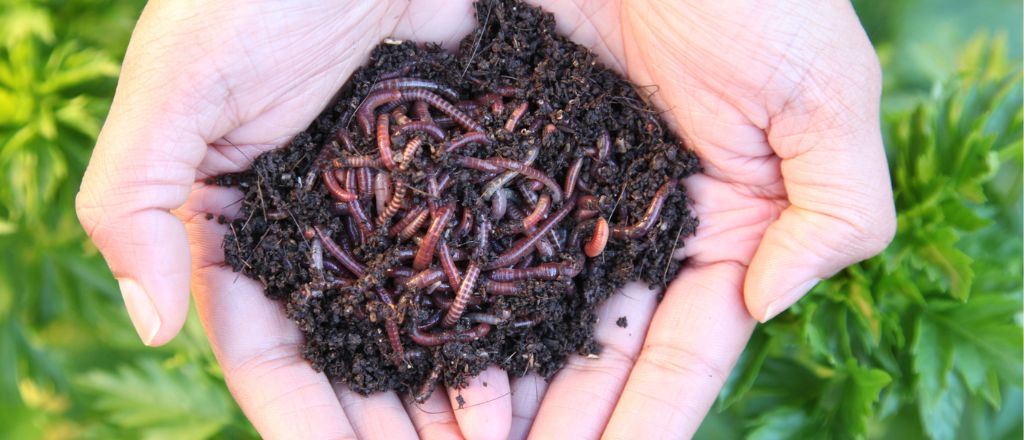
Vermicomposting is the practice of using worms to break down organic waste, such as food scraps. This process transforms discarded materials into nutrient-rich worm castings, which serve as a premium fertilizer for our gardens.
By employing composting with worms, we effectively manage our household garbage while enriching soil health.
Engaging in vermiculture allows us to create a sustainable ecosystem right at home. Setting up a worm farm can be done in various spaces, from large backyards to tiny apartments. The versatility and effectiveness of this method make it ideal for urban gardening enthusiasts looking to reduce waste and promote sustainable living practices.
The best part about vermicomposting is knowing that we’re recycling organic materials into something truly beneficial.
Benefits

Vermicomposting provides us with an environmentally friendly method to reduce household garbage. We can transform food scraps and organic waste into nutrient-rich fertilizer using red worms.
These castings, often referred to as worm manure, are considered one of the finest soil amendments in horticulture. This process not only minimizes our waste but also offers valuable organic material for our gardens and farming needs.
Creating a worm bin allows us to manage organic waste effectively while fostering healthy microorganisms essential for plant growth. Keeping worms happy involves maintaining proper temperature, moisture levels, and food supplies ensures a thriving ecosystem.
Engaging in vermiculture could even evolve into a small business venture where we sell excess vermicompost or live worms to fellow enthusiasts. Now that we understand the benefits let’s explore what supplies we need for successful vermicomposting.
Supplies Needed for Vermicomposting

We need a few key items to get started with vermicomposting. Each of these supplies plays an important role in creating a healthy environment for our worms.
Bin or Tub

Choosing the right bin or tub is crucial for successful vermicomposting. We can use plastic bins, wooden boxes, or even repurpose old containers as long as they provide sufficient space and ventilation.
Proper air holes ensure fresh air exchange, keeping our worms healthy and happy. A good-sized bin should be at least 10 to 20 gallons to accommodate a thriving worm population.
We recommend that the container is opaque to protect against light exposure while still allowing us easy access for maintenance. It’s important to remember that adequate drainage prevents excess moisture buildup, which can harm the worms.
This simple yet effective setup serves as a sustainable solution for reducing waste through outdoor worm composting while producing nutrient-rich vermicompost for our gardens.
Bedding Material
Bedding material is essential for a successful vermicomposting bin. We use shredded newspaper, cardboard, or coconut coir as bedding to provide a comfortable habitat for the worms.
This material retains moisture while allowing airflow, which promotes decomposition and keeps our worms healthy. The right bedding helps maintain proper temperature and moisture levels, both crucial for effective composting.
After setting up the bedding, we can move on to introducing our compost worms into their new home.
Compost Worms
Selecting the right compost worms is crucial for our vermicomposting success. Red wigglers (Eisenia fetida) are the most popular choice. They excel at breaking down organic waste in a worm bin, making them perfect for our composting needs.
These worms thrive in warm conditions and can consume half their body weight daily in food scraps.
Each worm we introduce contributes significantly to our organic waste management efforts. Their castings are rich in nutrients, often regarded as one of the best soil amendments available for enhancing plant growth.
We’ve found that maintaining proper temperature and moisture levels helps keep our red wigglers healthy while maximizing their productivity in creating nutrient-rich vermicompost.
With a bit of care, we can build a thriving worm empire right at home!
Dirt or Grit
To ensure our worms thrive, adding dirt or grit to the bin is essential. Worms need a source of grit for digestion; this helps them grind down food in their gizzards. We can use sand, crushed eggshells, or even small pieces of gravel as an effective grit option.
Maintaining the right conditions in our worm bin encourages optimal health and productivity. Introducing a layer of dirt also aids in creating a balanced environment for the worms.
The minerals present enrich the composting process while improving drainage within the bedding material. This step is vital in our journey with vermicomposting 101: Start Your Own Worm Empire Today!
Food Scraps
Food scraps serve as the primary diet for our compost worms. These leftovers break down quickly and provide essential nutrients. We can feed our worms various organic materials such as vegetable peels, fruit scraps, coffee grounds, and crushed eggshells.
It’s crucial to avoid meat, dairy products, and oily foods because they can attract pests and create odors.
As we manage our worm bin, we should monitor how much food we’re adding. A good rule of thumb is to start with small amounts and adjust based on how quickly the worms consume them.
This simple process reduces household waste while creating nutrient-rich vermicompost for our gardens. Vermicomposting 101: Start Your Own Worm Empire Today by turning those leftovers into valuable fertilizer!
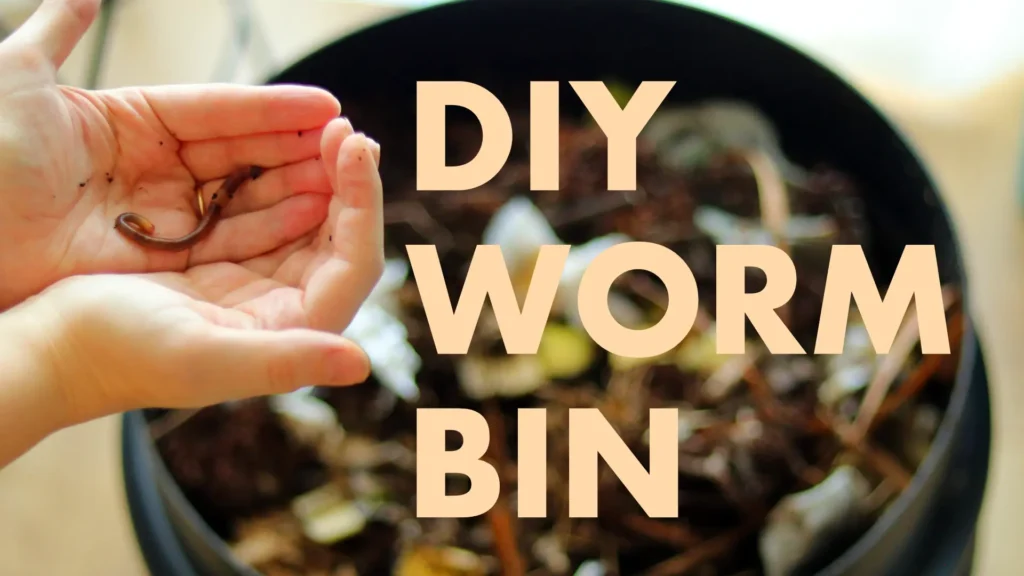
How to Start a Worm Bin

To start a worm bin, we first need to choose the right container for our worms. After that, we will create air holes and prepare a cozy bedding layer for them.
Selecting the bin
Selecting the right bin is crucial for our vermicomposting journey. We can choose from various options, like plastic storage containers or wooden bins. The size of the bin should accommodate both the amount of food scraps we generate and the number of worms we plan to introduce.
A medium-sized bin works well for most households.
Air circulation plays a vital role in keeping our worm environment healthy. We must make air holes in the lid and sides of our chosen container to ensure proper ventilation. This will help maintain optimal conditions that are essential for decomposing organic materials effectively while supporting our goal to create nutrient-rich vermicompost for organic gardening.
Adding air holes
After choosing our bin, we need to focus on air holes. Air circulation is vital for the health of our worms. Worms require oxygen to thrive, and without proper ventilation, the environment can become too damp or anaerobic.
To ensure adequate airflow, we punch several small holes in the bin’s lid and sides. These should be about one inch apart.
Positioning these air holes correctly helps maintain a balanced moisture level while preventing foul odors from developing. Too much moisture can lead to problems like mold growth and excess acidity that harm our worm population.
By following these steps, we enhance the conditions essential for successful vermicomposting to reduce waste and create nutrient-rich soil for gardening or farming.
Adding bedding
Adding bedding is a crucial step in setting up our worm bin. We can use shredded newspaper, cardboard, or coconut coir as bedding materials. These substances provide a comfortable environment for the worms and help retain moisture.
Ideally, we should fill the bin with about three to five inches of bedding material.
Moisture plays an important role here; the bedding should feel like a damp sponge but not dripping wet. This balance ensures that our worms thrive while breaking down food scraps efficiently.
By offering them this cozy habitat, we support their natural composting process and create nutrient-rich vermicompost for our gardening needs.
Introducing worms
To introduce worms into our vermicomposting bin, we need to choose a suitable type of composting worm. Red wigglers (Eisenia fetida) are the most popular choice due to their efficiency in breaking down organic matter.
We can typically find these worms at gardening centers or online suppliers that specialize in vermiculture. It’s essential to start with about one pound of worms for every square foot of surface area in our bin.
Before adding them, we want to ensure the bedding is moist but not soggy. The temperature inside the bin should be around 60-70°F, as this range keeps our worms comfortable and active.
Once everything is set up, we gently place the worms on top of the bedding without burying them. This allows them to acclimate and begin working on transforming food scraps into nutrient-rich vermicompost right away!
Feeding and maintaining the bin
Feeding our worms is essential for their health and productivity. We offer them a mix of food scraps, such as vegetable peels, coffee grounds, and crushed eggshells. It’s crucial to avoid meat, dairy, or oily foods because these can attract pests and create odors.
As we feed the worms, we maintain moisture in the bin to keep it damp but not soggy. Checking the temperature also helps us ensure that it stays within an ideal range for worm activity.
Maintaining our worm bin involves regular monitoring of conditions inside. We check for signs of overfeeding by observing how quickly the worms consume the scraps. Turning the bedding occasionally aerates it, which keeps things fresh for our little helpers.
After about three months, we can expect to see rich vermicompost ready for harvesting—an excellent organic fertilizer that enhances soil quality in our gardens! Next up is exploring tips for successful vermicomposting to maximize our efforts even further.
Tips for Successful Vermicomposting

To succeed in vermicomposting, we should avoid common mistakes that can harm our worms. Choosing the right bin and feeding them properly will ensure a thriving worm community.
Avoiding mistakes
Starting a vermicomposting project can be rewarding, but we must steer clear of common pitfalls. Focusing on the right practices leads to success and healthy worms.
- Overfeeding the Worms: Too much food can create odor and attract pests. We should feed them just enough scraps to avoid waste buildup.
- Choosing the Wrong Worms: Not all worms work well for composting. Red wigglers are ideal for indoor bins because they thrive in small spaces and break down waste quickly.
- Ignoring Temperature Fluctuations: Extreme heat or cold harms our worms. Keeping the bin at a stable temperature between 60°F and 75°F is crucial for their health.
- Neglecting Moisture Levels: The bedding should feel like a damp sponge—moist but not soggy. Providing too much moisture can drown our worms, while dry conditions will stress them out.
- Using Harmful Chemicals: We should never add meats, dairy, or oily foods into the bin as they can spoil and disrupt the composting process. Sticking to vegetable scraps helps maintain balance.
- Disregarding Ventilation Needs: A lack of air holes can lead to harmful gases building up in the bin. Proper ventilation allows fresh air in, keeping our worm environment healthy.
- Failing to Harvest Castings Regularly: Leaving worm castings in the bin too long may create overcrowding and stress for our worms. We benefit from removing castings every few months for use in gardens.
- Not Monitoring pH Levels: An unbalanced pH can affect worm activity and decomposition rates. Keeping it between 6-7 is ideal to support optimal conditions for worm life.
- Ignoring Signs of Stress in Worms: If we see worms trying to escape or if they become inactive, it indicates something is wrong with their environment or care.
- Skipping Regular Check-ups on the Bin: Routine maintenance ensures everything runs smoothly within our project. Checking regularly helps us identify any issues before they escalate, keeping our operation thriving.
Best worm bins to use
Selecting the right worm bin is crucial for effective vermicomposting. We find that plastic storage bins or wooden boxes work well. These options are easy to acquire and modify. Air holes become necessary to maintain airflow in our bins, as worms thrive in oxygen-rich environments.
Each bin should ideally hold enough bedding material like shredded newspaper or cardboard to keep the worms comfortable.
We have experimented with various designs and found stacking systems particularly efficient for maximizing space. A dual-layered system allows us to harvest castings easily while providing fresh bedding above for feeding new additions.
Choosing a suitable worm bin can make our composting experience more rewarding, leading us smoothly into understanding how to start a worm bin effectively.
How to sell your worms
To transition from exploring the best worm bins to selling our worms, we should consider various markets. We can target local gardeners, farmers, and even online buyers who are eager for organic fertilizers.
First-hand experience shows that creating an attractive sales platform is crucial. Setting up at farmer’s markets or community gardening events gives us direct access to potential customers.
Another option includes utilizing social media platforms and dedicated websites for agricultural products. Offering detailed information about the benefits of vermicompost can attract interest.
Pricing competitively while promoting quality ensures we stand out in the marketplace. Building a reputation through positive customer feedback will encourage repeat business and expand our reach further into the community and beyond.
Conclusion

We’ve explored the ins and outs of vermicomposting, grounding our discussion in facts that underscore its value for reducing waste and boosting garden health. Dr. Emma Robertson steps into our conversation as an authority on sustainable agriculture with over a decade of experience.
Holding a PhD in Soil Science from Green University, she has contributed significantly to research on organic waste management methods. Her work not only highlights the efficiency of vermicomposting but also emphasizes its role in promoting soil fertility.
Dr. Robertson evaluates our guide, noting that vermicomposting harnesses natural processes to transform kitchen scraps into valuable plant nutrients. She explains how this method replicates ecosystems’ way of recycling organic matter, turning potential landfill fodder into gold for gardens.
Addressing safety and ethics, Dr. Robertson applauds the eco-friendly aspect of worm farming at home or commercially. Vermicomposting reflects a commitment to sustainability, she states, emphasizing the importance of adhering to best practices like avoiding meat and dairy scraps in bins to prevent pathogens.
For integrating this practice into daily life, she recommends starting small to manage it effectively without feeling overwhelmed—ideal advice for apartment dwellers or homeowners alike interested in making an environmental impact right from their backyard.
In her balanced evaluation, Dr. Robertson acknowledges challenges such as maintaining optimal bin conditions but juxtaposes these against the significant benefits: reduced household waste and high-quality compost production which can even become a source of income or community sharing.
Her final verdict champions vermicomposting’s value highly for those willing to invest some effort into learning about proper worm farm management — stating clearly that its positives far outweigh any negatives by fostering healthier soils without chemical fertilizers’ intervention.
Embracing vermiculture does more than just feed plants; it feeds hope for a greener planet through simple yet profoundly impactful daily actions within reach for most households.