Checking your worm bin every day and wondering when your vermicompost will be ready? We’ve puzzled over this same question with our bins too. Most vermicompost needs 6-12 weeks to fully mature.
Our guide shows you the clear signs that tell you it’s harvest time, plus handy tips to speed things up. Your garden plants are simply waiting for this black gold!
What is Vermicomposting?
Vermicomposting turns kitchen scraps into rich soil with the help of red wiggler worms. We use special worms called Eisenia foetida and Lumbricus rubellus that eat their own weight in food waste each day.
These small worms (2-4 inches long) break down organic matter into nutrient-packed compost. A basic home system needs just a bin, moist bedding, and about 500-1,000 worms to start.
This composting method works well in small spaces and creates no bad smells. Many people choose vermicomposting because it costs little to set up and maintain. The process also teaches children about nature and recycling.
Our worm bins transform common kitchen waste into dark, crumbly compost that plants love. The system stays clean and tidy while the worms do all the hard work.
General Timeline for Vermicompost Readiness
Vermicompost takes time to transform from waste to garden gold. Most bins need 6-12 weeks before they’re ready to use, but this can vary based on several key factors.
Typical duration: 6-12 weeks
Vermicompost readiness follows a fairly standard timeline in most home systems. We find that the process typically takes 6-12 weeks from start to finish. The initial production phase lasts about 6-8 weeks as worms begin to break down organic waste and create nutrient-rich castings.
The complete cycle until harvest ranges from 1-4 months, depending on your setup conditions.
Patience with vermicomposting yields black gold for your garden.
The timeline varies based on several factors that affect how quickly worms process materials. Temperature plays a major role, with worms working faster in warmer conditions between 15-25°C.
The type of food waste added impacts speed too – soft fruits break down much faster than tough vegetable stems or eggshells. Proper moisture levels keep the decomposition process moving at an ideal pace.
Our experience shows that maintaining these optimal conditions can help achieve finished compost closer to the 6-week mark rather than waiting the full 12 weeks.
Factors influencing the timeline
While most worm bins take 6-12 weeks to produce finished compost, several factors can speed up or slow down this process. The bin temperature plays a major role in how fast our worms work.
We need to keep the bin between 55-75°F for best results. Our redworms thrive in this range and process food scraps faster. Moisture levels also affect the timeline greatly. Redworms need constant moisture to digest organic waste properly.
Too dry, and they slow down; too wet, and they might try to escape.
The size of our worm bin impacts how quickly materials break down. A standard plastic bin (21 inches long, 15 inches wide, 5-8 inches deep) covers about 2.2 square feet. This space allows redworms to move freely through the bedding.
The type of food we add matters too. Soft foods like banana peels break down faster than tough items like broccoli stems. Our redworms live about one year and produce cocoons that hatch in three weeks, adding more workers to our composting team.
Key Signs Your Vermicompost is Ready
We’ll show you how to spot when your vermicompost is ready for use in your garden. Look for these clear signs that tell you the worms have done their job.
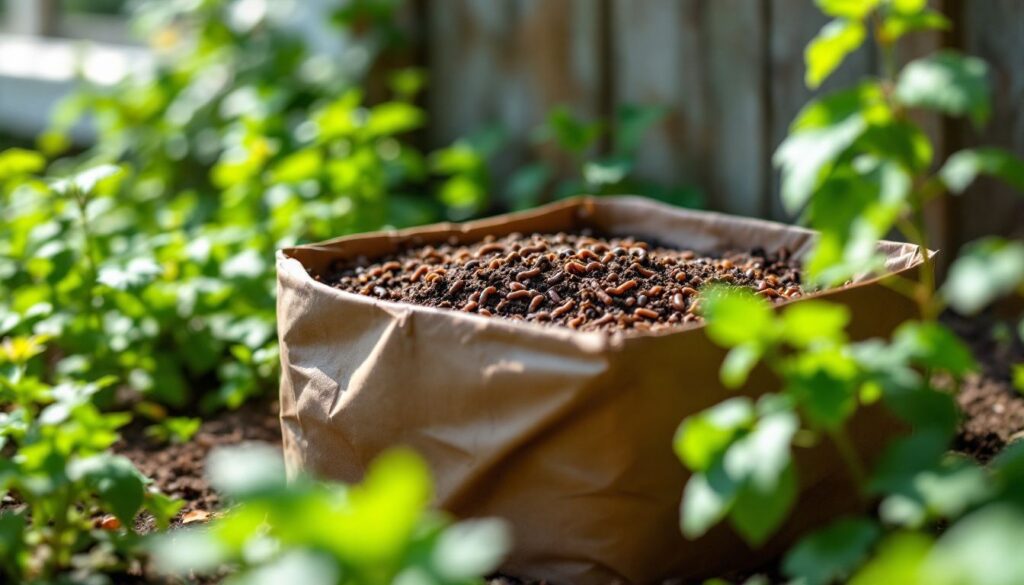
Dark, crumbly texture
A ready vermicompost shows a deep, dark brown colour that looks like rich chocolate cake. This dark, crumbly texture tells us the organic waste has fully broken down into nutrient-dense soil.
We look for an even consistency throughout the bin with no lumps or chunks of food visible. The fine, crumbly texture feels like coffee grounds between your fingers and falls apart easily.
The perfect vermicompost should crumble like a chocolate brownie – dark, rich and full of goodness.
Our wellaged worm castings will have a uniform texture from top to bottom. This complete breakdown of organic materials creates wellstructured compost that plants love. The readytouse vermicast should not stick together in clumps but rather maintain its fine, loose structure when handled.
Earthy smell
Beyond its dark, crumbly texture, mature vermicompost has a distinct earthy smell that tells us it’s ready to use. This pleasant aroma resembles fresh forest soil and signals proper decomposition has occurred.
Vermicompost should never smell rotten or sour – these odours warn us something is wrong in the bin. The earthy smell comes from geosmin, a compound produced by beneficial microorganisms in well-aged vermicompost.
We find this natural fragrance is one of the most reliable signs of quality vermicompost that has been properly cured and is fully decomposed. Your nose serves as an excellent tool to judge if your vermicompost is ripe and ready for your plants.
Minimal visible organic material
One clear sign of ready vermicompost is minimal visible organic material. We look for compost where food scraps have nearly disappeared. Fully matured vermicast shows almost no recognisable bits of the original waste.
The worms have processed most organic waste into dark, fine particles. This transformation marks completed vermicompost that’s ready for harvest.
Our mature worm castings should show 2-3 readiness signs together. The absence of visible food remains stands as a key indicator. Fresh scraps need more time, while fully decomposed material shows uniform texture.
Ripe earthworm compost contains mostly worm droppings rather than original materials. This wellaged worm humus provides the best benefits for your plants.
Factors Affecting Vermicompost Readiness
Several factors change how fast your vermicompost gets ready. Read on to learn more about these key elements.
Temperature and humidity levels
Temperature plays a vital role in how quickly your vermicompost becomes ready. We maintain our worm bins at 55-75°F for the best results. This range keeps our redworms active and happy as they munch through kitchen scraps.
Bins that get too hot slow down the process, while cold temperatures make worms less hungry.
Moisture matters just as much as heat in vermicomposting. Redworms need constant dampness to breathe through their skin and move easily through the compost. We check our bins regularly by squeezing a handful of bedding – it should feel like a wrung-out sponge.
Too dry and the worms can’t function; too wet and they might drown or flee the bin.
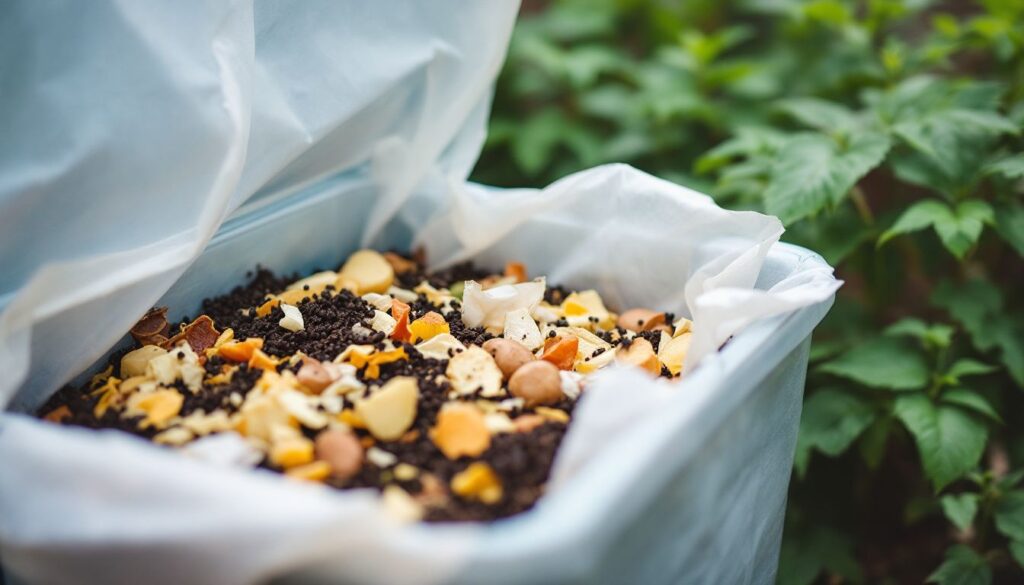
Type of organic waste used
The type of waste we add to our worm bins plays a huge role in how fast our vermicompost forms. Coffee grounds, tea bags, fruit scraps, vegetable peels, eggshells, cereal, and bread break down quickly in a worm bin.
These items are rich in nutrients that feed both worms and helpful microorganisms. Our worms turn these kitchen scraps into dark, nutrient-rich castings that boost soil fertility.
We must avoid putting meat, fat, dairy, pet waste, plastics, chemicals, glass, or metal in our worm bins. These items can harm our worms, create bad smells, or slow down the composting process.
Some wastes like eggshells take longer to break down but add calcium to the final product. Soft, moist items like banana peels decompose faster than tough materials like broccoli stems or corn cobs.
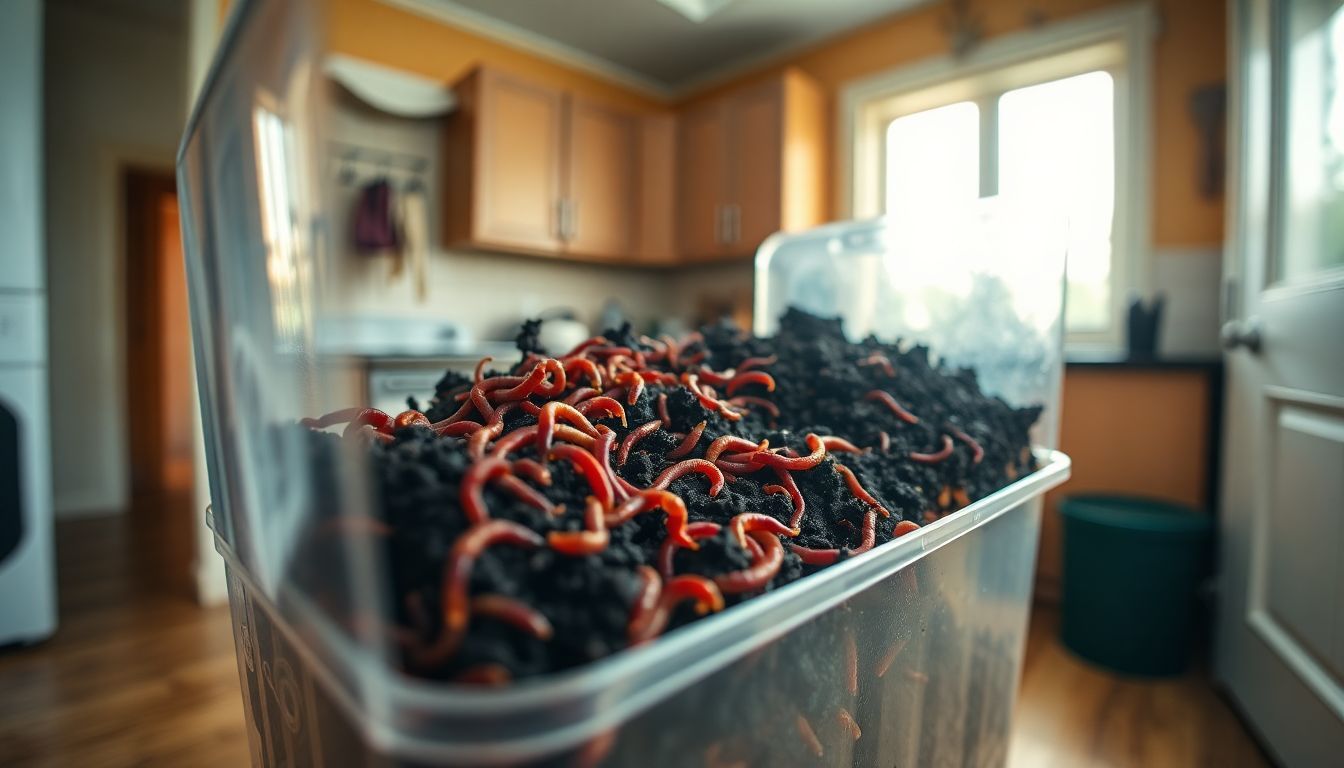
Worm species involved
Different worm types can affect how fast your vermicompost becomes ready. We find redworms (Eisenia foetida and Lumbricus rubellus) work best for home bins. These species eat through organic waste quickly and create rich castings.
A small bin needs about 1 pound of redworms, which equals 500-1,000 worms. Redworms thrive in the same conditions as your food scraps – warm and moist environments. They multiply fast too, doubling their numbers every 90 days in good conditions.
This makes them perfect partners for turning kitchen waste into garden gold.
Conclusion
Knowing when your vermicompost is ready takes practice but gets easier with time. Watch for dark, crumbly texture and that sweet earthy smell that tells you nature has done its work.
Most bins need 6-12 weeks to turn kitchen scraps into black gold for your garden. Your worms will show you when they’re done – they’ll be smaller and move toward fresh food. Regular checks of your worm bin help you catch that perfect moment to harvest your nutrient-rich castings for healthier plants.