Fancy turning your kitchen scraps into something brilliant for your garden? You’re not alone in binning food waste – it makes up nearly 30% of our daily rubbish. We had the same bother in our gardens until we discovered vermicomposting.
It’s quite simple really – special worms munch through your leftovers and turn them into lovely rich soil. Our guide will walk you through setting up your own worm bin at home. It’s dead easy, and you’ll get free plant food to boot.
Shall we get started on turning your rubbish into garden treasure?
What is Vermicomposting?
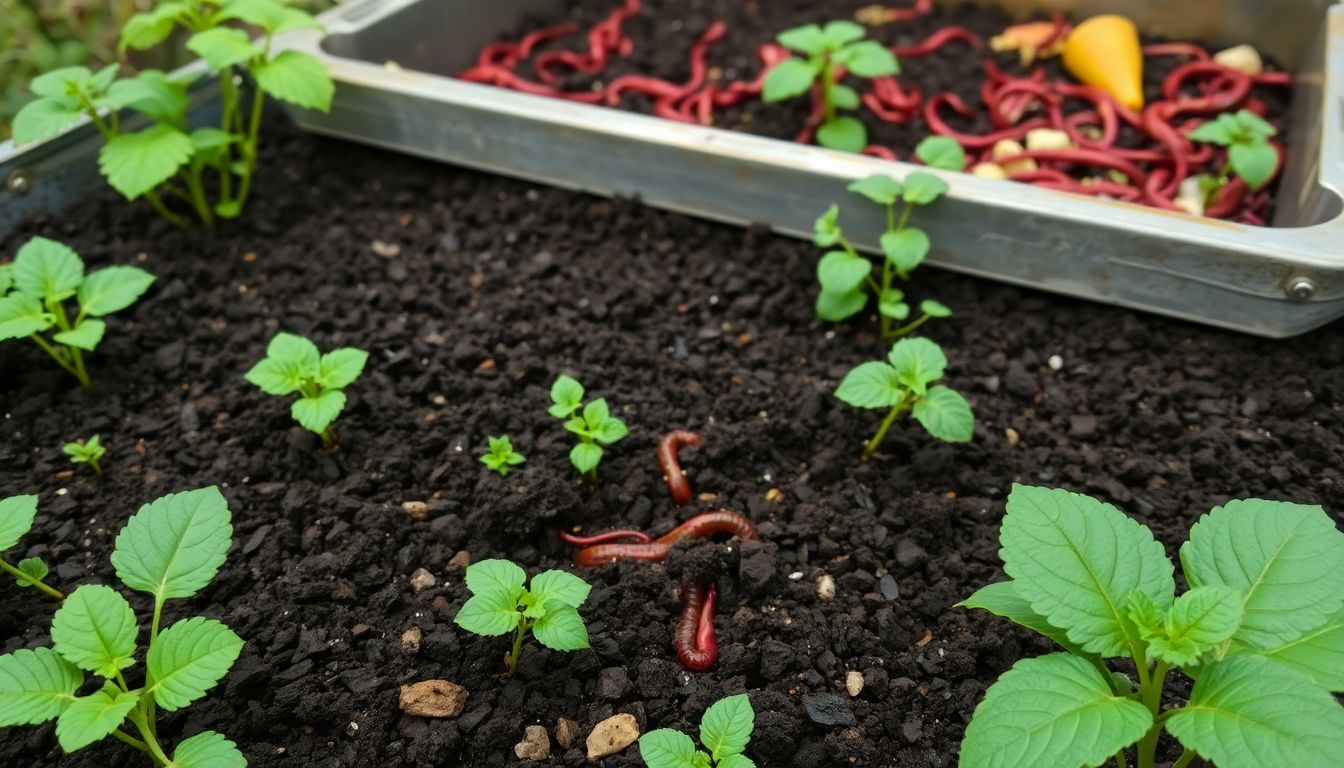
Vermicomposting turns kitchen scraps into garden gold with the help of hungry worms. We use special worms called red wigglers (Eisenia fetida) to eat through organic waste and create rich soil.
These worms work with other species like Eisenia andrei and Eudrilus eugeniae to break down food scraps fast. The magic happens as worms digest the waste and produce castings – tiny dark pellets packed with plant nutrients.
Worm castings are nature’s perfect plant food – created through a process that transforms waste into wealth.
The end product, vermicast, gives plants more nutrients than regular compost. Our garden plants love this dark, crumbly material because it feeds them slowly over time. Worm castings contain fewer harmful things than raw organic waste.
This makes them safe for all plants, from tiny seedlings to full-grown vegetables. Now let’s explore the basic principles that make this process work so well.
Principles of Vermicomposting
Vermicomposting works on simple yet powerful natural principles. Worms and tiny microbes team up to break down waste into rich soil food.
Role of Earthworms
Earthworms serve as the main workers in vermicomposting. We use special types like red wigglers (Eisenia fetida) and Eisenia andrei because they eat organic waste quickly. These worms can live in temperatures from 10°C to 30°C, making them perfect for most home bins.
They eat through waste and turn it into rich castings full of plant nutrients. The worms break down matter with their gut bacteria and create tunnels that add air to the compost pile.
Red wigglers produce cocoons that can stay dormant for up to two years if conditions aren’t right. This shows how tough these little creatures are! Our worm friends prefer a Carbon to Nitrogen ratio above 50, which means they like more browns (like paper) than greens (like food scraps).
As they eat, they improve soil health and boost nutrient cycling in a natural way. Their work helps create fertile soil without chemicals.
Importance of Microorganisms
Microorganisms play a vital role in the vermicomposting process. These tiny life forms work with earthworms to break down organic matter into rich compost. We see how these microbes enhance nutrient availability and improve soil aeration in the final product.
The soil biology creates a perfect environment for plants to thrive through their constant activity.
The unseen workforce of microbes transforms waste into garden gold.
Our vermicompost systems rely on these microorganisms to support nutrient cycling and decomposition. They help create compost that contains more nitrogen and phosphorus than traditional methods.
This microbial activity also makes vermicomposting better for the environment by cutting down methane and nitric oxide emissions. The bioconversion process turns waste into a powerful soil health booster for sustainable agriculture.
Materials Required for Vermicomposting
To start vermicomposting, you need some basic items. These materials are easy to find and set up in your home or garden.
Organic Waste
Organic waste forms the backbone of successful vermicomposting. We use fruit and vegetable scraps, coffee grounds, tea bags, grains, and crushed eggshells in home systems. These items break down quickly and worms love them.
For larger operations, manure, sewage sludge, brewery waste, and food processing leftovers work well as feedstock.
We must avoid adding meat, dairy products, and very wet food scraps to our worm bins. These materials often cause bad smells and attract pests that harm the worms. The best organic waste for vermicomposting is plant-based and slightly dried before adding.
This helps control moisture levels and speeds up the composting process.
Bedding Materials
Now that we’ve covered organic waste, let’s talk about bedding materials for your worms. Bedding gives worms a cozy home and helps control moisture in your bin. We use items like newspaper, leaves, and grass clippings as perfect bedding choices.
These materials break down slowly and provide air pockets for worms to move through.
Good bedding should be moist but not soggy. We tear newspaper into strips or shred leaves to create the right texture. The bedding needs to be damp like a wrung-out sponge. Worms will eat the bedding too as it breaks down.
This creates space for their cocoons, which are lemon-shaped and hold up to 20 baby worms each. Fresh bedding should be added every few months to keep your worm bin healthy.
The right bedding is the foundation of successful vermicomposting – it’s both home and food for your hardworking worms.
Suitable Worm Species
We need the right worms for good vermicomposting. Not all worms work well in compost bins. The best species include Red Wigglers (Eisenia fetida), Eisenia andrei, Eisenia hortensis, Eudrilus eugeniae, Perionyx excavatus, and Lampito mauritii.
These worms eat organic waste quickly and make rich soil. Red wigglers are most popular for home systems because they grow fast. They can double their weight every 60 days! This means your worm farm will grow quickly with these busy workers.
Different worms suit different climates and bin types. The worms must handle the food scraps and bedding you provide. Our next section will explain all the materials you need to start your own worm bin at home.
Step-by-Step Process of Vermicomposting
Now, let’s walk through the step-by-step process of vermicomposting where worms turn your kitchen scraps into black gold for your garden. We’ll show you exactly how to set up your worm bin, add the right organic waste, keep moisture levels perfect, and create ideal conditions for your red worms to thrive.
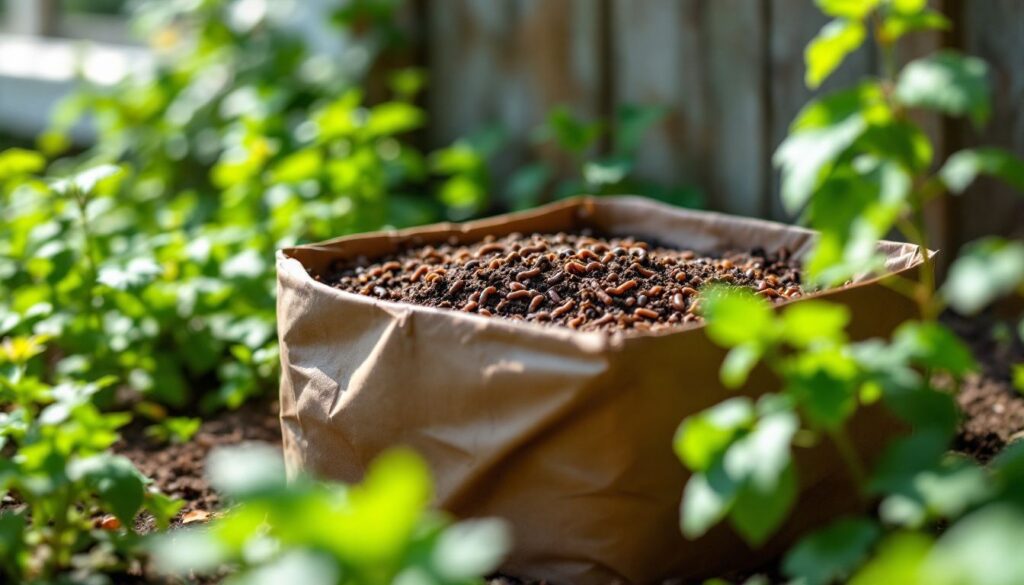
Setting Up the Worm Bin
We start our vermicomposting journey by choosing the right worm bin. The ideal bin measures about 18 × 24 × 18 inches with proper air holes for ventilation. Our small-scale systems work perfectly for homes and flats where space might be limited.
We drill several small holes in the bottom of the bin to allow excess water to drain out and prevent our worms from drowning.
Next, we add bedding materials like shredded newspaper, cardboard, or dried leaves to create a cosy home for our red wiggler worms. This bedding should be damp but not soaking wet – similar to a wrung-out sponge.
We place the bin in a quiet spot away from direct sunlight and extreme temperatures. The kitchen or garage often provides the perfect spot for worm composting to begin the bioconversion of kitchen scraps into nutrient-rich soil.
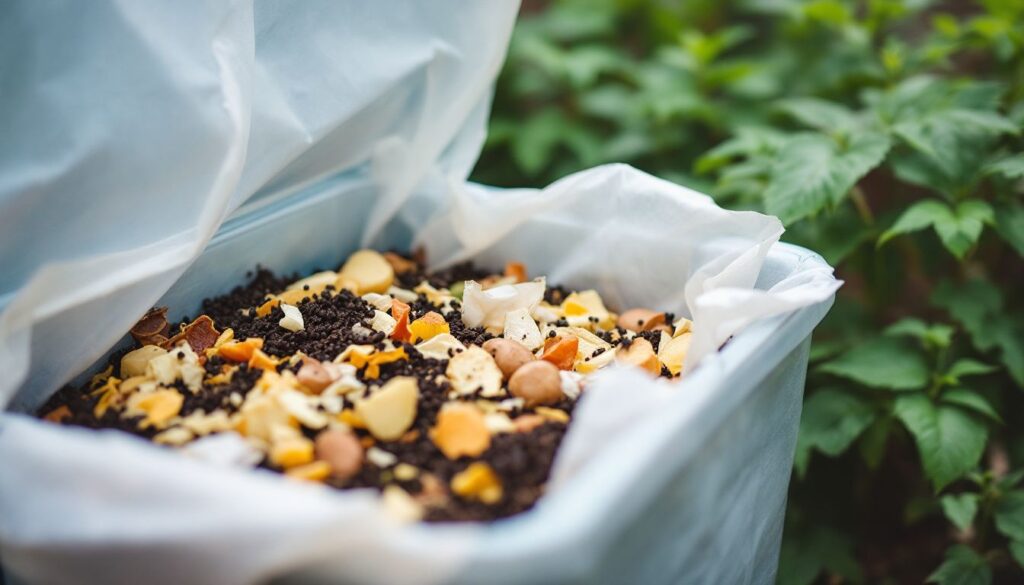
Adding Feedstock
We add feedstock to our worm bins once we’ve set up the base bedding. Kitchen waste works best for small-scale systems. Fruit peels, vegetable scraps, coffee grounds, and tea bags make perfect food for hungry worms.
These items break down quickly and provide needed nutrients. Our worms eat about half their body weight each day!
Good feedstock is the heart of successful vermicomposting.
The carbon to nitrogen ratio must stay above 50 for best results. Too much nitrogen creates heat and odour that harm worms. We mix in dry leaves or shredded paper with food scraps to maintain this balance.
Proper feedstock helps create nutrient-rich castings while keeping our worm population healthy. Next, we’ll look at how to maintain the right moisture and temperature in your vermicomposting system.
Maintaining Moisture and Temperature
After adding food to your worm bin, you must keep the right moisture and temperature. Worms need a wet home to live well. We keep our bins at 70%-90% moisture for happy worms. If levels drop below 50%, our worms might die.
A simple test helps us check – the bedding should feel like a damp sponge when squeezed.
Temperature control matters just as much in the vermicomposting process. Red worms work best between 15°C and 25°C (59°F-77°F). Too hot or cold will slow down their work or harm them.
During summer, we place bins in shade to avoid overheating. In winter, we move them to warmer spots or add insulation. Regular checks help us maintain these ideal conditions for our worm friends to break down waste properly.
Managing pH Levels
Proper moisture and temperature create the perfect home for worms, but pH balance is just as vital. We need to keep the pH level in our worm bins between 5 and 9, as this neutral range makes worms happy and productive.
Our worm friends can’t thrive in soil that’s too acidic or too alkaline. The good news is that vermicast naturally has a neutral pH, making it better than traditional compost. We test our bins with simple pH strips from garden shops to stay on track.
If the mix gets too acidic, we add crushed eggshells or a sprinkle of garden lime to balance it. Too alkaline? A bit of coffee grounds or aged manure helps bring levels down. Regular pH checks ensure our worms keep turning kitchen scraps into black gold without any stress.
Types of Vermicomposting Systems
Vermicomposting systems come in various shapes and sizes to suit different needs. You can choose between compact home bins or larger commercial setups based on your space and goals.
Small-Scale or Home Systems
We love how easy home vermicomposting systems make waste recycling. These compact bins fit perfectly in kitchens, garages, or even under sinks. Our indoor composting bins stay portable, so we can move them as needed throughout the year.
Most home worm bins handle kitchen scraps like vegetable peels, coffee grounds, and tea bags with ease. We also add paper towels and dry leaves to create the right balance for our red worms.
DIY composting doesn’t require much space – even a small flat can support urban composting efforts. Many of our members start with simple plastic tubs before moving to more structured systems.
The beauty of small-scale vermiculture lies in its simplicity and low maintenance needs.
Flat dwellers appreciate how these systems produce no odour when managed properly. We find that home systems produce enough worm castings for houseplants and small gardens without taking up much room.
Kitchen scrap composting works best with red worms, which multiply quickly in these contained environments. The bins create rich compost while keeping waste from landfills – a win for both our plants and the planet.
Large-Scale or Commercial Systems
We operate large-scale vermicomposting systems in many countries across the globe. These include Canada, Italy, Japan, India, Malaysia, the Philippines, and the United States. Our commercial setups use two main methods: windrow systems and raised bed systems (also called flow-through).
Industrial vermicomposting helps manage tons of organic waste that would otherwise fill landfills. Many farms and businesses now turn to vermiculture as a sustainable waste solution that creates value from scraps.
Corporate and community vermicomposting projects have grown as more groups seek eco-friendly waste options. Agricultural vermicomposting turns farm waste into rich soil amendments right where they’re needed most.
The next section will explain how to harvest the finished product from your vermicomposting system.
Harvesting Vermicompost
Harvesting vermicompost happens when worms have turned waste into dark, crumbly soil. You’ll need to separate the worms from their castings to use this rich fertiliser in your garden.
Identifying Finished Compost
We know our vermicompost is ready when it looks dark brown and smells earthy. The mix should feel crumbly and light in our hands, with no bits of food waste still visible. Finished compost won’t have many worms left in it, as they move to fresh food sources once they’ve eaten through the waste.
Our worm castings contain special mucus that creates a “time release” effect for plants, making nutrients available slowly over time.
Good quality vermicast offers water-soluble nutrients that plants love. We can extract these as vermiwash, a liquid form of the compost that works as a great organic fertilizer. This nutrient-rich compost serves as an excellent soil amendment for our gardens.
The finished product should not smell bad or attract pests – these are signs that it needs more time to process.
Methods of Harvesting Worm Castings
We collect worm castings using three main methods that work for home and farm use. The “dump and hand sort” method needs us to empty the bin and pick out worms by hand. This takes time but gives clean results.
For less work, the “let worms do the sorting” approach uses light to drive worms down while we scrape off the top layer of castings. The pyramid method works well too – we stack fresh food on one side of the bin, which draws worms away from finished compost.
Commercial farms must test their worm castings to keep NPK levels steady.
Many growers prefer to harvest in small batches to ensure fresh, nutrient-rich soil amendment. Each technique offers different benefits for organic fertiliser production. The dump method gives total control, while the sorting method saves time.
Our goal remains the same – to extract pure worm castings without harming our helpful worms. These natural soil enrichment methods support sustainable farming practices while turning waste into garden gold.
Challenges in Vermicomposting
We face real issues when making worm compost at home. Smell, escaping worms, and pests can test your skills but simple fixes exist.
Managing Smells
Odour control stands as a key challenge in vermicomposting that we must address properly. We avoid adding meat, dairy products and high-moisture food scraps to our feedstock as these items create bad smells during breakdown.
Our bins need good air flow to stop anaerobic conditions that cause foul odours. Proper maintenance includes turning the compost pile regularly and keeping the right moisture balance – not too wet and not too dry.
Pests often appear when smells develop, so managing odours helps with pest control too. A well-managed vermicompost bin should smell earthy and pleasant, similar to fresh soil after rain.
If strong smells occur, we add more dry bedding materials like shredded paper or dried leaves to absorb excess moisture and restore balance to the system. This simple step often fixes most smell issues quickly.
Preventing Worms from Escaping
Keeping worms in their bin can be tricky. We use several methods to stop our wriggly friends from leaving home. For windrow systems, we pile enough organic matter to create a safe zone that worms won’t want to leave.
The key lies in making their habitat so perfect they have no reason to escape.
Proper moisture and temperature control play a huge role in worm containment. We maintain the bin at ideal levels – not too wet, not too dry, and never too hot or cold. This creates the perfect worm habitat and stops them from searching for better conditions elsewhere.
Our vermiculture success depends on these simple yet vital steps to manage organic waste while keeping our worms happy inside their bins.
Controlling Pests
Beyond keeping worms in their bin, we must also guard against unwanted visitors. Pest control forms a vital part of successful vermicomposting. Fruit flies, ants, and rodents may try to invade your worm bin if it’s not managed well.
We always cover fresh food scraps with bedding material to block access to these pests. Properly managed bins create a barrier that pests can’t cross. We avoid adding meat, dairy, and oily foods to our compost as these items attract more pests than plant-based scraps.
A well-balanced moisture level also helps deter many common pests. If flies appear, we place a sheet of damp newspaper on top of the bedding to trap them.
Benefits of Vermicomposting
Vermicomposting creates rich soil food while cutting waste and helping plants grow stronger. Want to learn more about this amazing process?
Nutrient-Rich Compost for Soil
Vermicompost gives plants a real boost with its rich mix of nutrients. We find that it contains more nitrogen and phosphorus than regular compost, which helps plants grow strong and healthy.
Our garden plants love this dark, crumbly soil food that worms make for us.
The tiny life forms in vermicompost make it special for soil health. These microbes break down nutrients so plants can use them better. They also create spaces in the soil for air to flow through.
This makes vermicompost perfect for organic gardening and helps keep soil fertile for longer.
Sustainable Waste Management
Beyond soil benefits, vermicomposting plays a vital role in sustainable waste management. We can reduce landfill waste and recycling contamination through this simple process. Our communities benefit when organic waste goes into worm bins instead of rubbish heaps.
Vermicomposting creates local jobs that need few skills and little money to start. This makes it perfect for areas with less development. People can turn food scraps into valuable compost while helping the environment.
The circular economy grows stronger as waste becomes a resource through eco-friendly practices.
Conclusion
Vermicomposting turns waste into garden gold with help from hungry worms. This simple process creates rich soil that plants love while cutting down trash sent to landfills. You can start small with a bin under your sink or go big with large outdoor systems.
The worm castings you harvest will make your garden thrive without harsh chemicals. Vermicomposting connects us to nature’s cycles and shows how even tiny creatures like worms play a huge role in keeping our planet healthy.