Feeling a bit fed up with binning your kitchen scraps and garden waste when they could be nourishing your plants? It’s a common frustration, as these very bits and bobs are perfect for making lovely vermicompost – a rich treat for your soil.
Our handy guide walks you through five simple methods to transform your waste into garden treasure with the help of some eager little worms. Have a look and get your worm farm up and running today!
What is Vermicomposting?
Vermicomposting turns kitchen scraps and yard waste into rich soil food. We use special earthworms that eat organic waste and poop out nutrient-packed castings. These worms break down biomass quickly, making dark, crumbly compost that plants love.
Red wigglers and white worms work best for this process because they eat half their weight daily.
Our planet benefits from this eco-friendly method that keeps waste out of landfills. The final product, called vermicast, holds more nutrients than regular compost. Farmers and gardeners value this natural manure for growing healthy crops.
Vermiculture (worm farming) creates sustainable soil helpers that work non-stop to improve our gardens.
Benefits of Vermicomposting
Vermicomposting offers many key benefits for gardeners and the planet. We can turn kitchen scraps into rich soil while helping our gardens grow better.
Improves soil fertility
Vermicompost works wonders for soil fertility in many ways. We’ve seen how it boosts soil structure and makes it more resistant to water damage. Our garden soil becomes rich with plant hormones like auxins and gibberellic acid from this natural process.
These hormones help plants grow stronger and produce better yields.
Good soil is the foundation of successful gardening – vermicompost builds that foundation naturally.
The benefits go beyond just adding nutrients. Vermicompost creates better air flow in soil and increases helpful microbe activity. Plants love the improved water retention that comes with this soil amendment.
Soil treated with vermicompost holds moisture longer, which means less watering for us gardeners. This natural soil enrichment method gives us nutrient-rich soil without harsh chemicals.
Reduces organic waste
Vermicomposting offers a brilliant solution to our organic waste problems. We turn kitchen scraps, yard waste, and paper products into valuable compost instead of sending them to landfills.
This process cuts down on the amount of trash that fills our dumps each day. Our food waste makes up about 30% of what we throw away, but worms can eat this waste and turn it into rich soil.
The impact goes beyond just waste reduction. By keeping organic materials out of landfills, we lower greenhouse gas emissions that harm our planet. Food waste in landfills creates methane, a powerful greenhouse gas that contributes to climate change.
Next, let’s explore how vermicomposting improves soil health through its natural fertilising properties.
Eco-friendly process
We create a truly eco-friendly process with vermicomposting. Our worms turn kitchen scraps and garden waste into rich soil without harmful chemicals. This natural method supports sustainable agriculture while cutting greenhouse gas emissions like methane and nitric oxide.
The process fits perfectly with National Organic Programme guidelines, making it ideal for organic farming. Unlike chemical fertilizers, vermicompost adds nutrients to soil without harming the earth.
The worms do all the hard work, breaking down waste that might otherwise end up in landfills. This simple system helps us care for our planet while growing better plants.
Materials Required for Vermicomposting
To start vermicomposting, you’ll need some basic items that help worms turn waste into rich compost. Read on to learn about the simple yet vital materials for your worm farm setup.
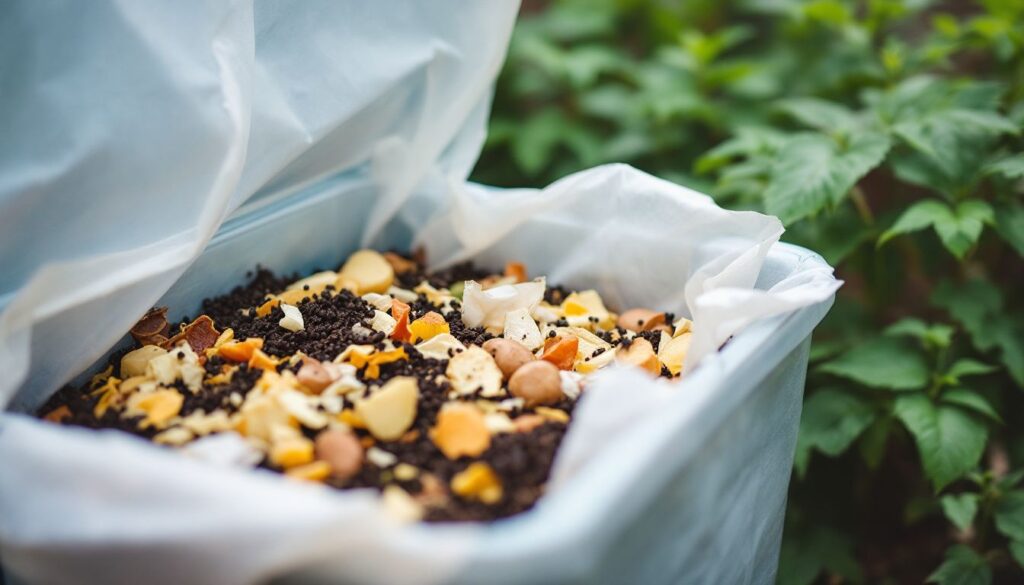
Organic waste
Organic waste forms the heart of any vermicomposting system. We use many kitchen scraps like fruit and vegetable peels, coffee grounds, tea bags, and eggshells as perfect food for our worms.
Paper products such as newspapers and paper towels also work well in the mix. These items break down fast and create rich compost. Grass clippings and leaves add extra nutrients that worms love to munch on.
For larger vermicomposting projects, we need more waste sources. Dairy and pig manure serve as great options for farm-based systems. Other good choices include brewery waste, cotton mill leftovers, and grocery store discards.
These materials contain vital nutrients that earthworms turn into black gold for our gardens. The best part? All this waste stays out of landfills and helps grow new plants instead.
Organic waste isn’t trash – it’s tomorrow’s soil waiting to happen.
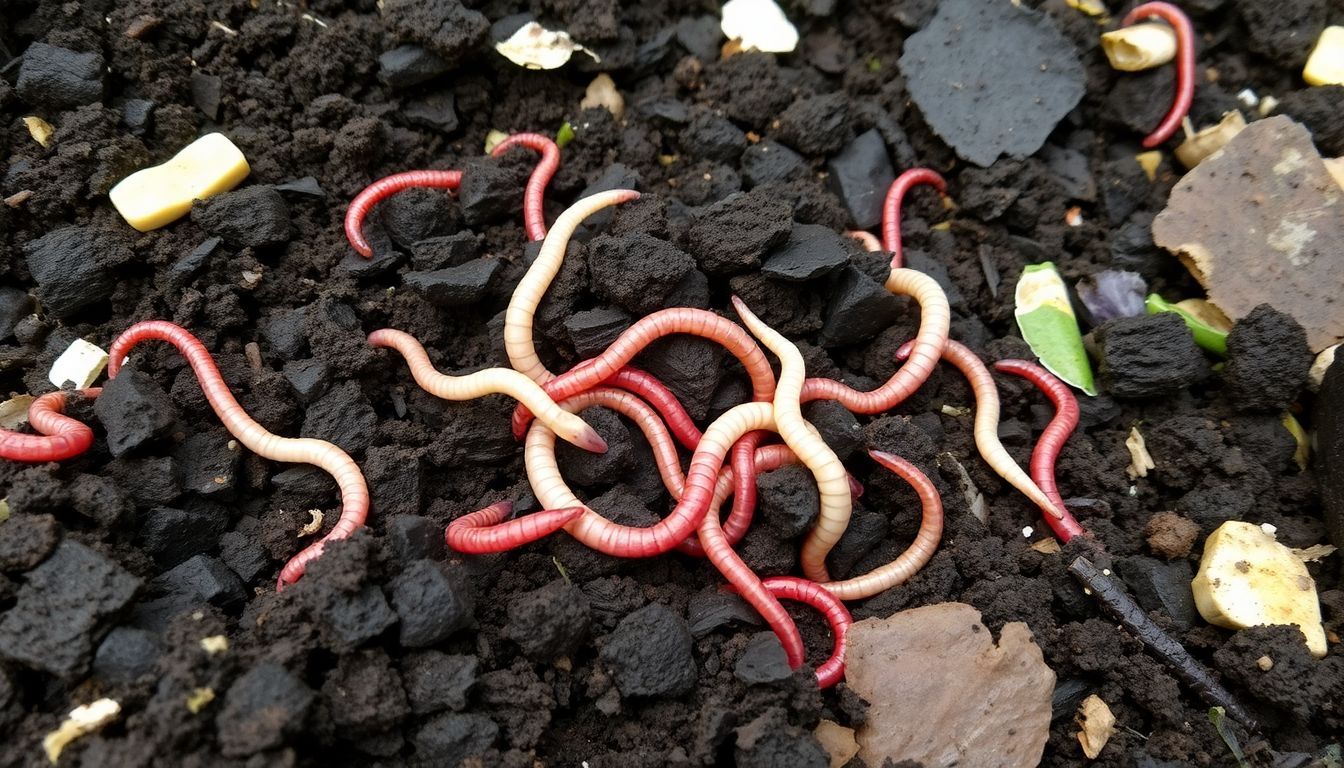
Earthworms (red wigglers, white worms)
We use specific earthworm species for successful vermicomposting. Red wigglers (_Eisenia fetida_ and _Eisenia andrei_) work best because they thrive in organic waste. White worms (_Eisenia hortensis_) also make great decomposers for our compost bins.
Other useful species include _Eudrilus eugeniae_, _Perionyx excavatus_, and _Lampito mauritii_. These worms multiply fast – about 4000 to 5000 new worms appear after just 24 days!
Not all worms suit this job. Common garden worms like _Lumbricus rubellus_ and _Lumbricus terrestris_ don’t work well in compost bins. The right worms break down waste quickly and create nutrient-rich soil through their castings.
Their tiny bodies host helpful microorganisms that speed up decomposition under proper aerobic conditions. The worms turn our kitchen scraps into black gold for plants!
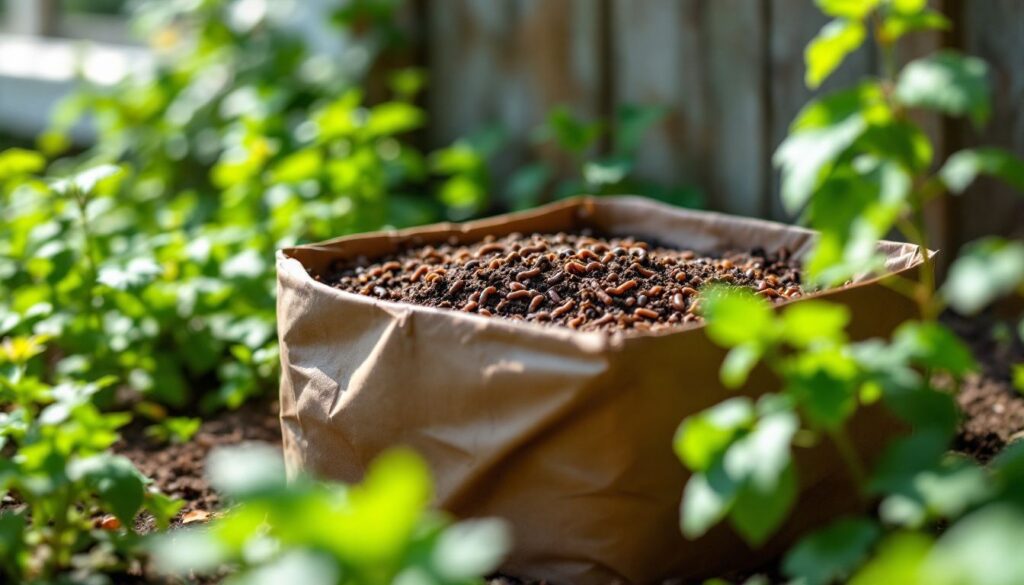
Bins or containers
We need proper bins or containers to make good vermicompost. For small-scale projects, many options exist like plastic, wood, Styrofoam, or metal bins. These containers hold the worms and organic waste while the composting happens.
Our choice of bin depends on space and how much compost we plan to make.
Large-scale vermicomposting uses different methods. The windrow method forms long rows of bins filled with waste materials. Raised bed methods add extra material for worms to process more waste.
Each container must have drainage holes to control moisture and air flow. Now let’s look at the various methods for preparing vermicompost.
Moisture control tools
Proper moisture tools help us keep our worm bins happy. We use spray bottles to add water when the bedding gets dry. A moisture meter tells us if levels stay between 70-80%, which worms love.
Trays with drainage holes stop excess water from making the bin too wet.
The secret to successful vermicomposting lies in maintaining that perfect 70-80% moisture sweet spot.
Temperature gauges also serve as important tools since worms work best at 15-25°C. We cover bins with breathable fabric in hot weather to keep temps below 30°C. Coconut coir and shredded paper make good bedding materials that hold moisture well.
Now let’s look at the step-by-step procedure for setting up your vermicomposting system.
Methods of Preparing Vermicompost
Vermicompost can be made using several methods to suit your space and needs. Each method has its own setup and care steps, but all use worms to turn waste into rich compost.
Traditional bin method
We love the traditional bin method for home vermicomposting. This approach uses containers made from plastic, wood, Styrofoam, or metal to house your worms and organic waste. DIY vermicompost bins offer a perfect solution for small-scale composting right in your kitchen or balcony.
Our home vermicomposting setup needs little space but yields rich compost for plants.
These composting bins work well in urban settings where space limits garden options. Many household composting solutions start with simple containers that hold kitchen waste. The worm composting bins can sit in a corner, under a sink, or on a patio.
We find this method ideal for turning daily food scraps into valuable soil without much fuss.
Pit method
Moving from the traditional bin method, we now explore the pit method for vermicomposting. This approach involves digging or using cemented pits in the ground to hold organic waste and worms.
We fill these pits with layers of waste materials where earthworms break down the matter into rich compost.
The pit method has become less common among gardeners today. Poor air flow often creates problems in these systems. Water can also build up at the bottom of pits during rainy seasons.
These issues make it harder for worms to thrive and may slow down the composting process. Despite these drawbacks, some farmers still use this method in dry areas where the ground helps keep moisture levels stable.
Windrow method
Unlike the pit method which works underground, the windrow method creates long, low piles of compost materials above ground. We build these windrows as long rows of mixed bedding materials and organic waste.
The piles need to be about 1 metre wide and 0.5 metres high to work well. This method takes more space but works great for large-scale composting projects.
Our worms break down materials in these outdoor windrows over 6-12 months. The process happens more slowly than bin methods because outdoor temperatures change more. We must cover windrows with straw or cardboard to keep moisture in and protect worms from extreme weather.
This method suits farms or community gardens with lots of space and organic waste.
Tray system
We love using the tray system for vermicomposting because it makes the whole process so efficient. This method uses multiple stacked trays with holes in the bottom of each one except the lowest tray.
The top trays hold fresh organic waste while the bottom trays collect liquid and finished compost. The beauty of this system lies in how earthworms work – they naturally move upward toward fresh food sources.
As they migrate up, they leave behind rich vermicompost in the lower trays. This natural movement makes harvesting much easier than with single-container systems. The trays can be rotated, with the bottom tray (full of finished compost) removed for use in the garden, and a new tray added to the top with fresh waste.
This creates a continuous cycle of composting without disturbing the worms too much.
Step-by-Step Procedure for Vermicomposting
We’ll guide you through the simple steps to create rich vermicompost at home. Our clear process helps you turn kitchen scraps into garden gold with minimal effort.
Prepare the bin or container
We need to set up a proper home for our worms before starting vermicomposting. The bin choice matters a lot for success. Plastic, wood, Styrofoam, or metal bins all work well for this purpose.
Our container must have small holes at the bottom for drainage and on the sides for air flow. The size of the bin depends on how much organic waste our household produces. A family of four typically needs a bin about 60 cm long, 40 cm wide, and 30 cm deep.
The temperature inside the bin must stay between 15-25°C for the worms to thrive. Too hot or too cold will harm them. We place the bin in a shaded spot away from direct sunlight to maintain this range.
A garage, basement, or under a tree works well. The bin needs a lid to keep pests out and moisture in. Dark bins help block light which worms dislike.
Add bedding material
We prepare the worm bedding with a mix of straw, leaves, soil, and sand. This mix gives worms a cosy home to start their work. Our bedding must have a pH between 5.5 and 6.5 for happy worms.
The right bedding helps break down waste faster and keeps bad smells away.
Proper bedding creates air pockets that allow microorganisms to thrive in the compost. These tiny helpers speed up the decomposition process alongside our worms. The carbon-to-nitrogen ratio stays balanced with good bedding choices.
Biodegradable waste mixes well with these materials to form rich humus. Soil conditioning starts right from this step in the nutrient cycling process.
Introduce organic waste
We add organic waste to our vermicompost bin after setting up the bedding. Our kitchen scraps like fruit and vegetable peels make perfect food for hungry worms. Coffee grounds, tea bags and eggshells also work well in the mix.
The worms love to munch on soft, moist materials that break down easily. Paper products such as newspapers and paper towels can go in too – they help balance the moisture levels. Grass clippings and leaves from the garden provide extra nutrients for the system.
These materials would otherwise end up in landfills, but instead they become valuable food for our composting worms.
For best results, we chop larger waste items into smaller pieces. This speeds up the decomposition process and makes it easier for worms to eat. Our goal is to recycle organic material into rich soil through natural fertilization.
The worms transform this biodegradable waste through decomposition, creating an eco-friendly waste disposal system right in our homes or gardens.
Add earthworms
Now comes the exciting part – adding the worms to your compost bin! We pour about 4000 to 5000 earthworms into the prepared bedding. The most common species for vermicomposting include Eisenia fetida, Eisenia andrei, and Eudrilus eugeniae.
These red worms work quickly to break down organic matter. They multiply fast too! In just 24 days, these helpful creatures can produce thousands of new worms.
Our worms need time to settle into their new home. We gently place them on top of the bedding and let them burrow down naturally. The worms will start eating the organic waste right away.
Different species like Perionyx excavatus and Lampito mauritii also work well in various climate conditions. Next, we must focus on maintaining proper moisture and air flow for our worm friends to thrive.
Maintain moisture and aeration
We need to keep our vermicompost bin at the right moisture level. The ideal humidity level sits between 70-80%, though it can work up to 90%. Too dry, and our worms get stressed; too wet, and they might drown.
We check moisture by grabbing a handful of bedding – it should feel like a damp sponge. Proper air circulation stops bad smells and helps worms breathe. Small holes in the bin sides allow for soil ventilation without letting worms escape.
Water retention materials like coconut coir or shredded paper help maintain adequate moisture throughout the bin. Our next step focuses on harvesting the finished vermicompost once conditions have been properly maintained.
Harvest the vermicompost
After keeping moisture and air flow right, we’ll need to collect our rich worm compost. Harvesting happens when the waste turns into dark, spongy material with a neutral pH. We can use several methods to separate worms from compost.
The “dump and hand sort” technique involves spreading the compost on a tarp and picking out worms by hand. For an easier approach, try “let the worms do the sorting” by placing fresh food on one side of the bin and waiting for worms to move there.
Two more helpful methods exist for gathering worm castings. The “alternate containers” approach means starting a new bin with fresh bedding and food, then placing it next to or on top of the old one.
Worms will migrate to the new food source. Our team also likes the “divide and dump” method where we split the bin contents in half and harvest one portion while giving worms time to crawl into the other half.
Each technique works well depending on your setup and time available.
Troubleshooting Common Issues
We’ll show you how to fix common problems in your worm bin. Learn quick fixes for smells, pests, and runaway worms.
Odour management
Odour issues can pop up during vermicomposting if we don’t take proper steps. Bad smells often signal that something isn’t right in our worm bin. Too much moisture or poor air flow causes waste to rot instead of compost, creating foul odours.
We fix this by mixing the contents to add more air and balancing wet materials with dry ones. Adding torn cardboard or dry leaves helps soak up extra moisture that leads to smells.
Our worm bins should smell earthy, not rotten or sour. Regular checks help us spot problems early before they turn into major odour concerns.
Preventing pests
Pests can spoil our vermicompost if we don’t take proper steps. We must check our bins often to spot any unwanted visitors early. Fruit flies, ants, and rodents may try to make homes in the compost.
To keep pests away, we bury food scraps under bedding rather than leaving them on top. Proper moisture levels help too – not too wet, not too dry. Our worm bins should stay at the right dampness, like a wrung-out sponge.
Maintaining optimal conditions stops most pest problems before they start. We cover our bins with breathable lids that block pests but allow air flow. Avoiding meat, dairy, and oily foods in the compost helps prevent pest infestations.
These foods smell strong and attract more pests than plant matter. If we notice pests showing up, we can add more dry bedding or move the bin to a new spot. Regular pest monitoring makes our vermicomposting more successful.
Controlling escaping worms
After keeping pests away, we must focus on stopping our worms from escaping. Worms may try to leave the bin if conditions aren’t right. We use simple tricks to keep them happy at home.
A light on top of the bin works well since worms avoid light. Proper moisture levels also help keep worms content in their habitat.
Worm cocoons need special care too. These small, lemon-shaped, yellowish capsules can hold up to 20 baby worms each, with 23 being most common. Worms can stay dormant in these cocoons for up to 2 years if they don’t like their surroundings.
We make sure to check bin edges and lids for any gaps where adult worms might squeeze through. Keeping the top layer of bedding dry creates a natural barrier that worms won’t want to cross.
Conclusion
Vermicomposting offers a simple way to turn kitchen scraps into rich soil food. You can choose from bin, pit, windrow, or tray methods based on your space and needs. Each method helps worms work their magic, creating dark, crumbly compost that plants love.
This natural process cuts waste while giving your garden a boost. Start small, learn as you go, and soon you’ll see how these tiny workers can make a big impact on your soil health and garden growth.